Happy fall, y’all!
I just love that phrase. Autumn is truly my favorite season of the year! There’s so much to enjoy. And so just for fun, I took the day off from my regular deadlines and a long list of things to do and I spent the afternoon creating a cute little sewing machine cover just for the season. Every year I put out fall and Halloween decorations around the house so why not add a touch of autumn to my sewing studio? It took me less than three and a half hours to make this sewing machine cover from start to finish. Really!
Let me show you how I did it, because I’ll bet you’ll want to make one, too!
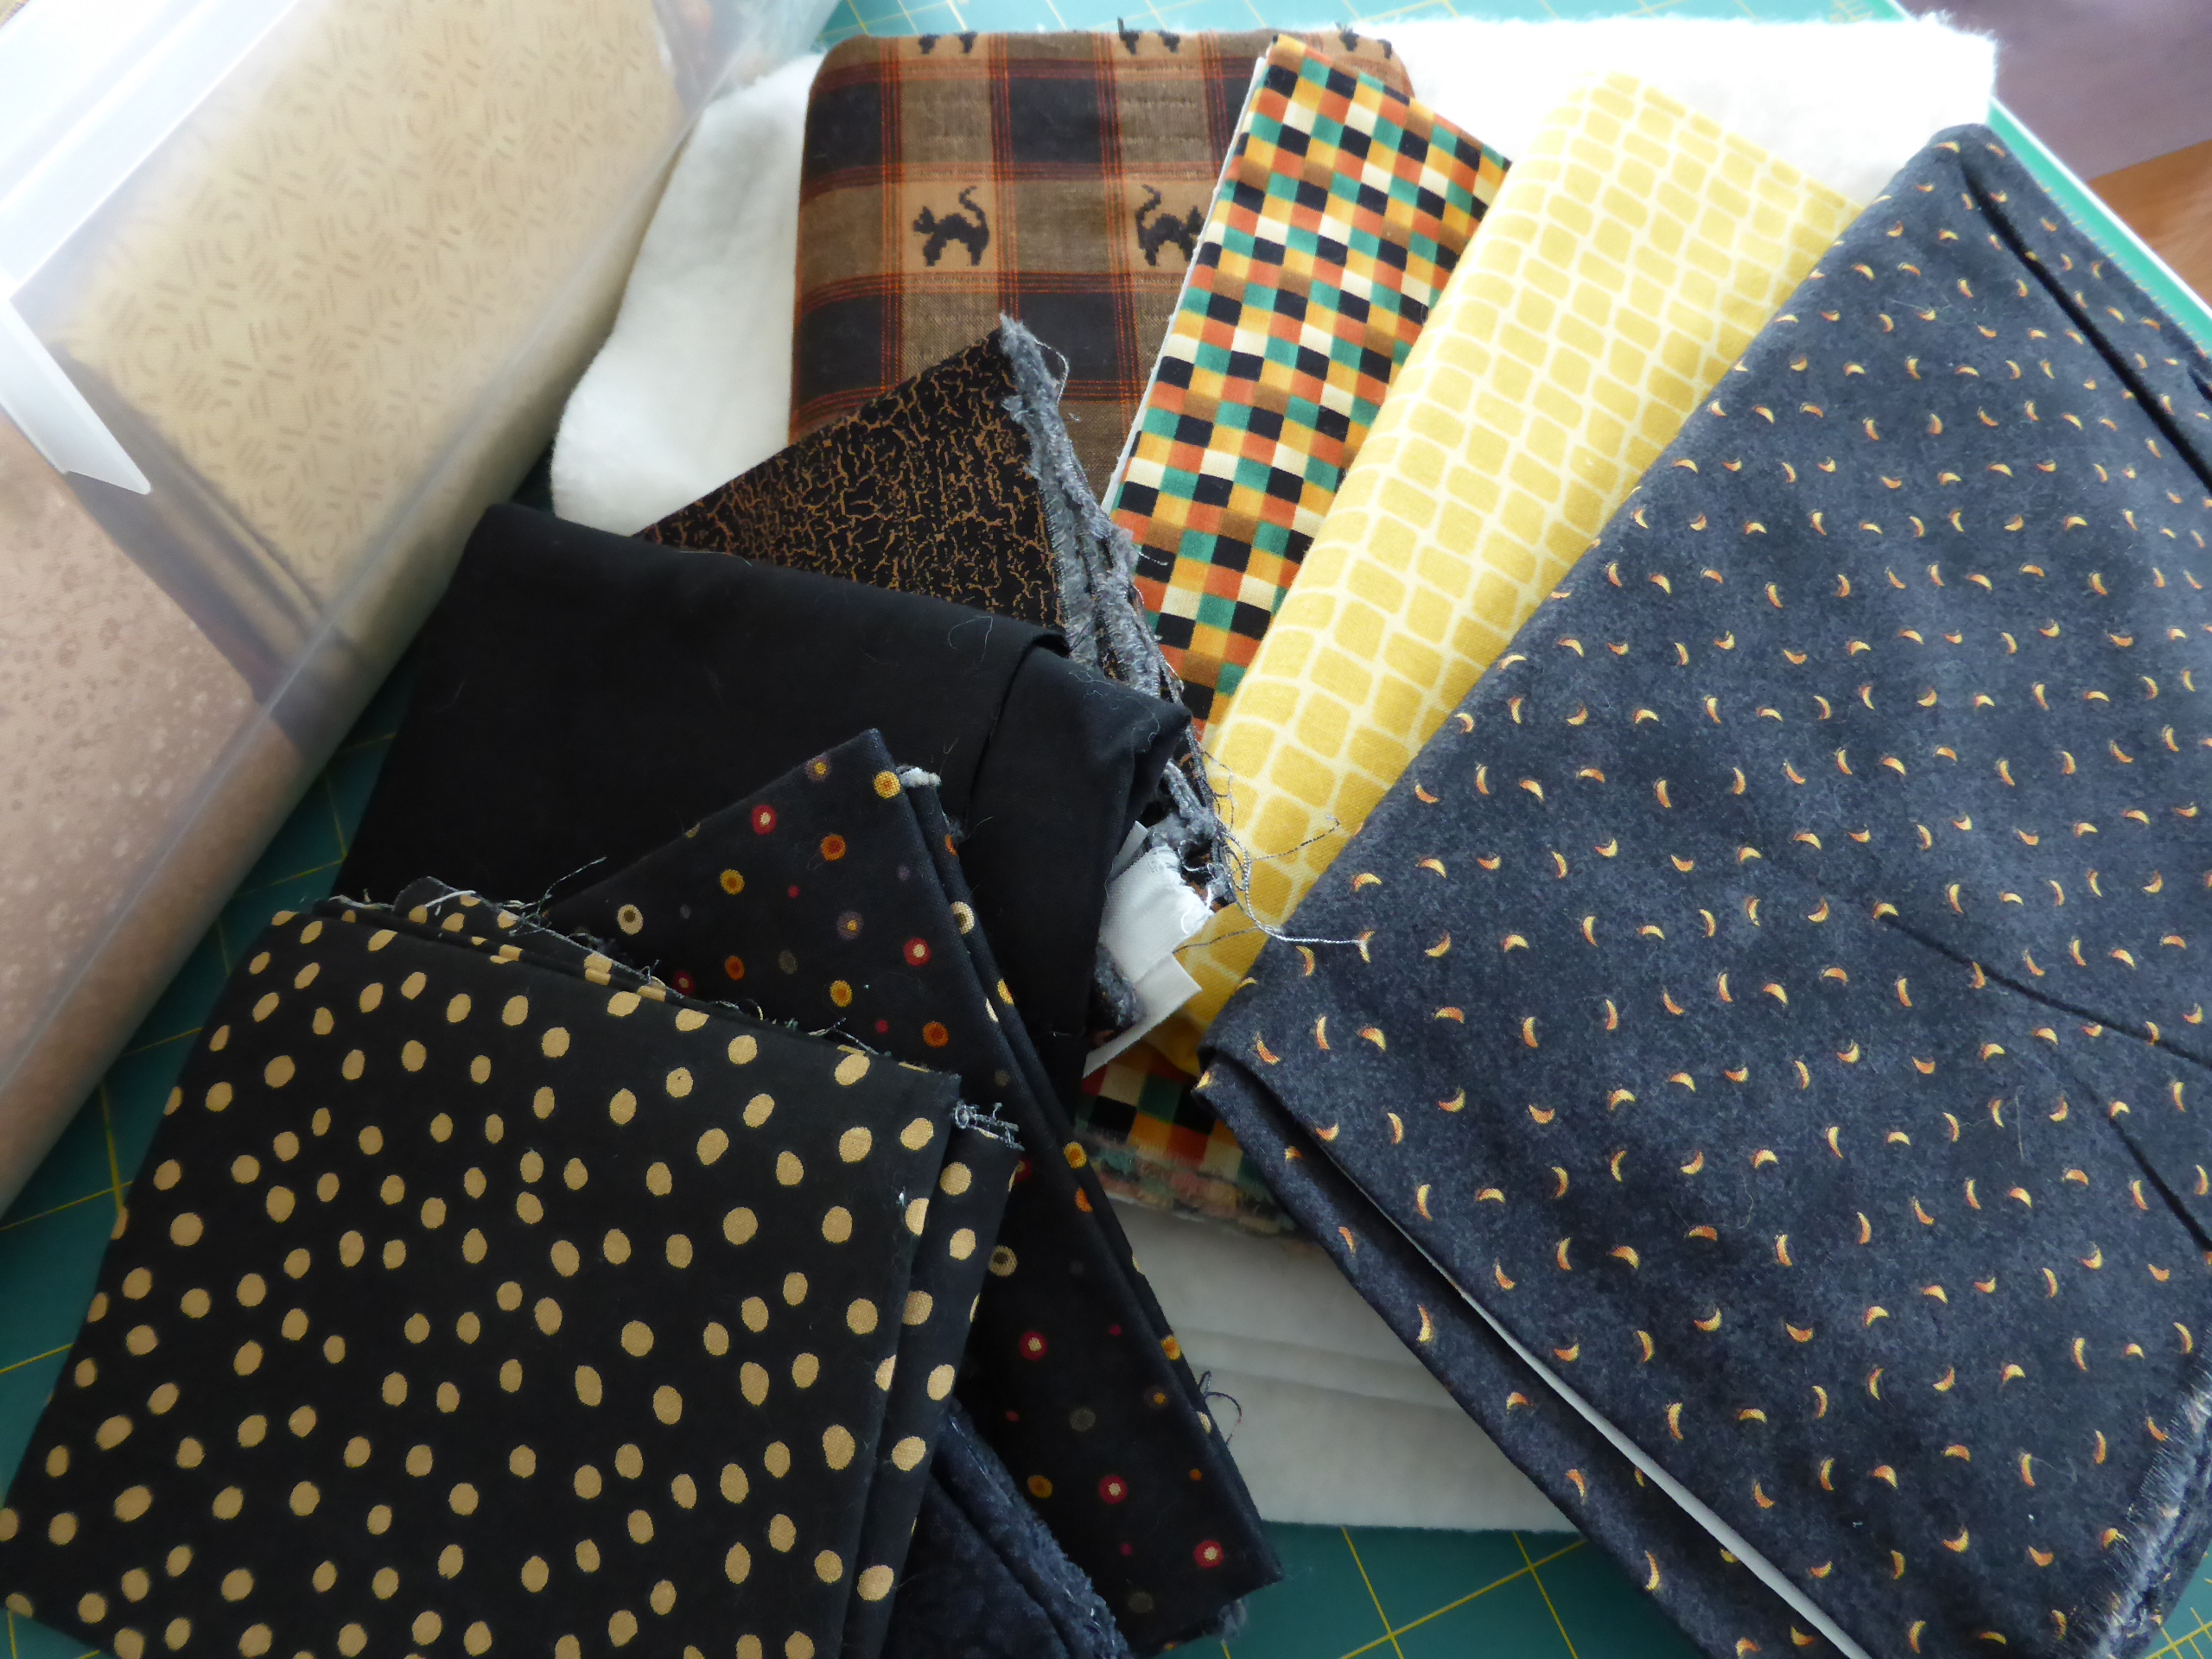
I didn’t want to spend a penny on this little project.
Everything came from my stash. So I pulled fabrics from the plastic
storage bins where I keep small pieces of fabric, sorted by color.
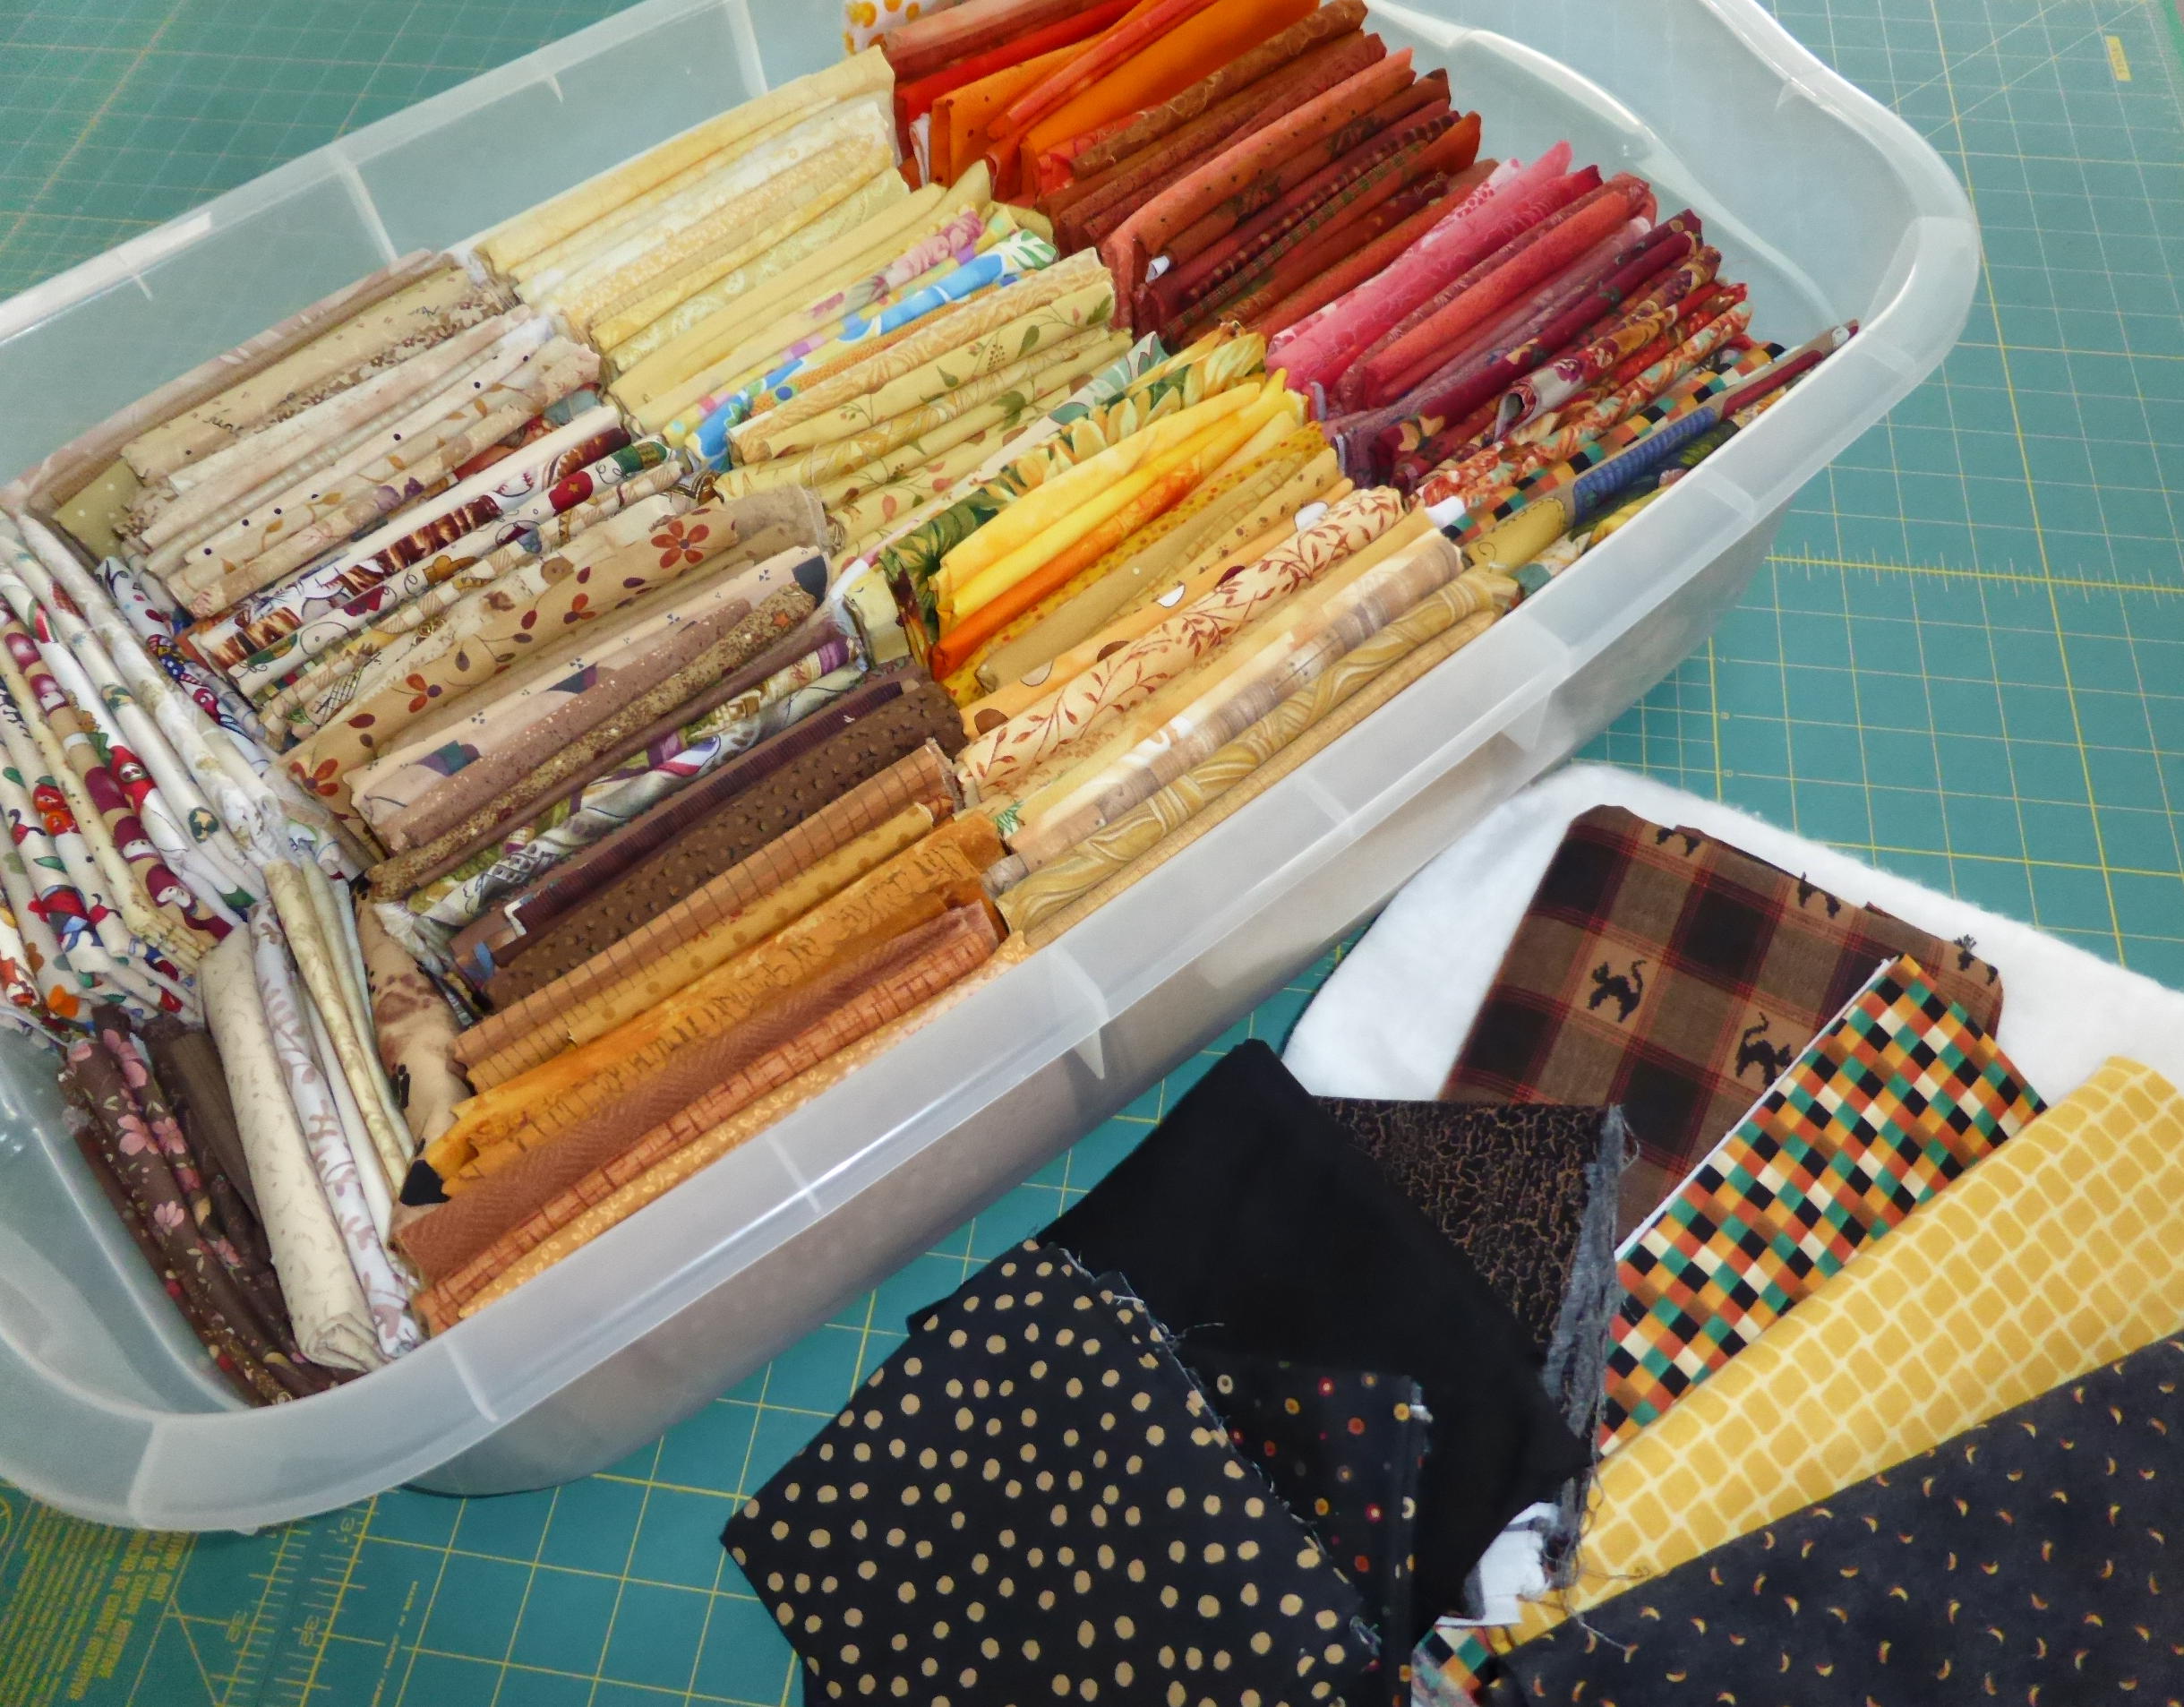
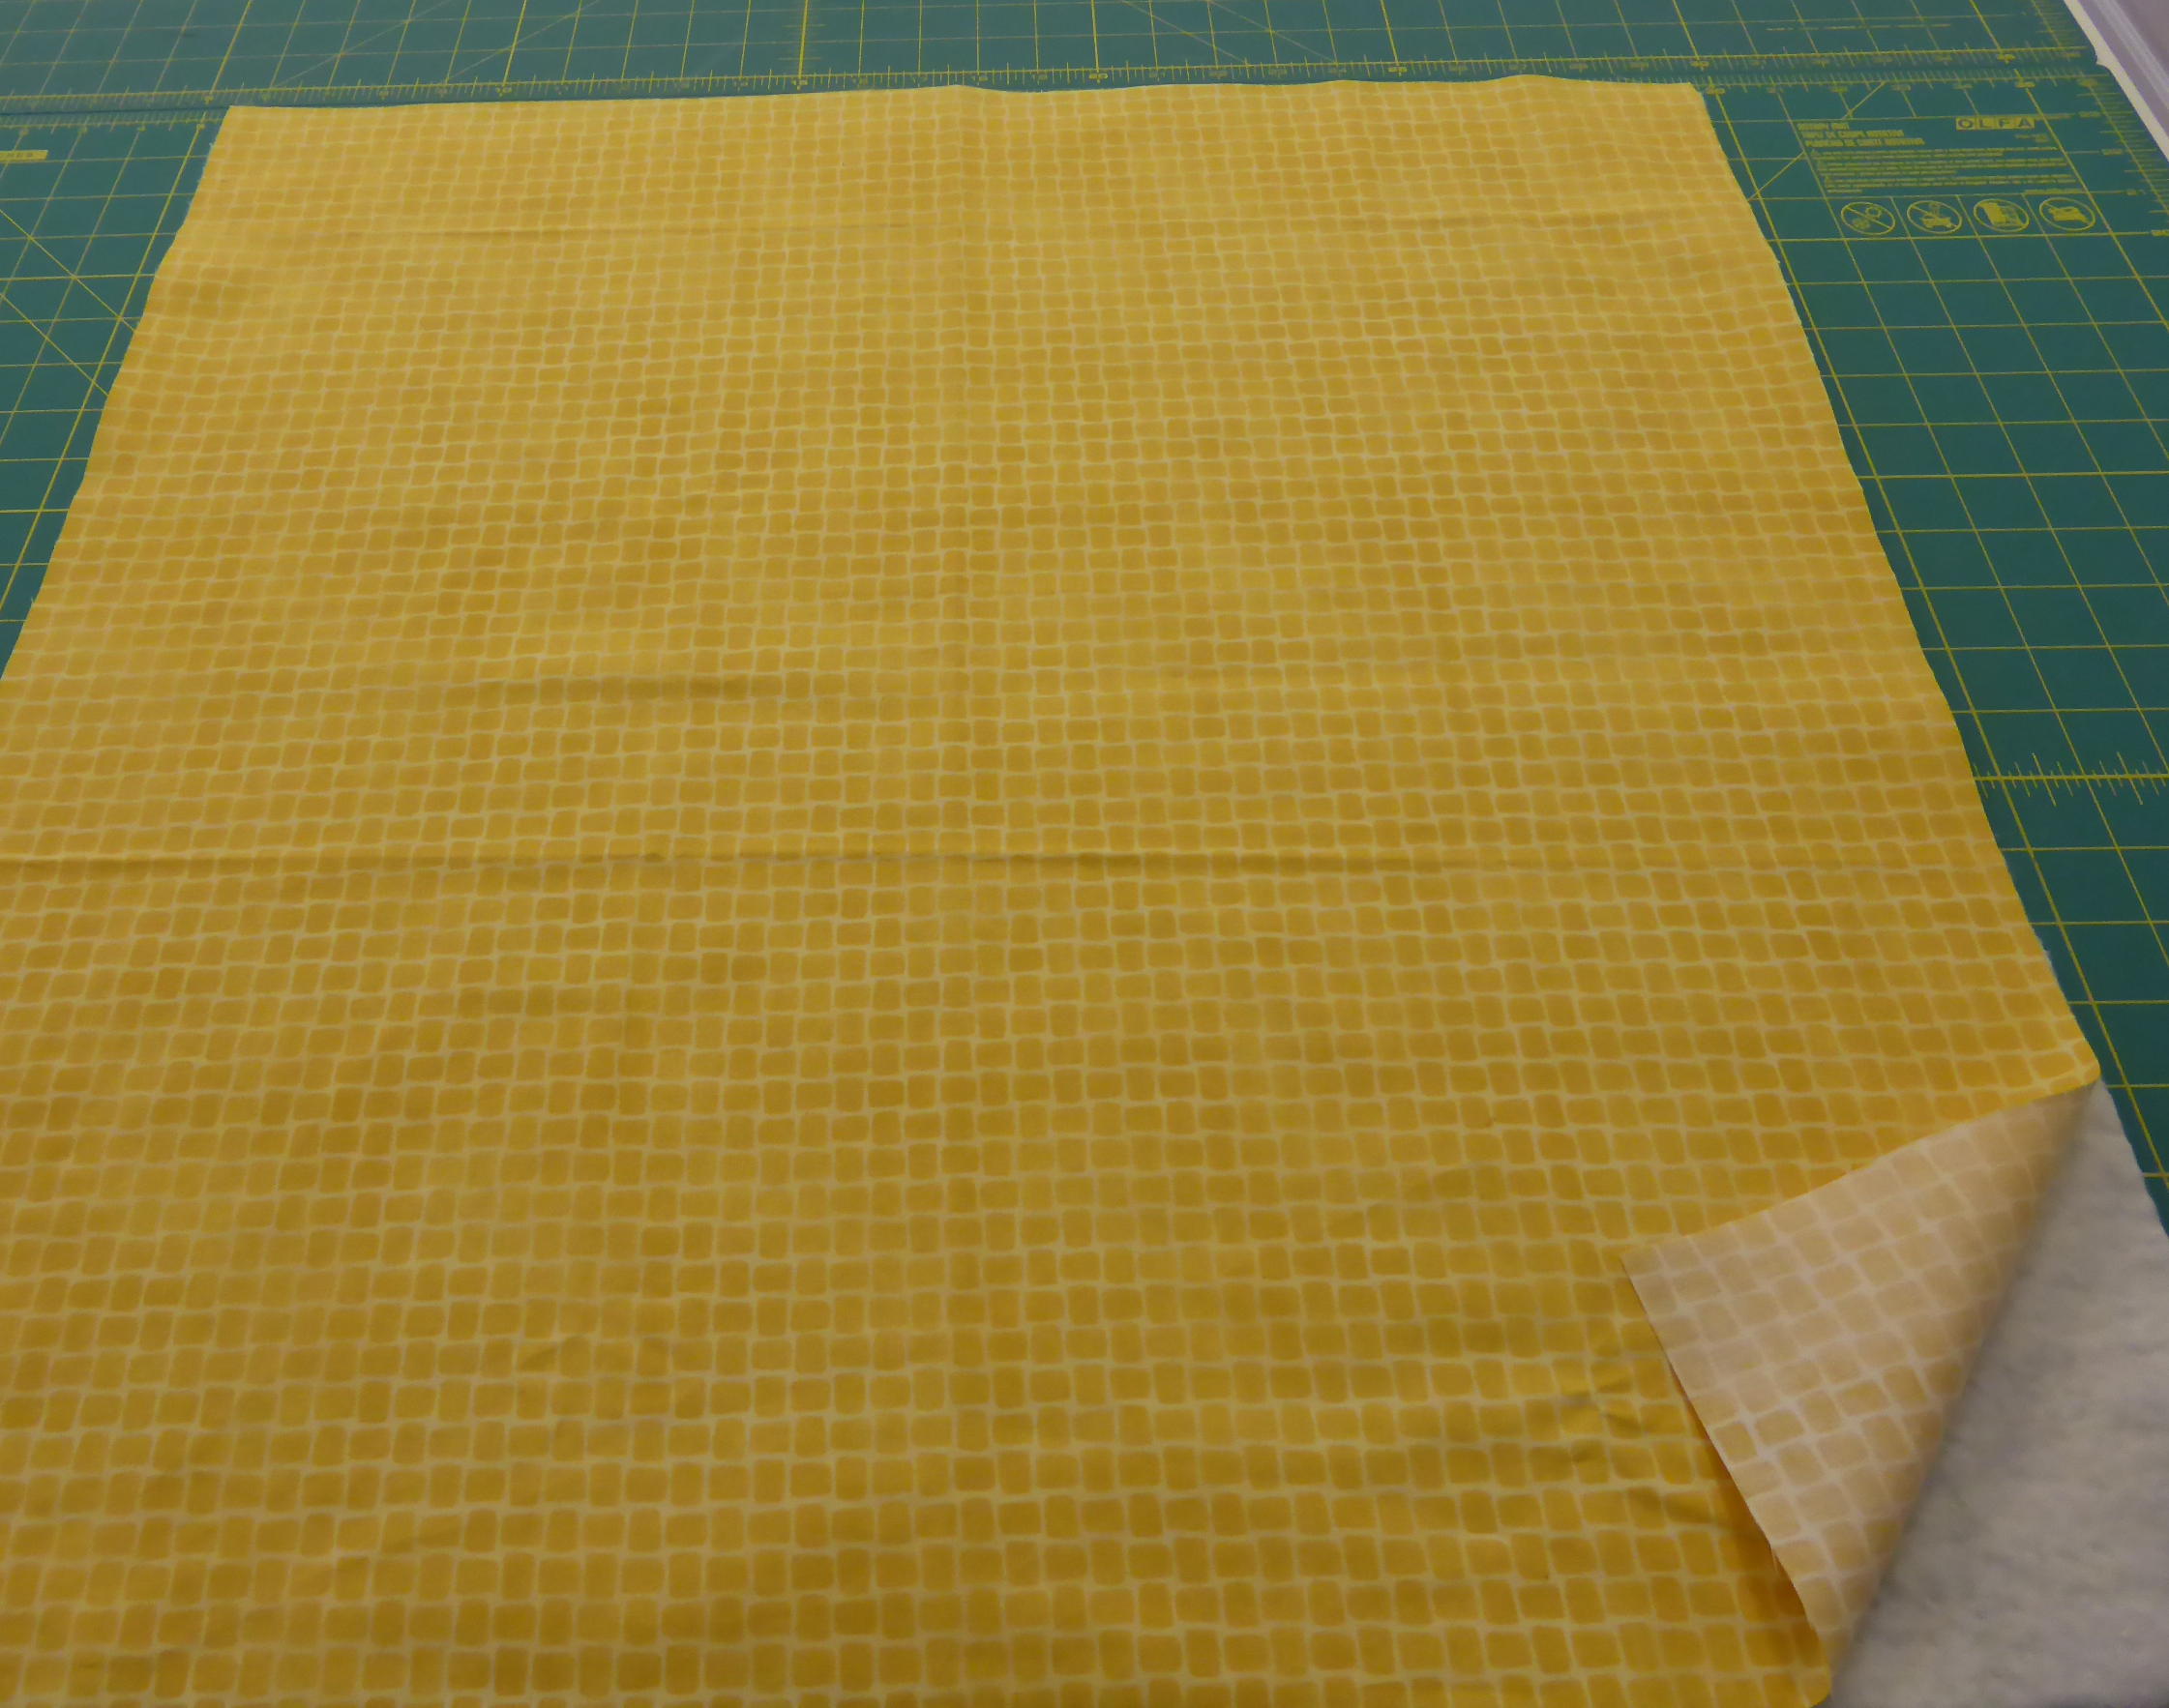
I chose larger pieces from my fabric storage cabinets
to make the background and use as the backing.
 To make the project really fast and easy,
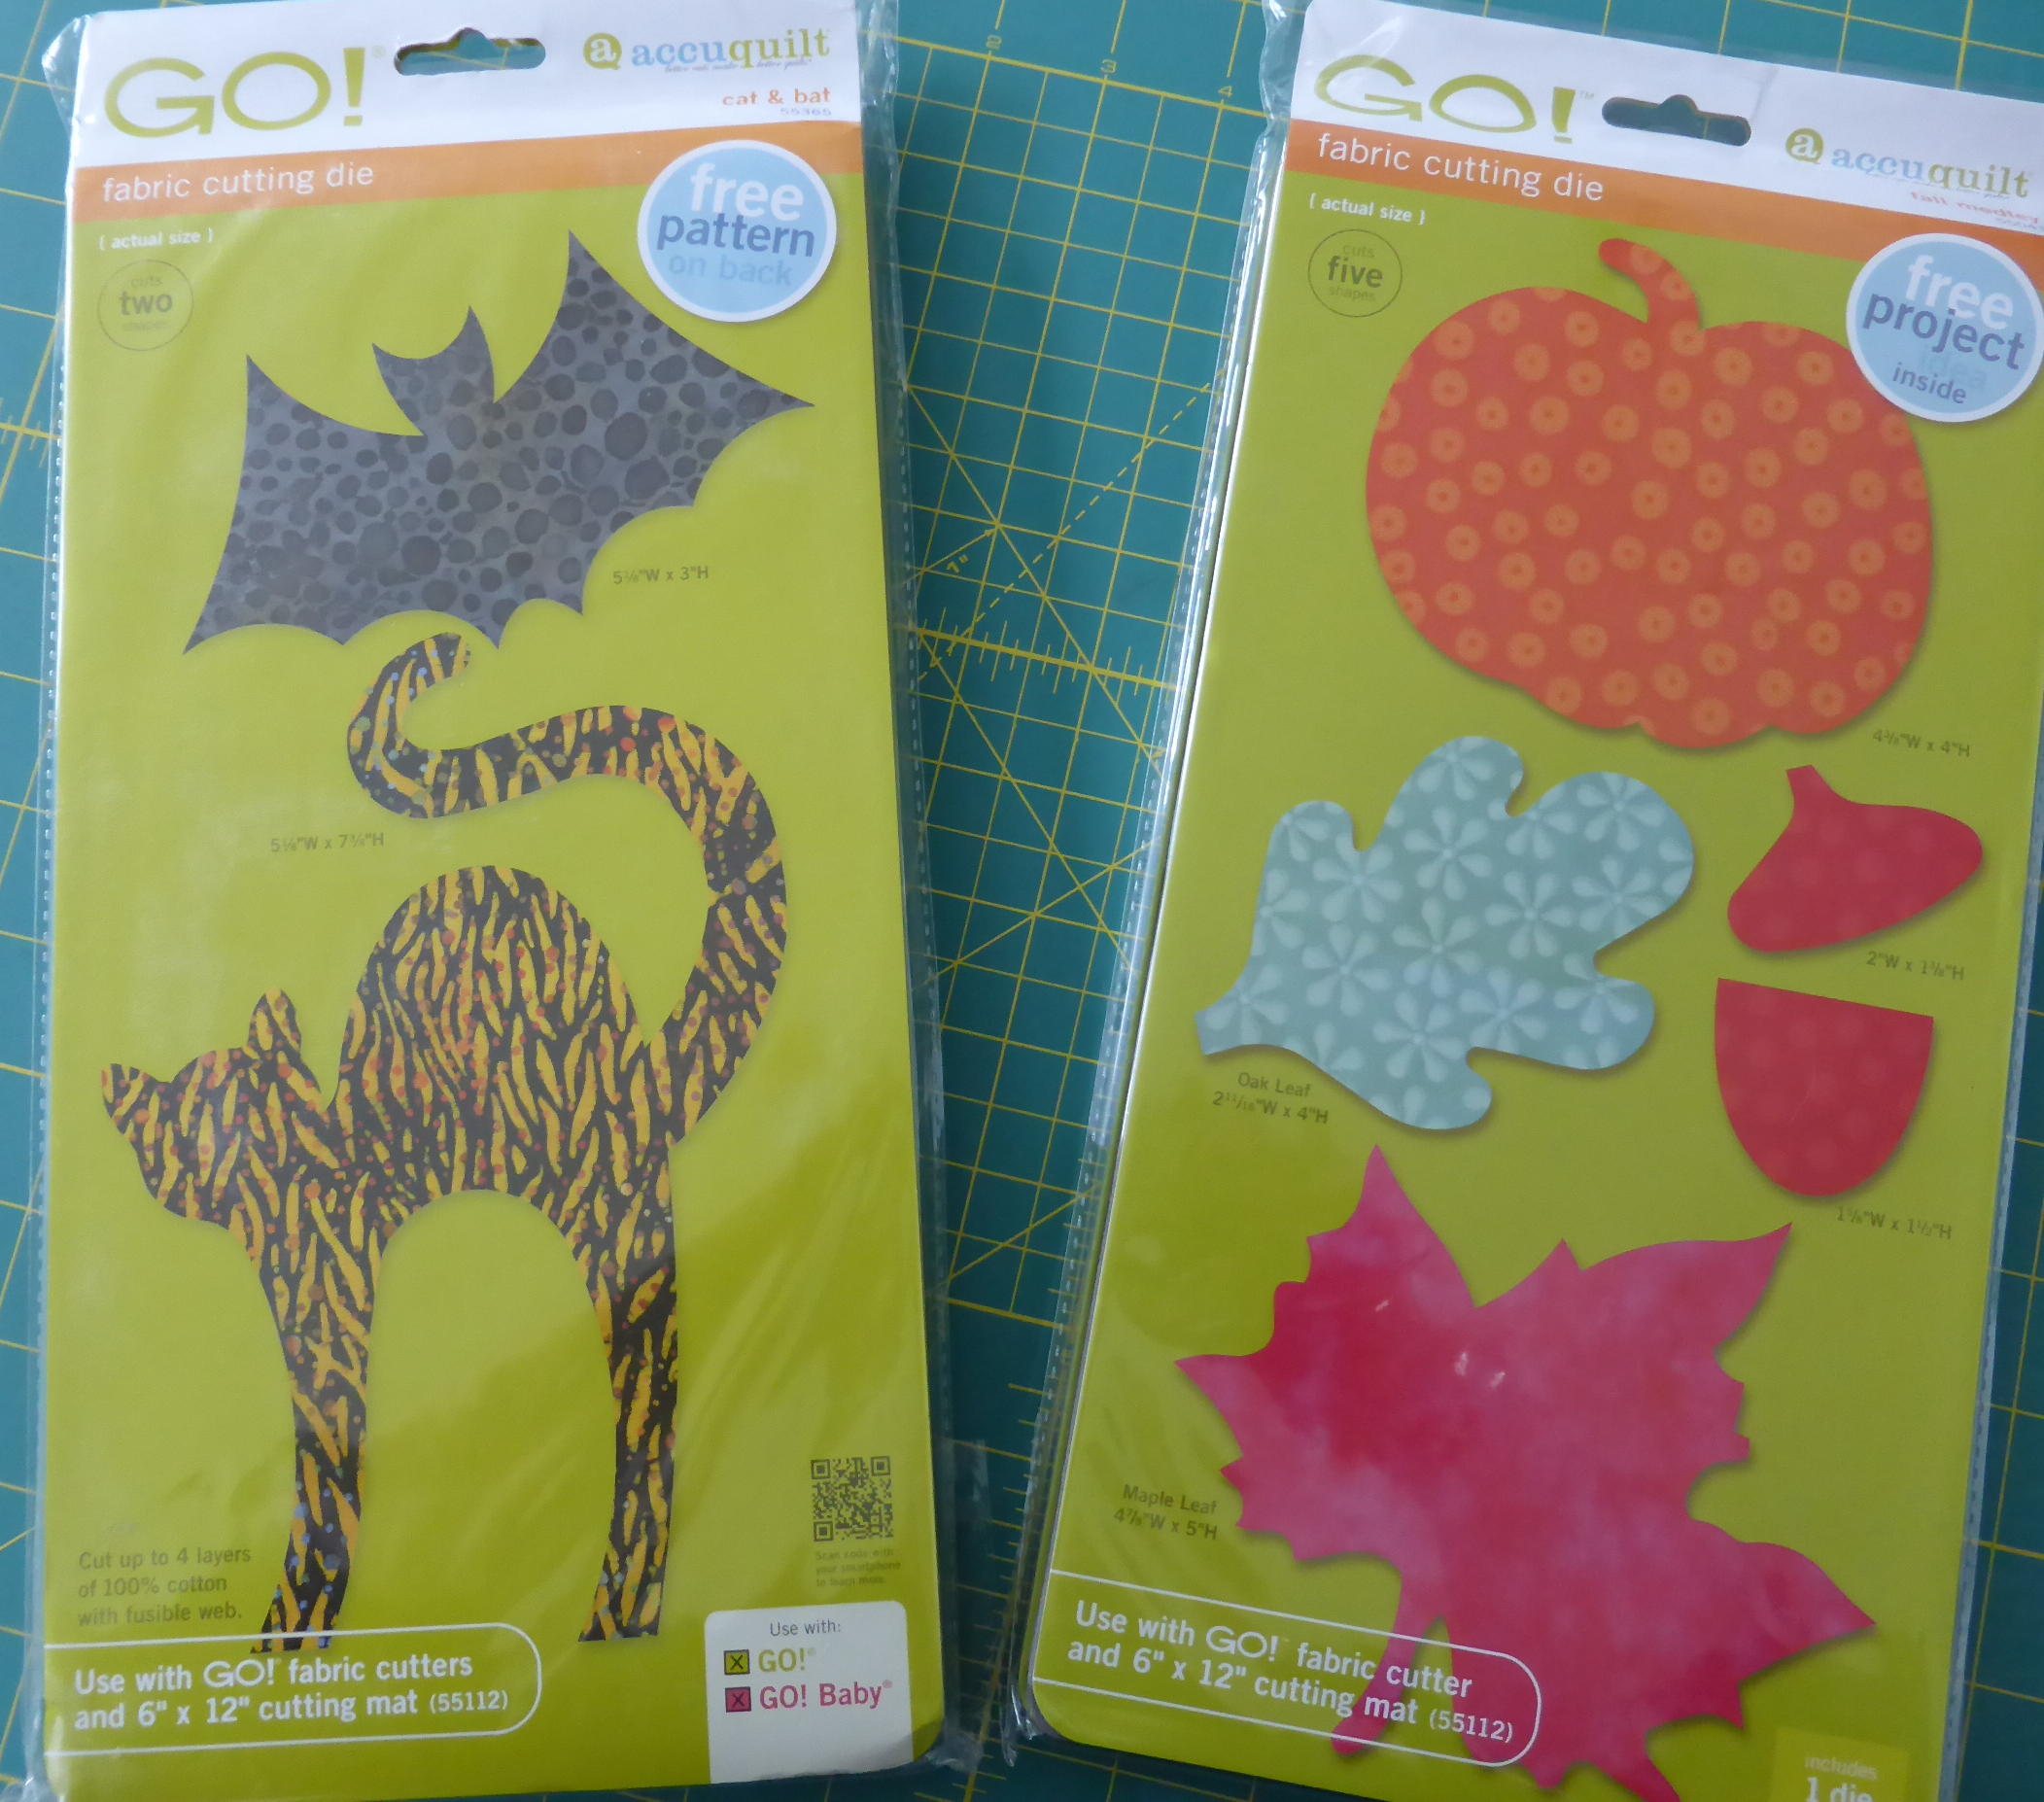
I used my Accuquilt GO! cutter and two dies.
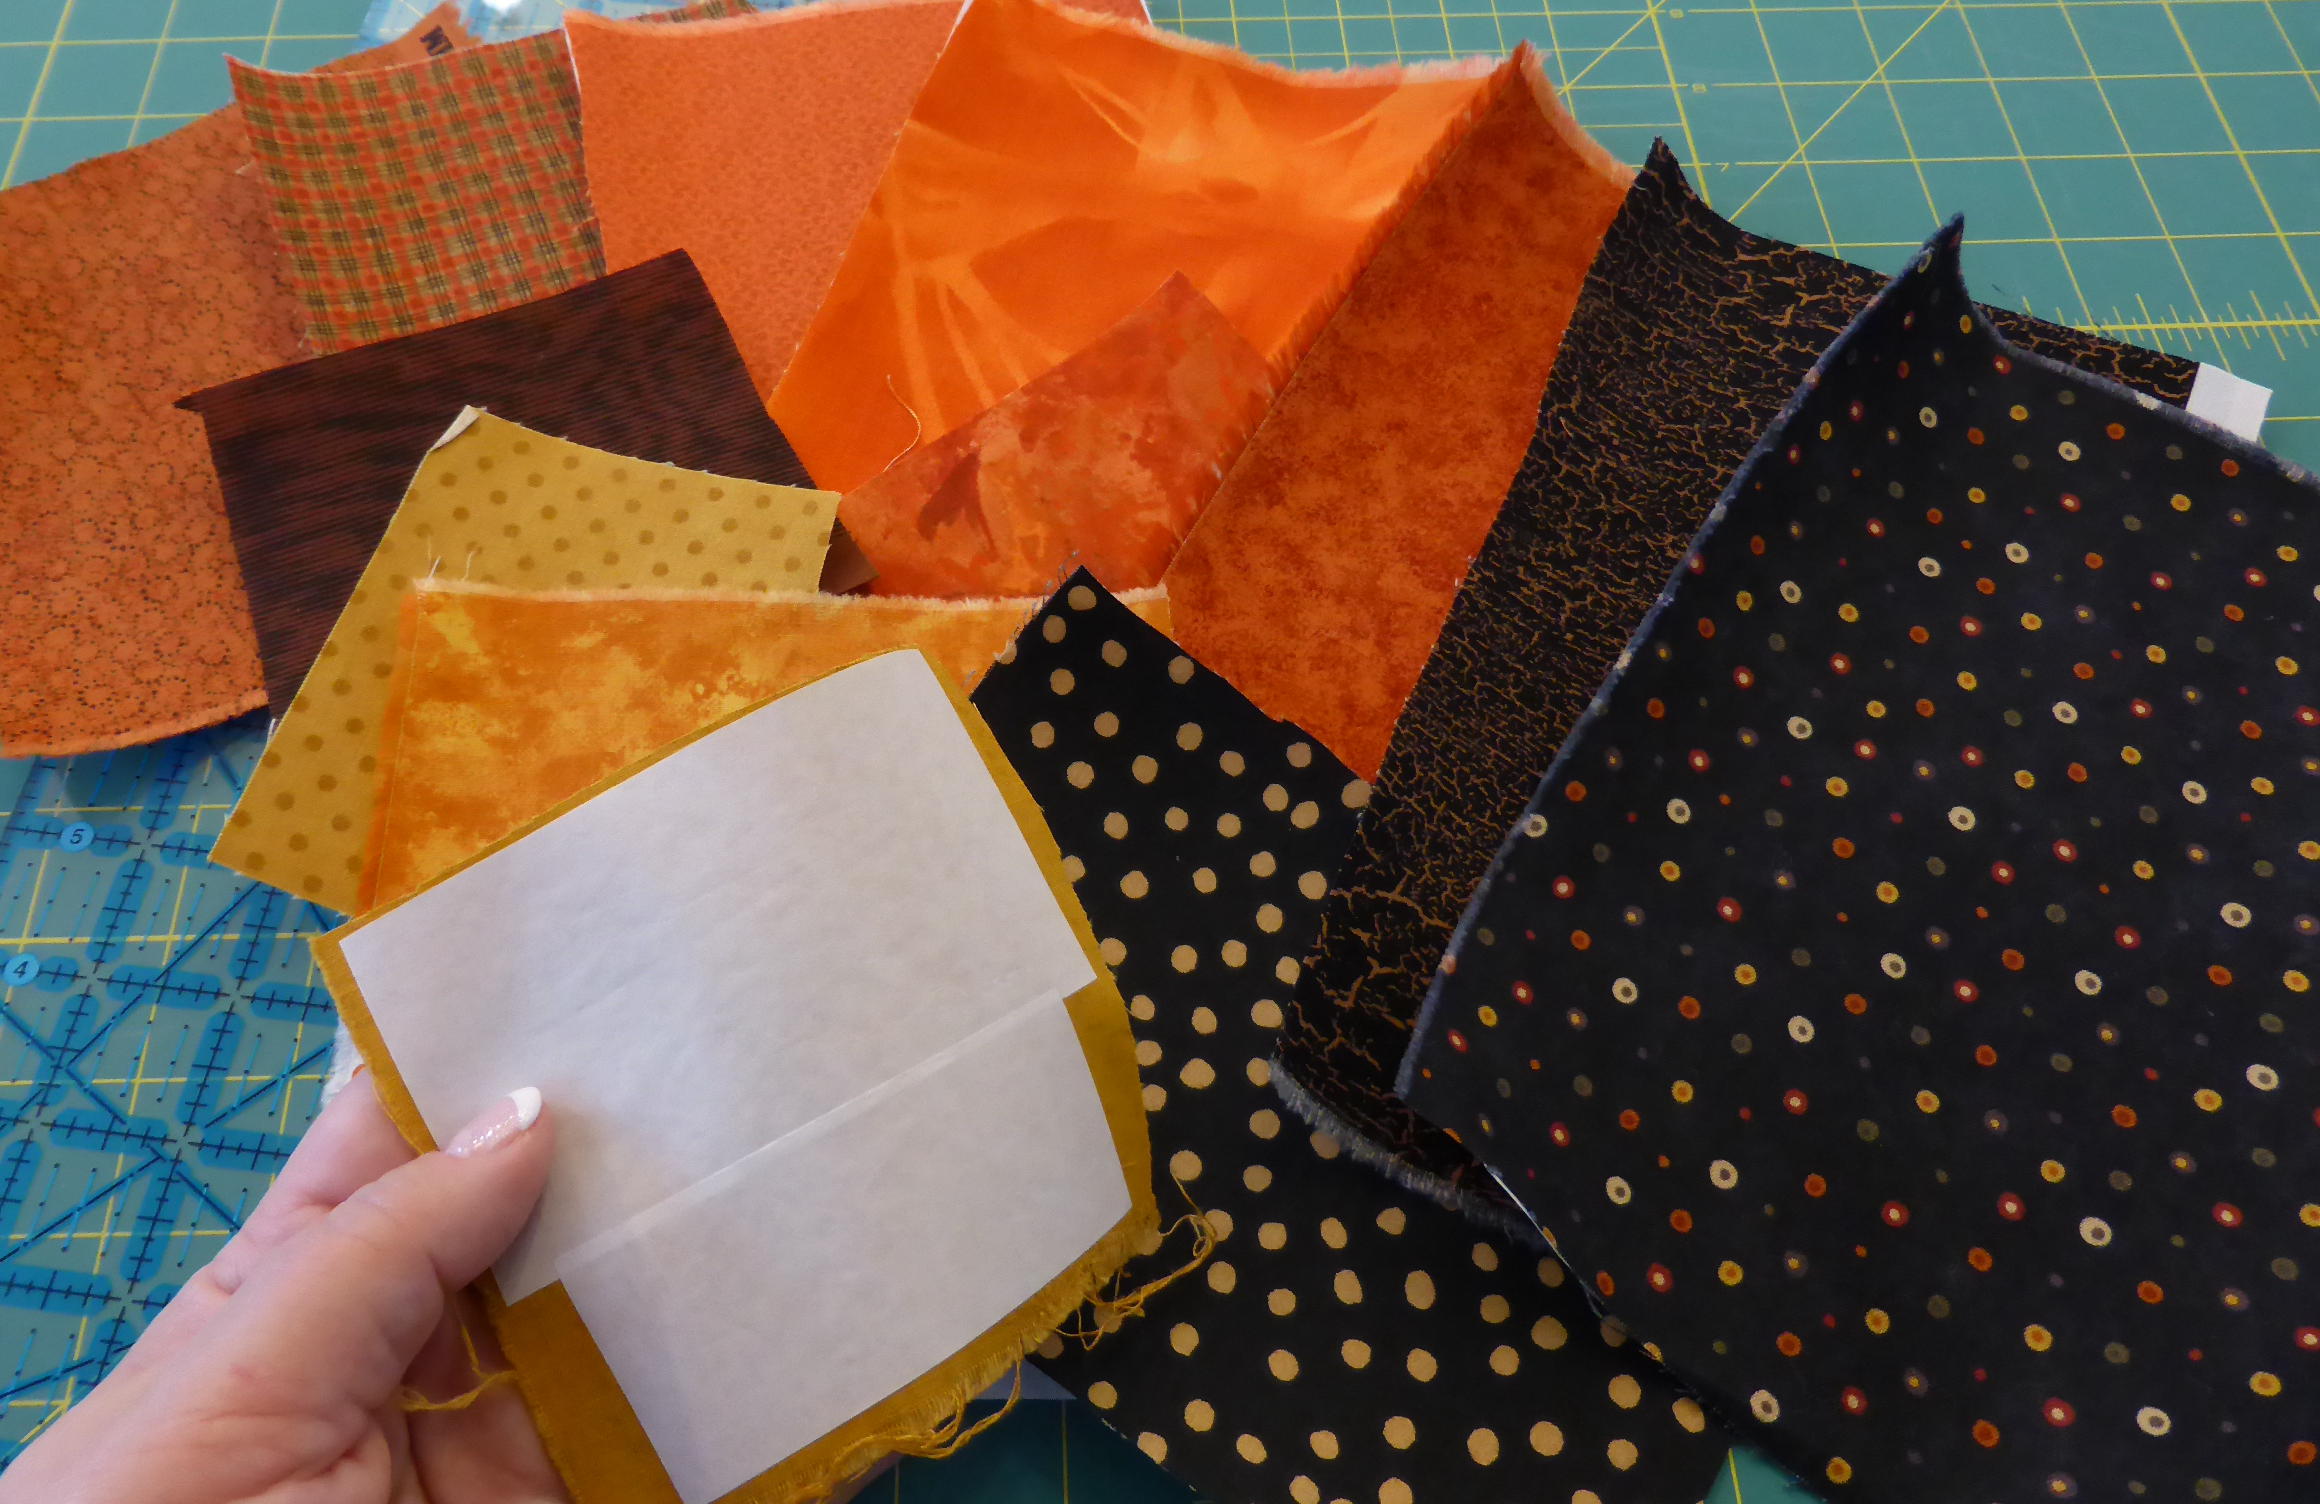
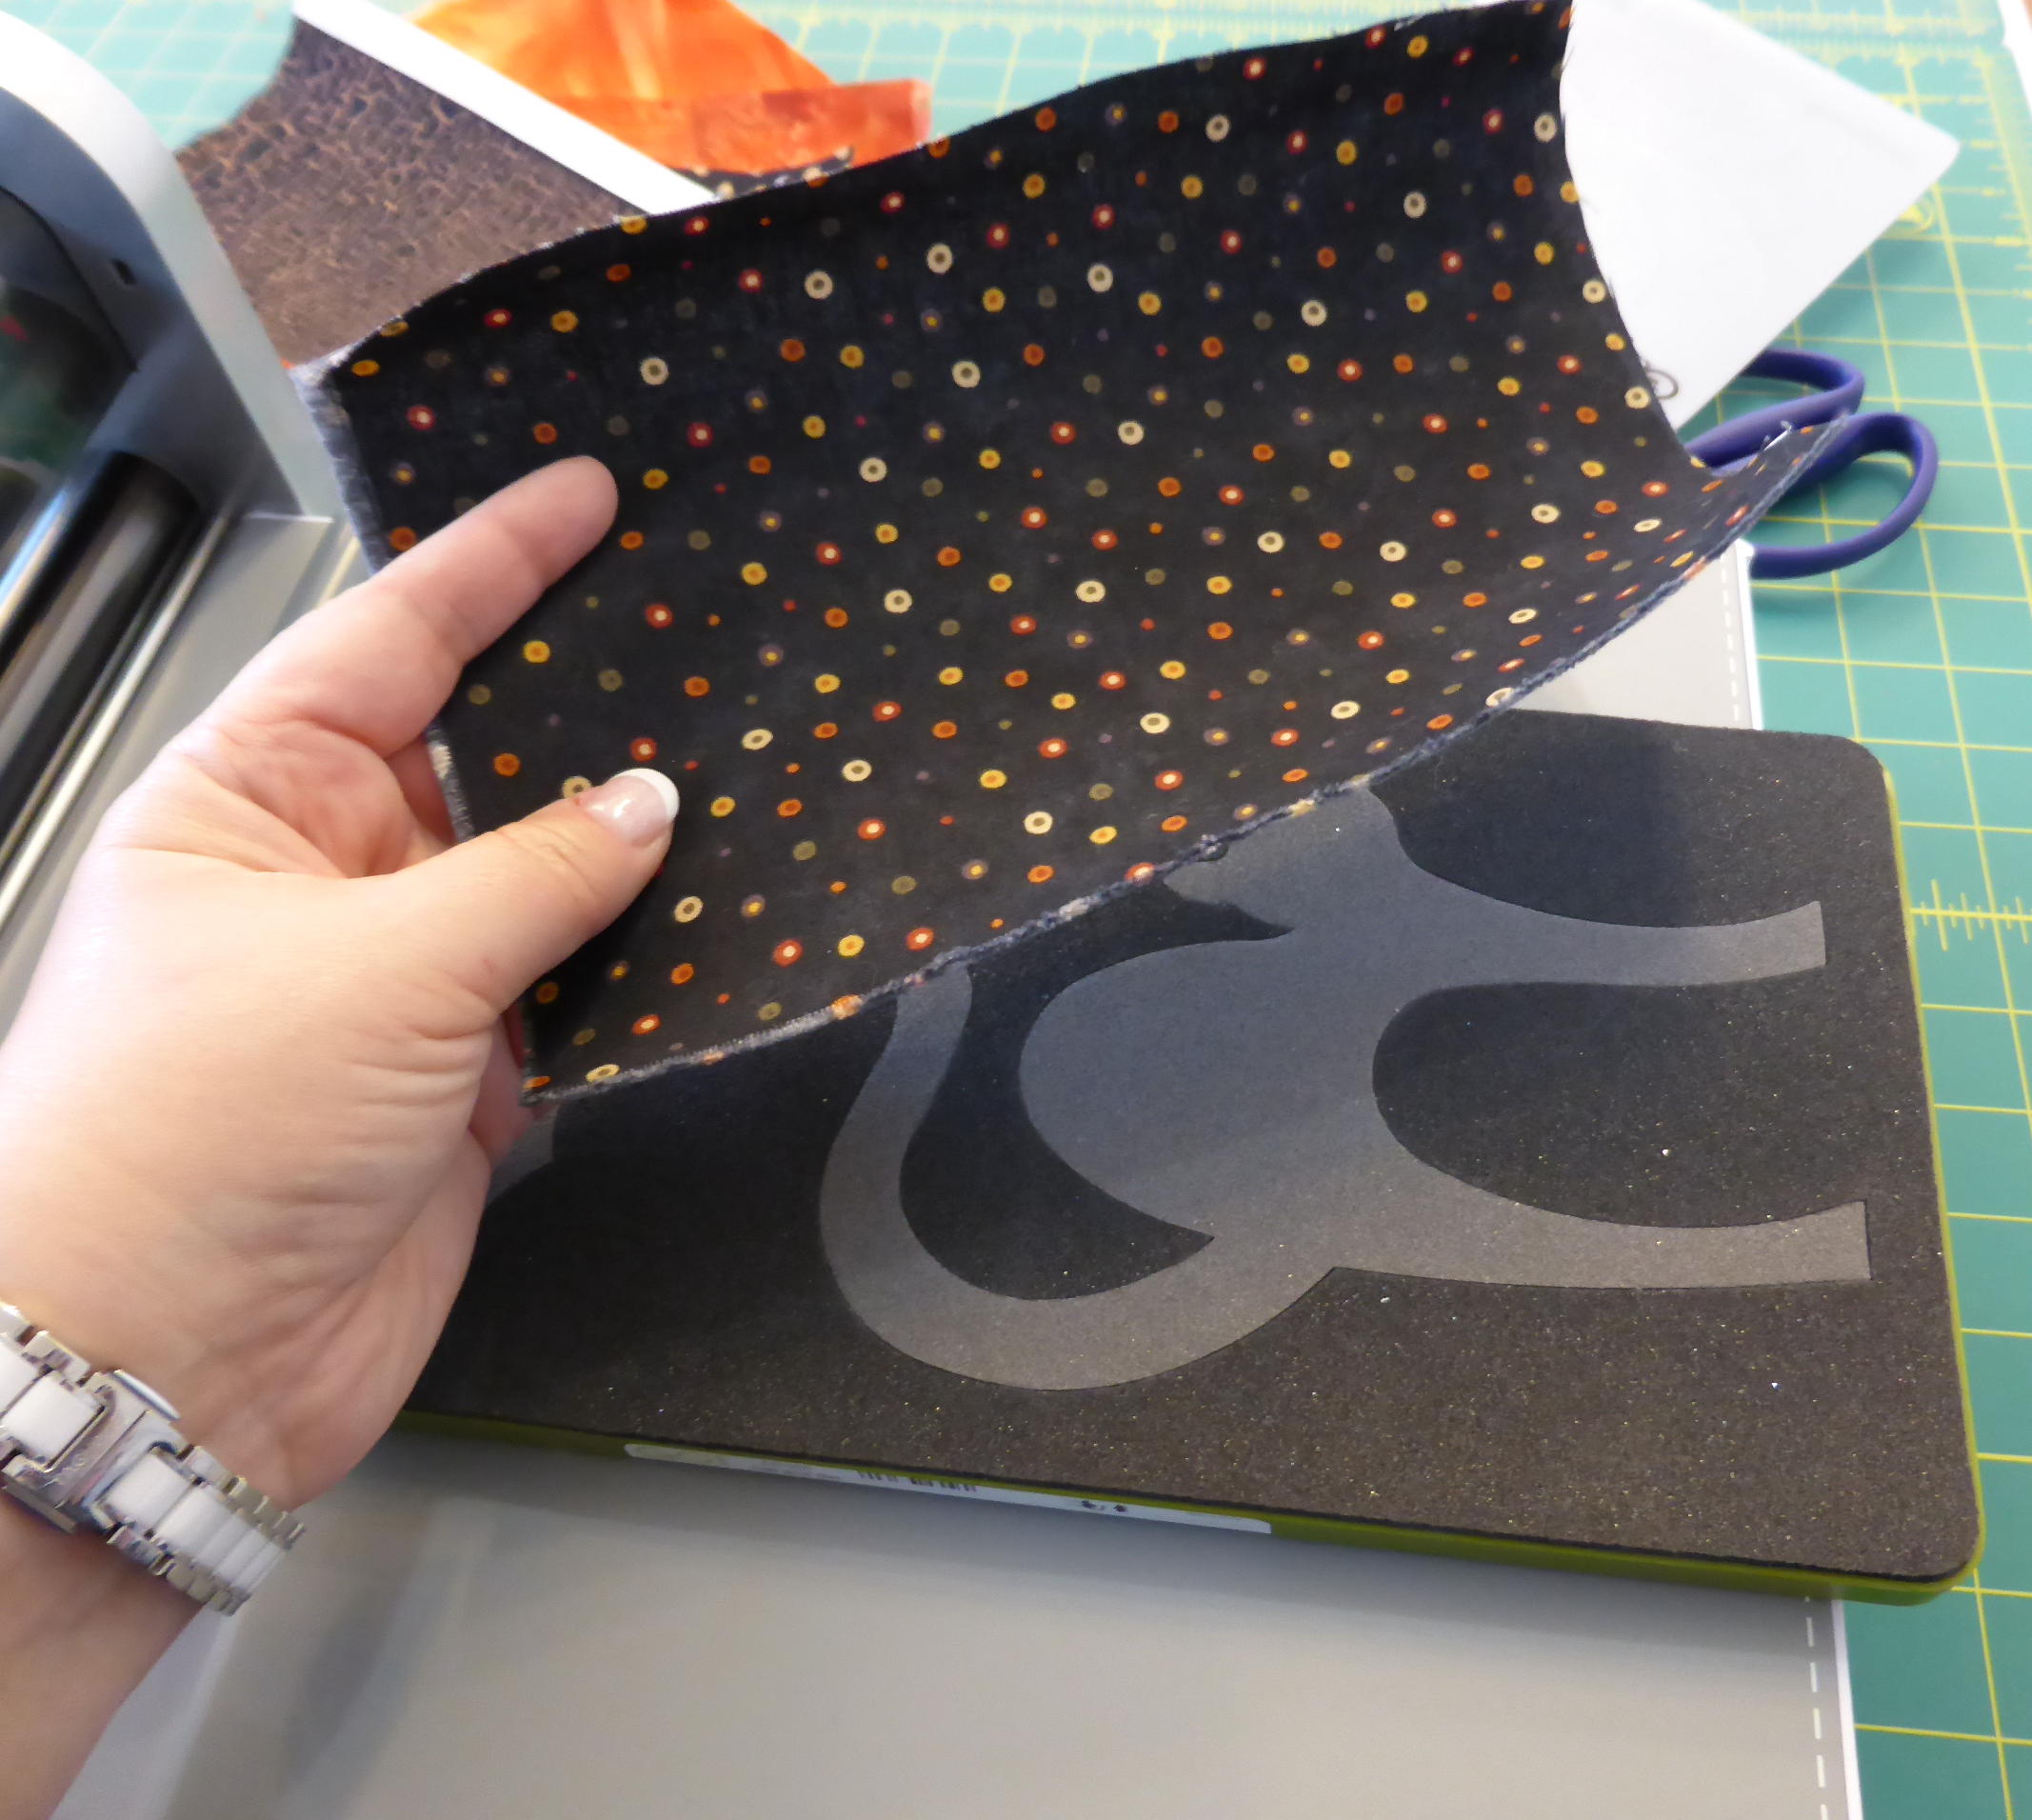
I ironed fusible web to the back of the small pieces
of fabric I planned to use for the applique shapes.
The truth is I just love using my Accuquilt GO! cutter
especially for applique shapes! It takes just seconds
to cut out the pieces you need and everything is so accurate!
With a turn of the hand crank you have
perfectly cut-and-ready shapes in seconds!
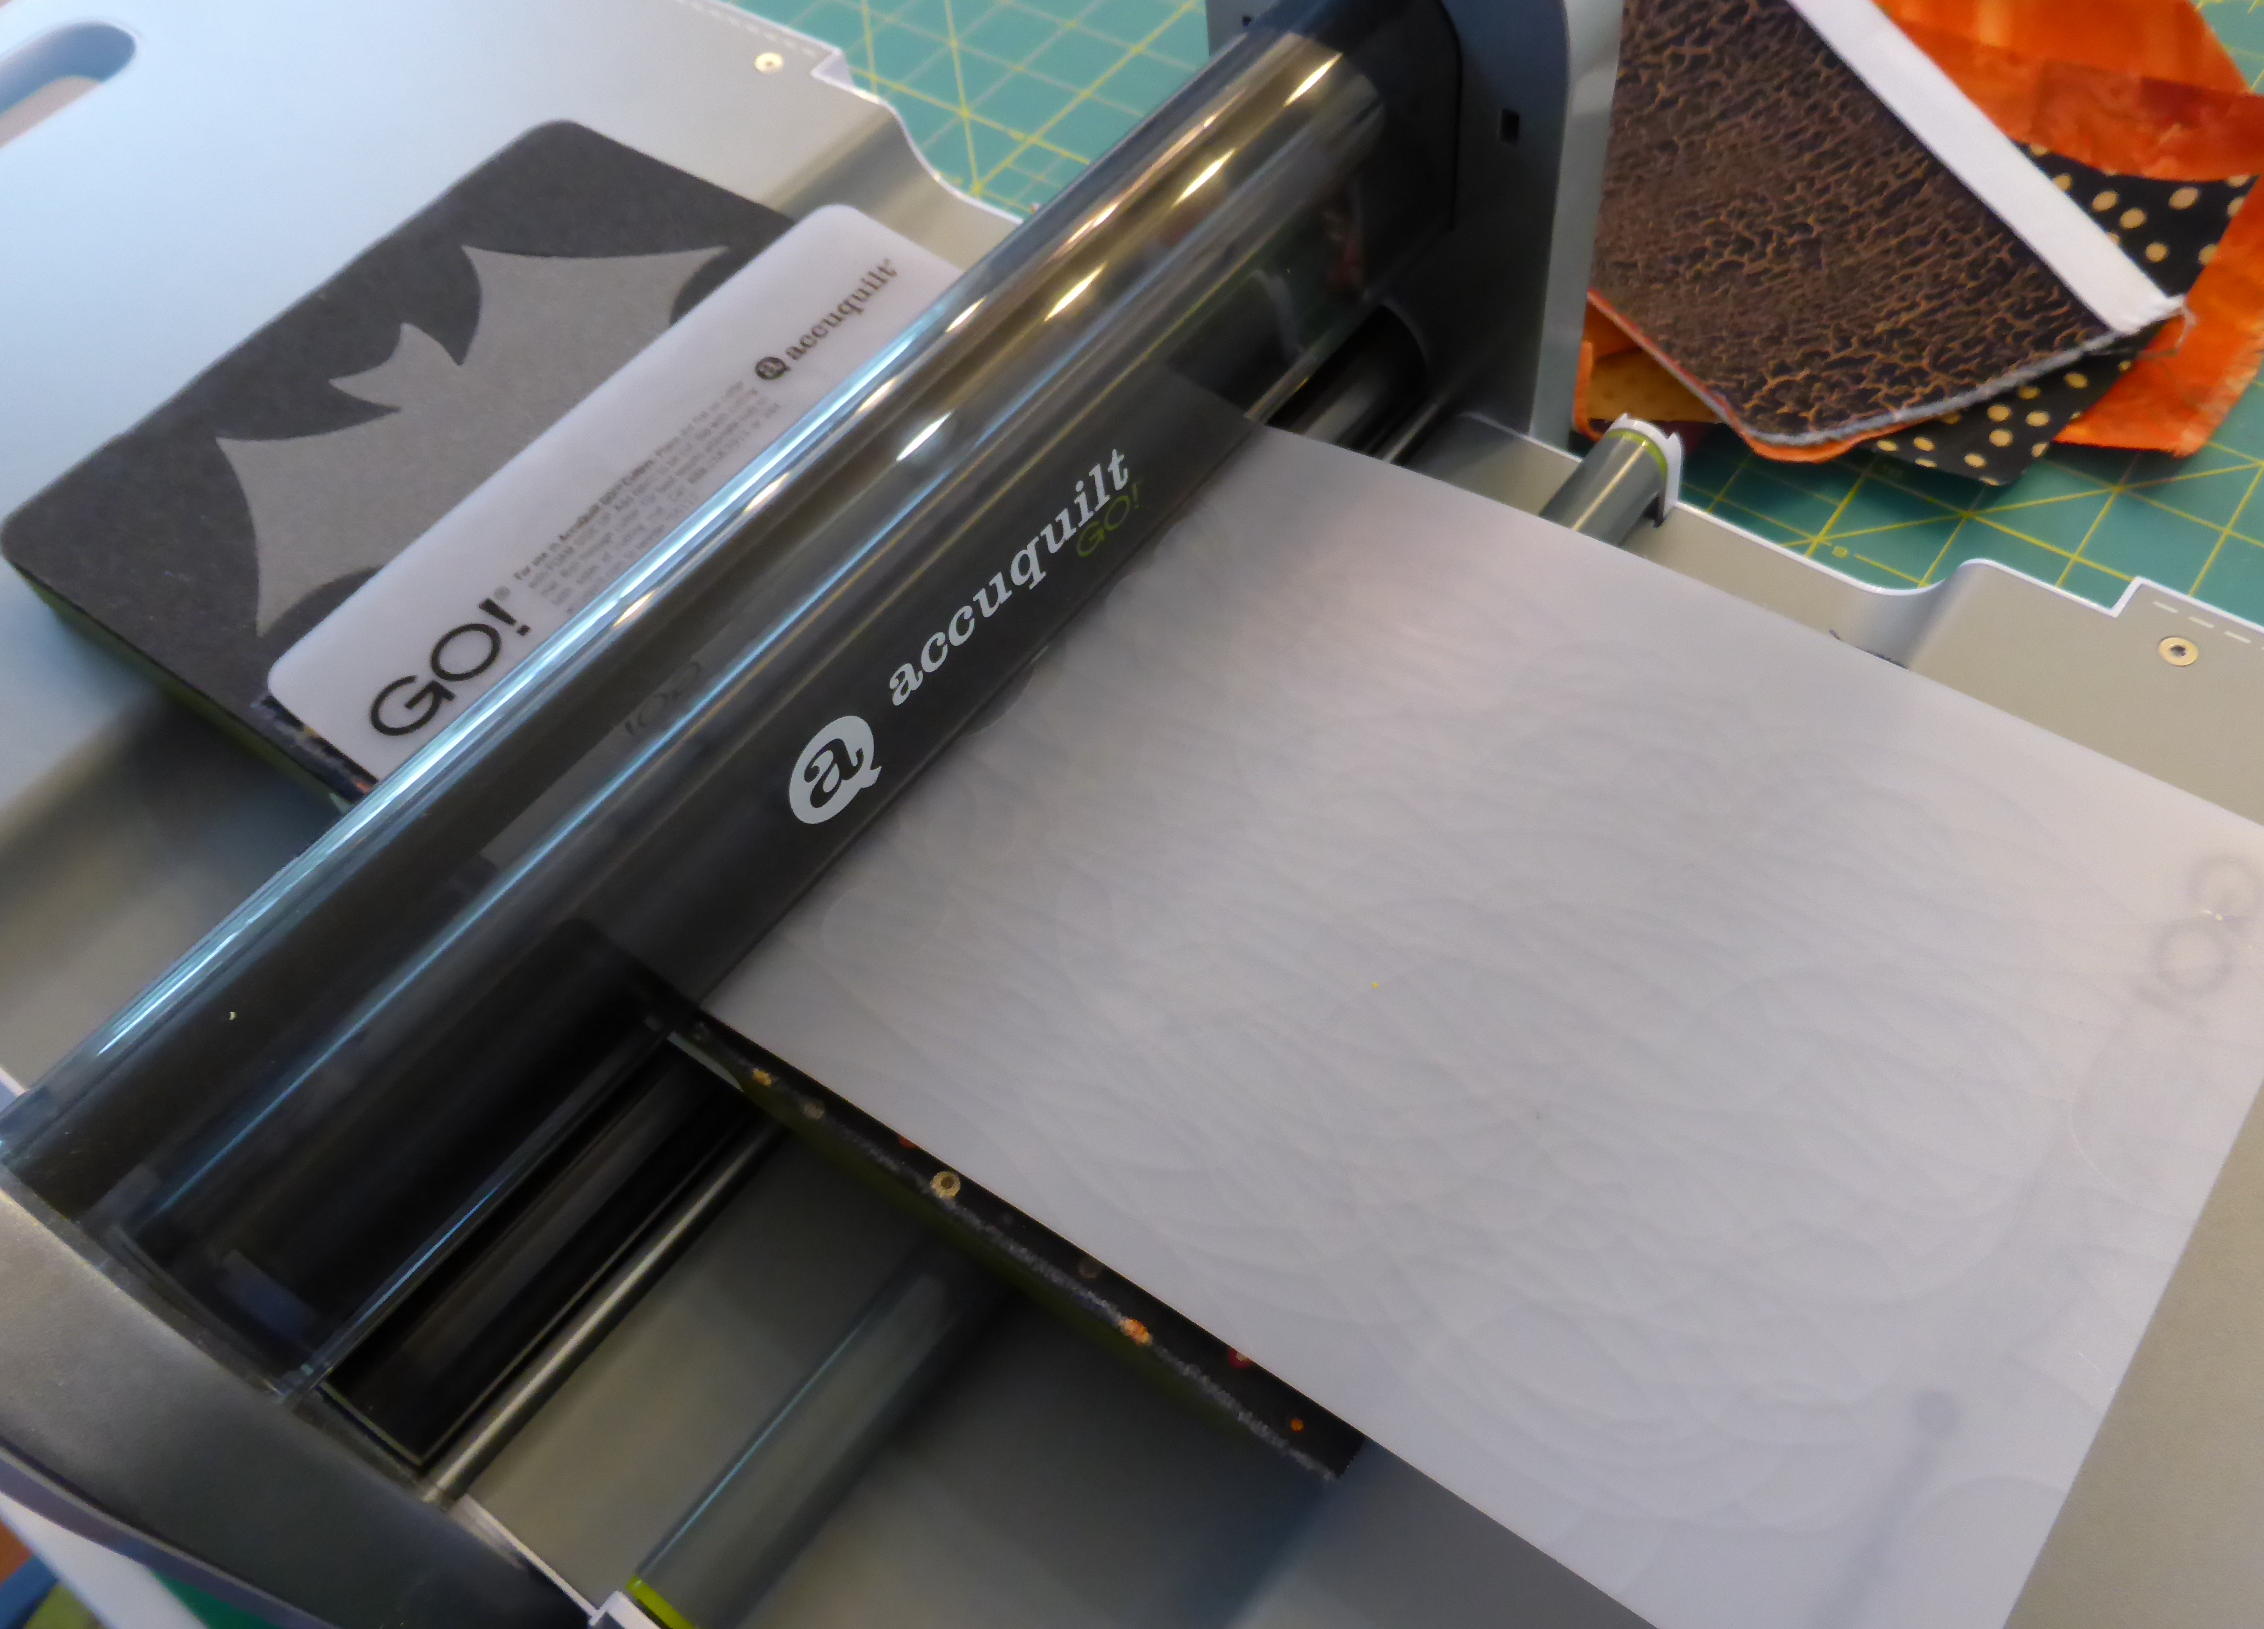
So easy and totally fun!
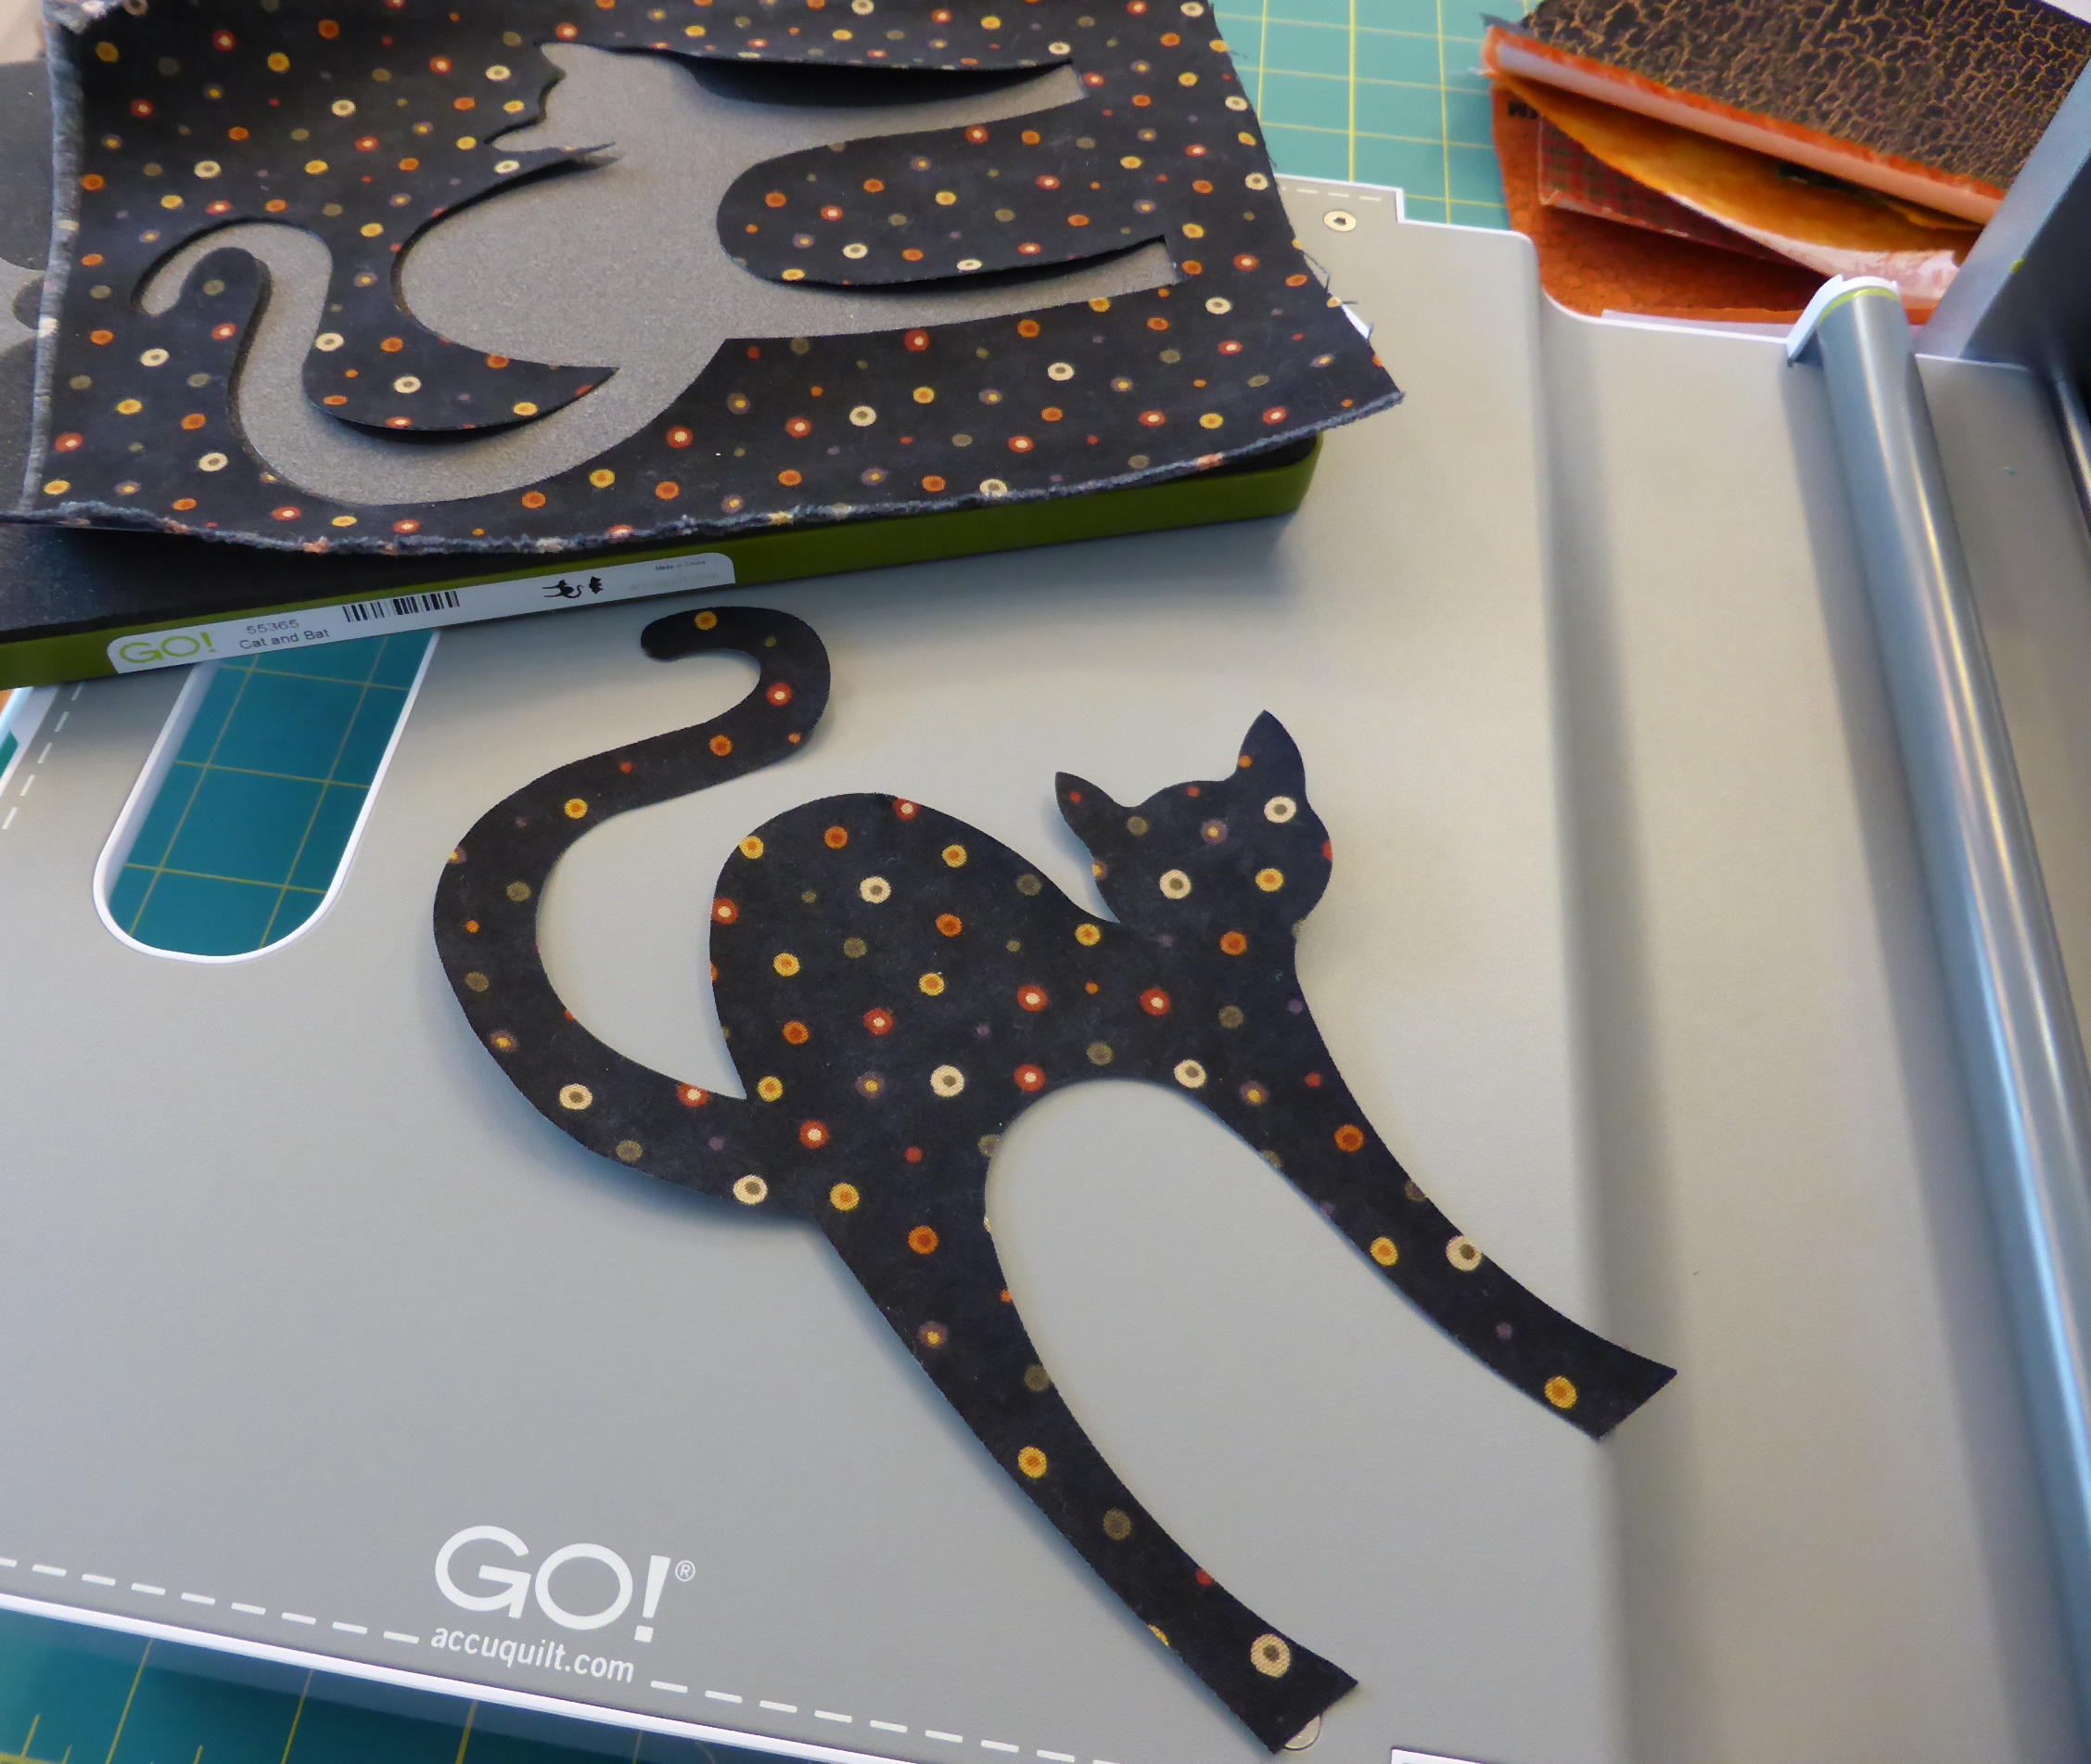
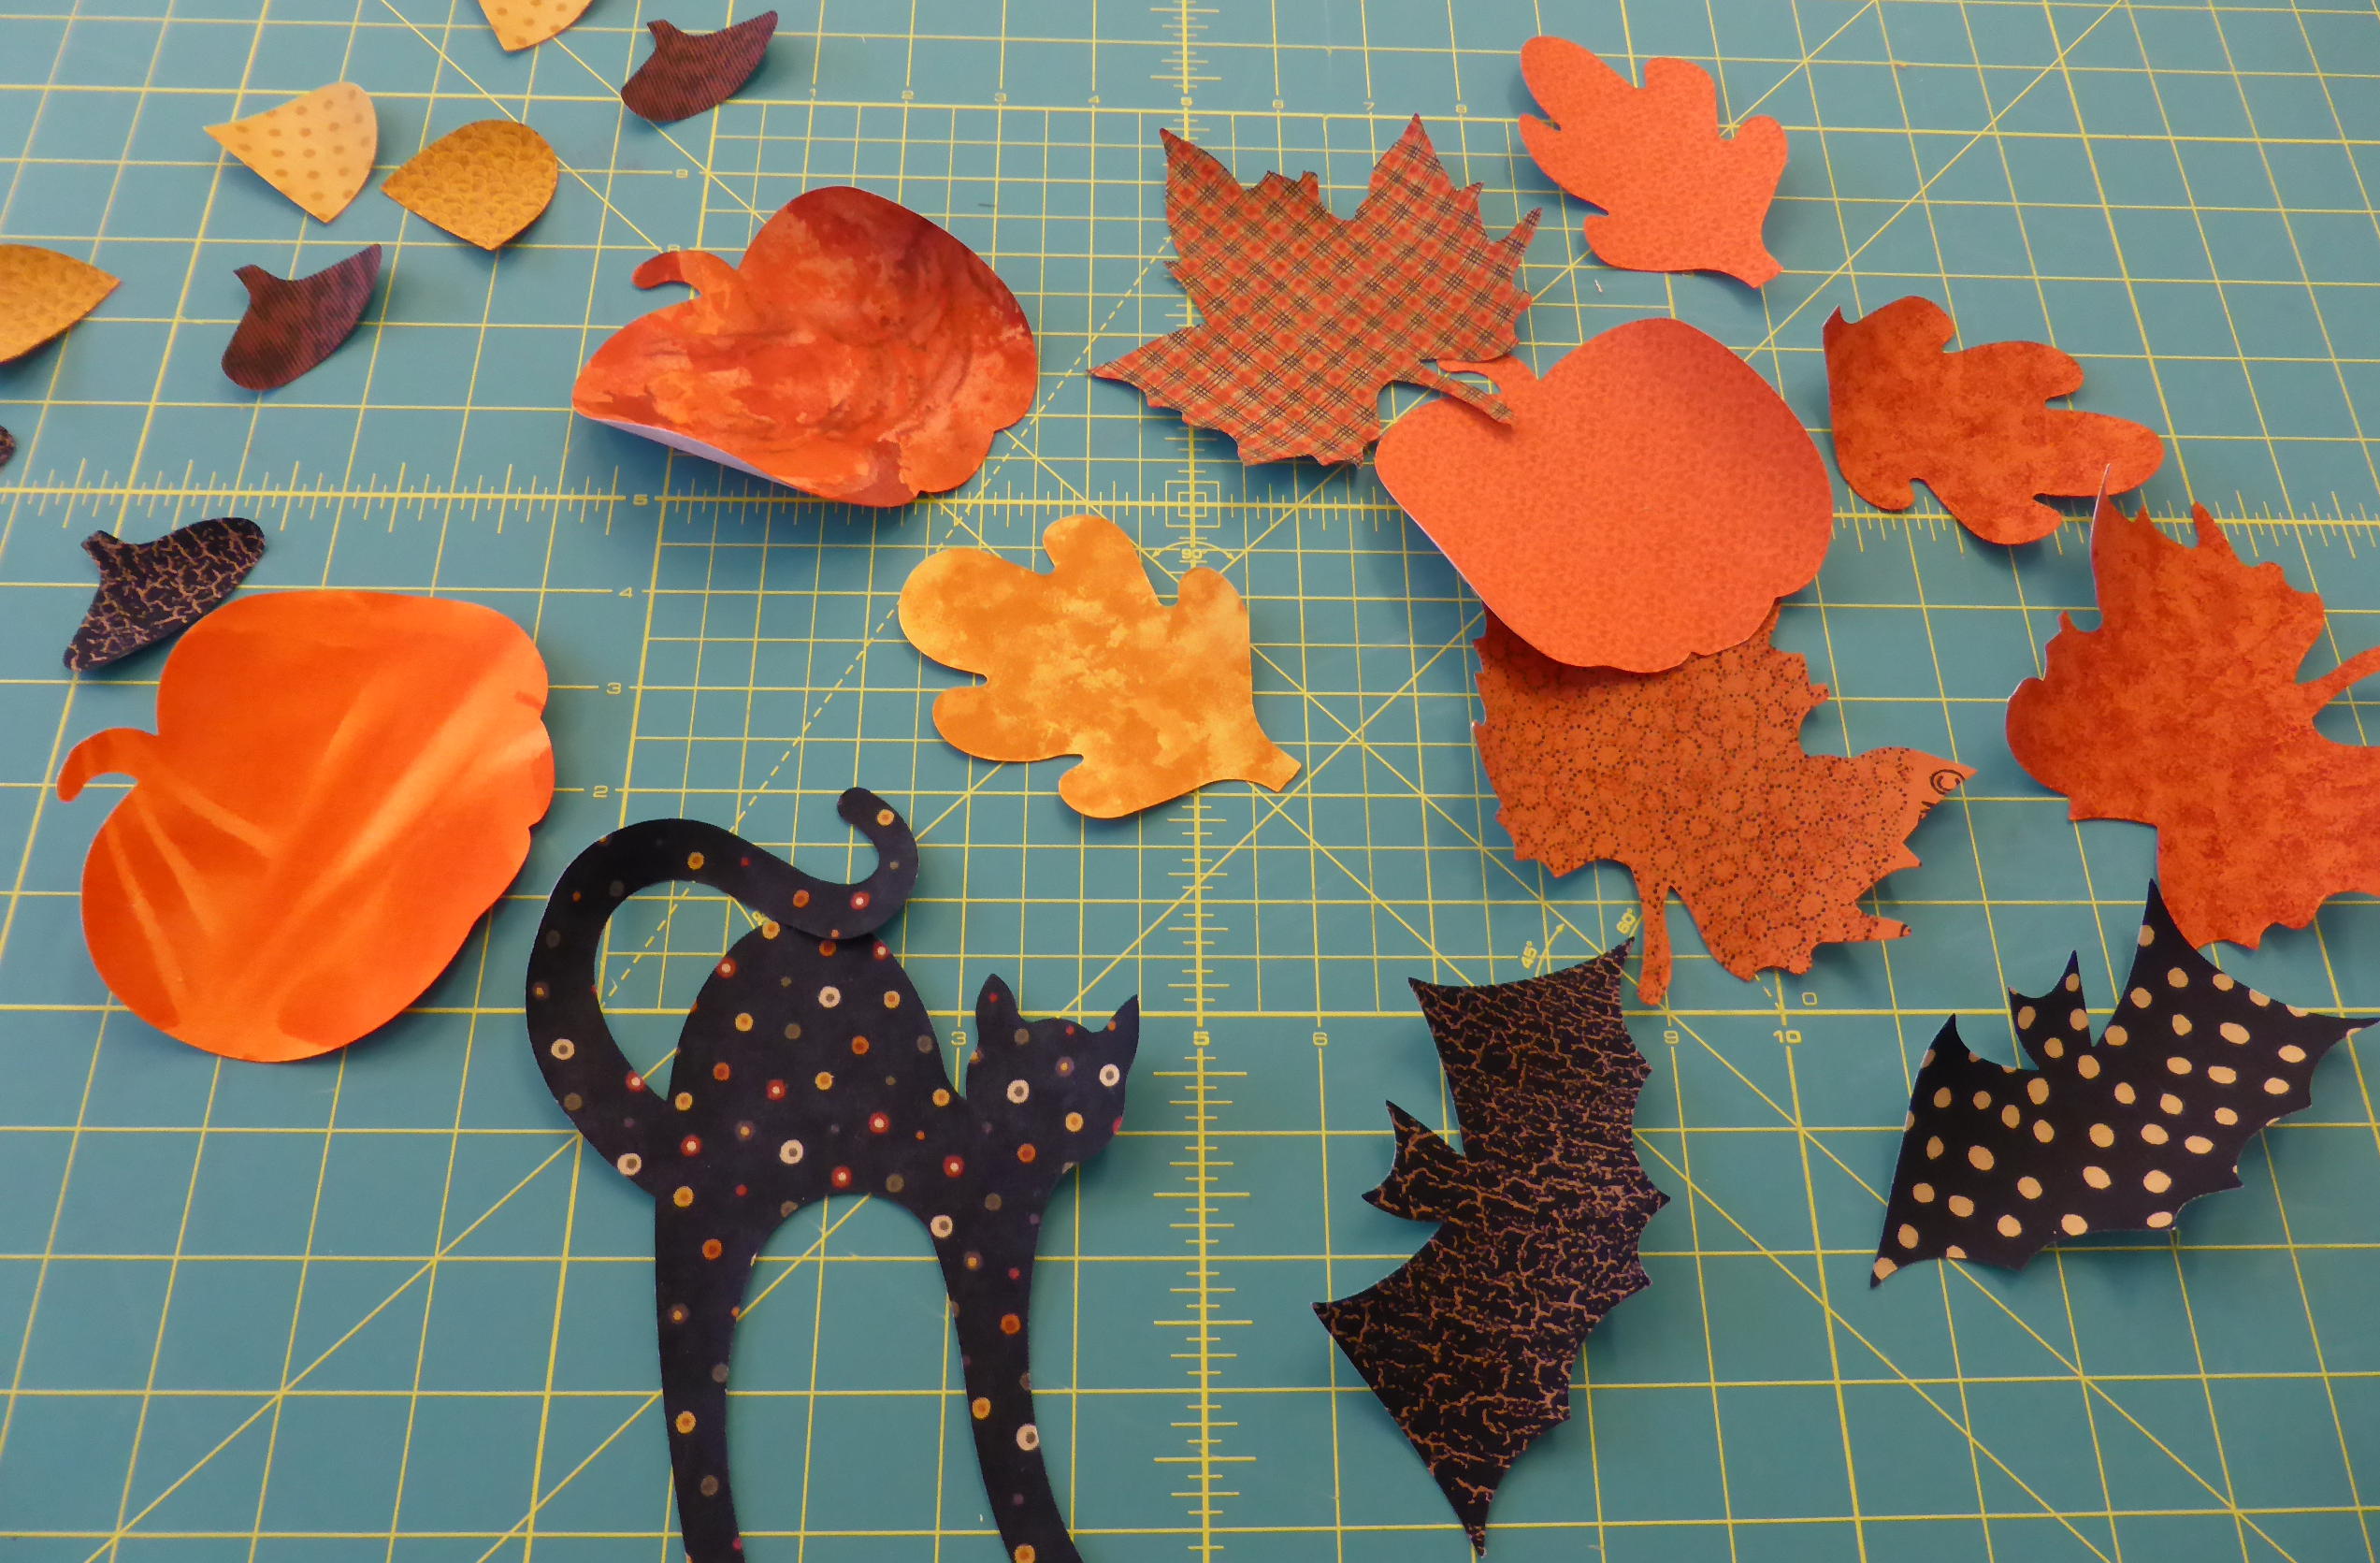
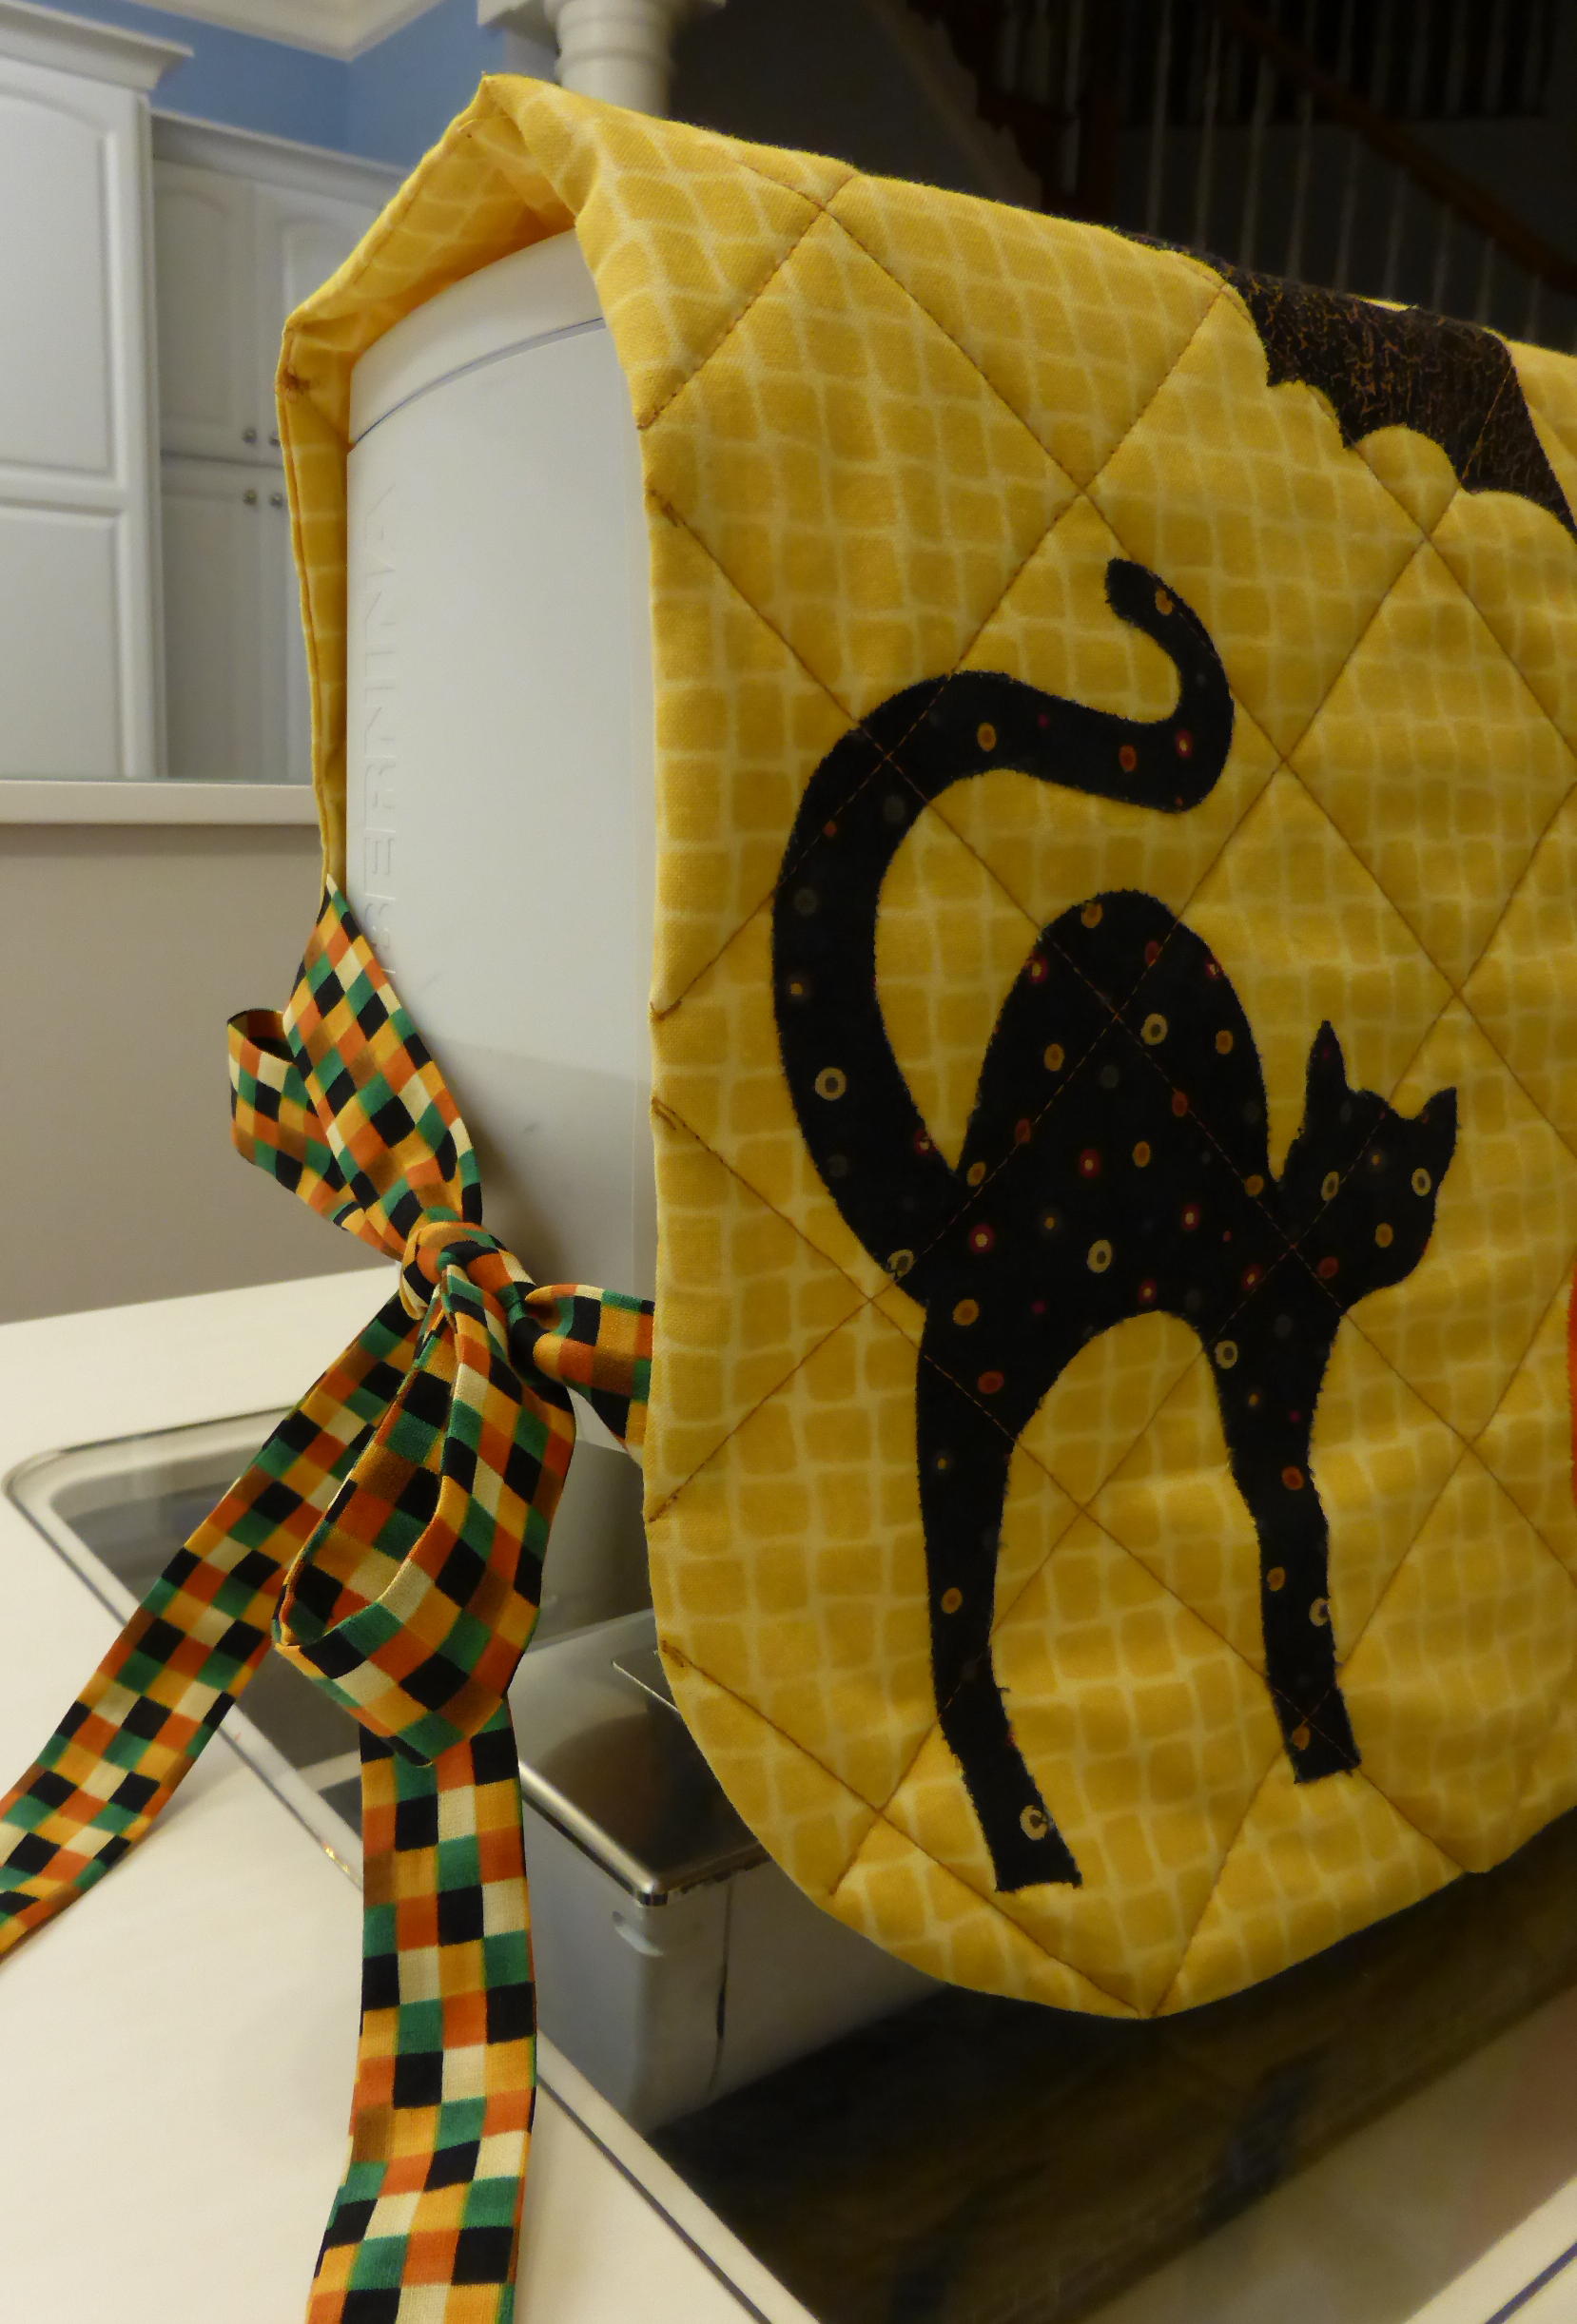
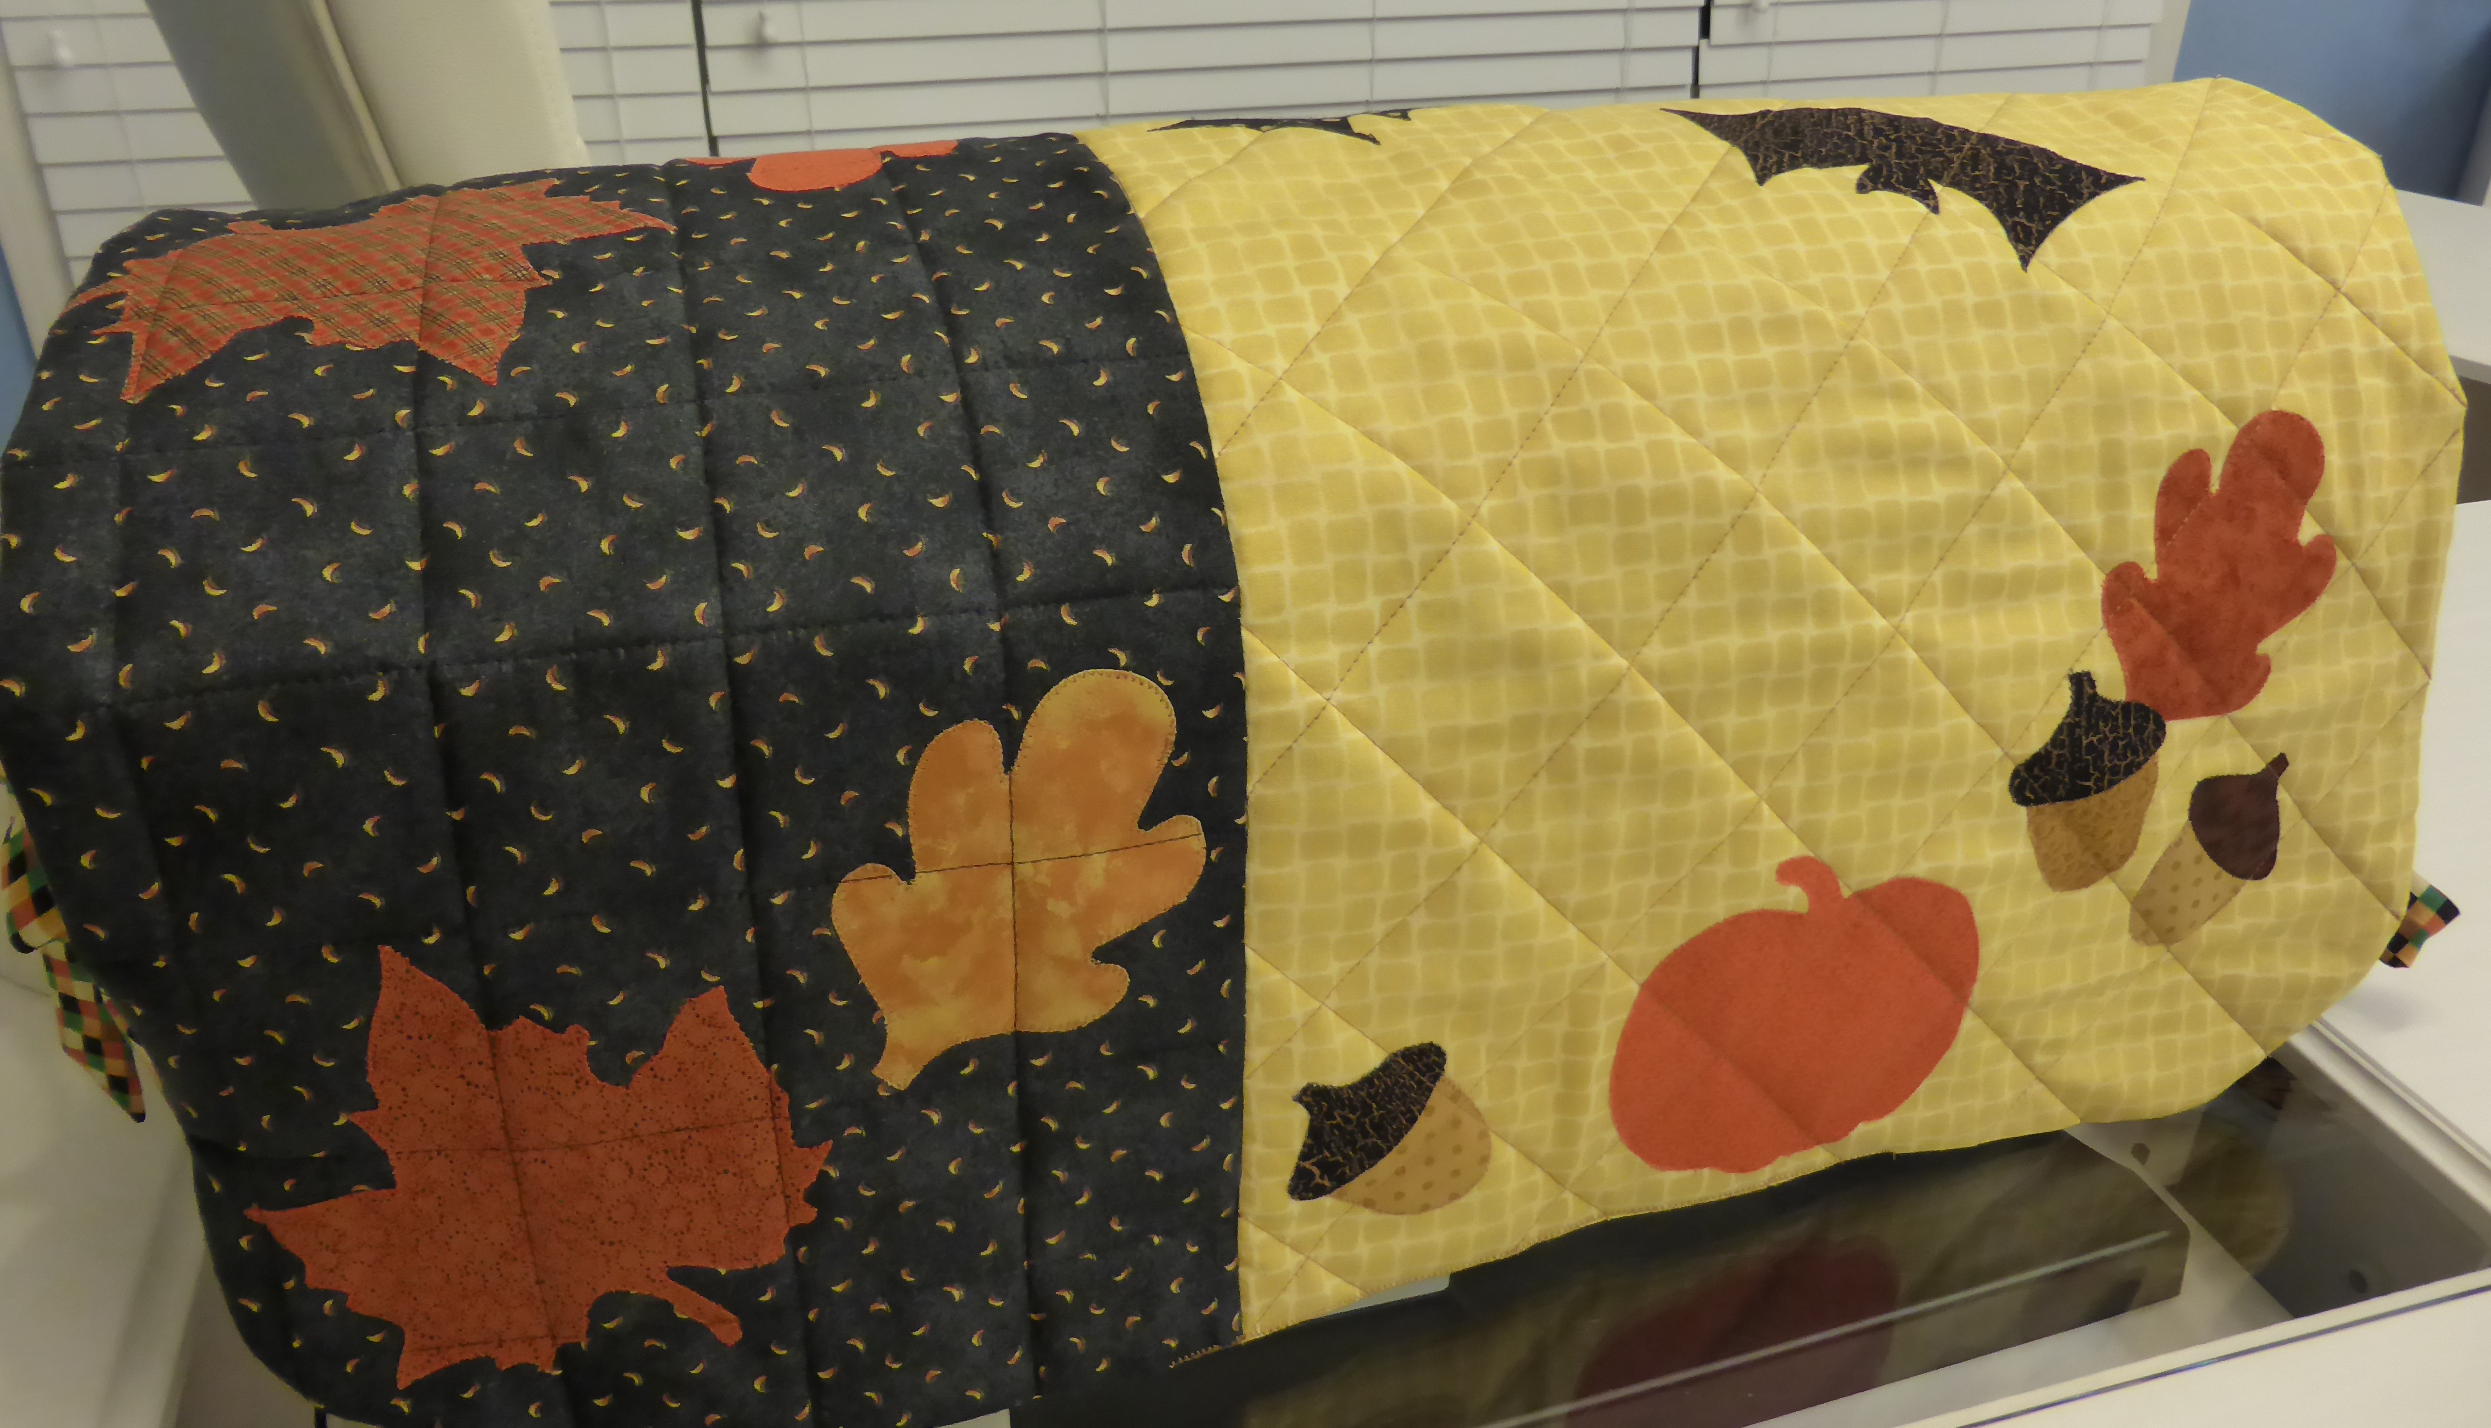
Cats, bats, pumpkins, leaves……
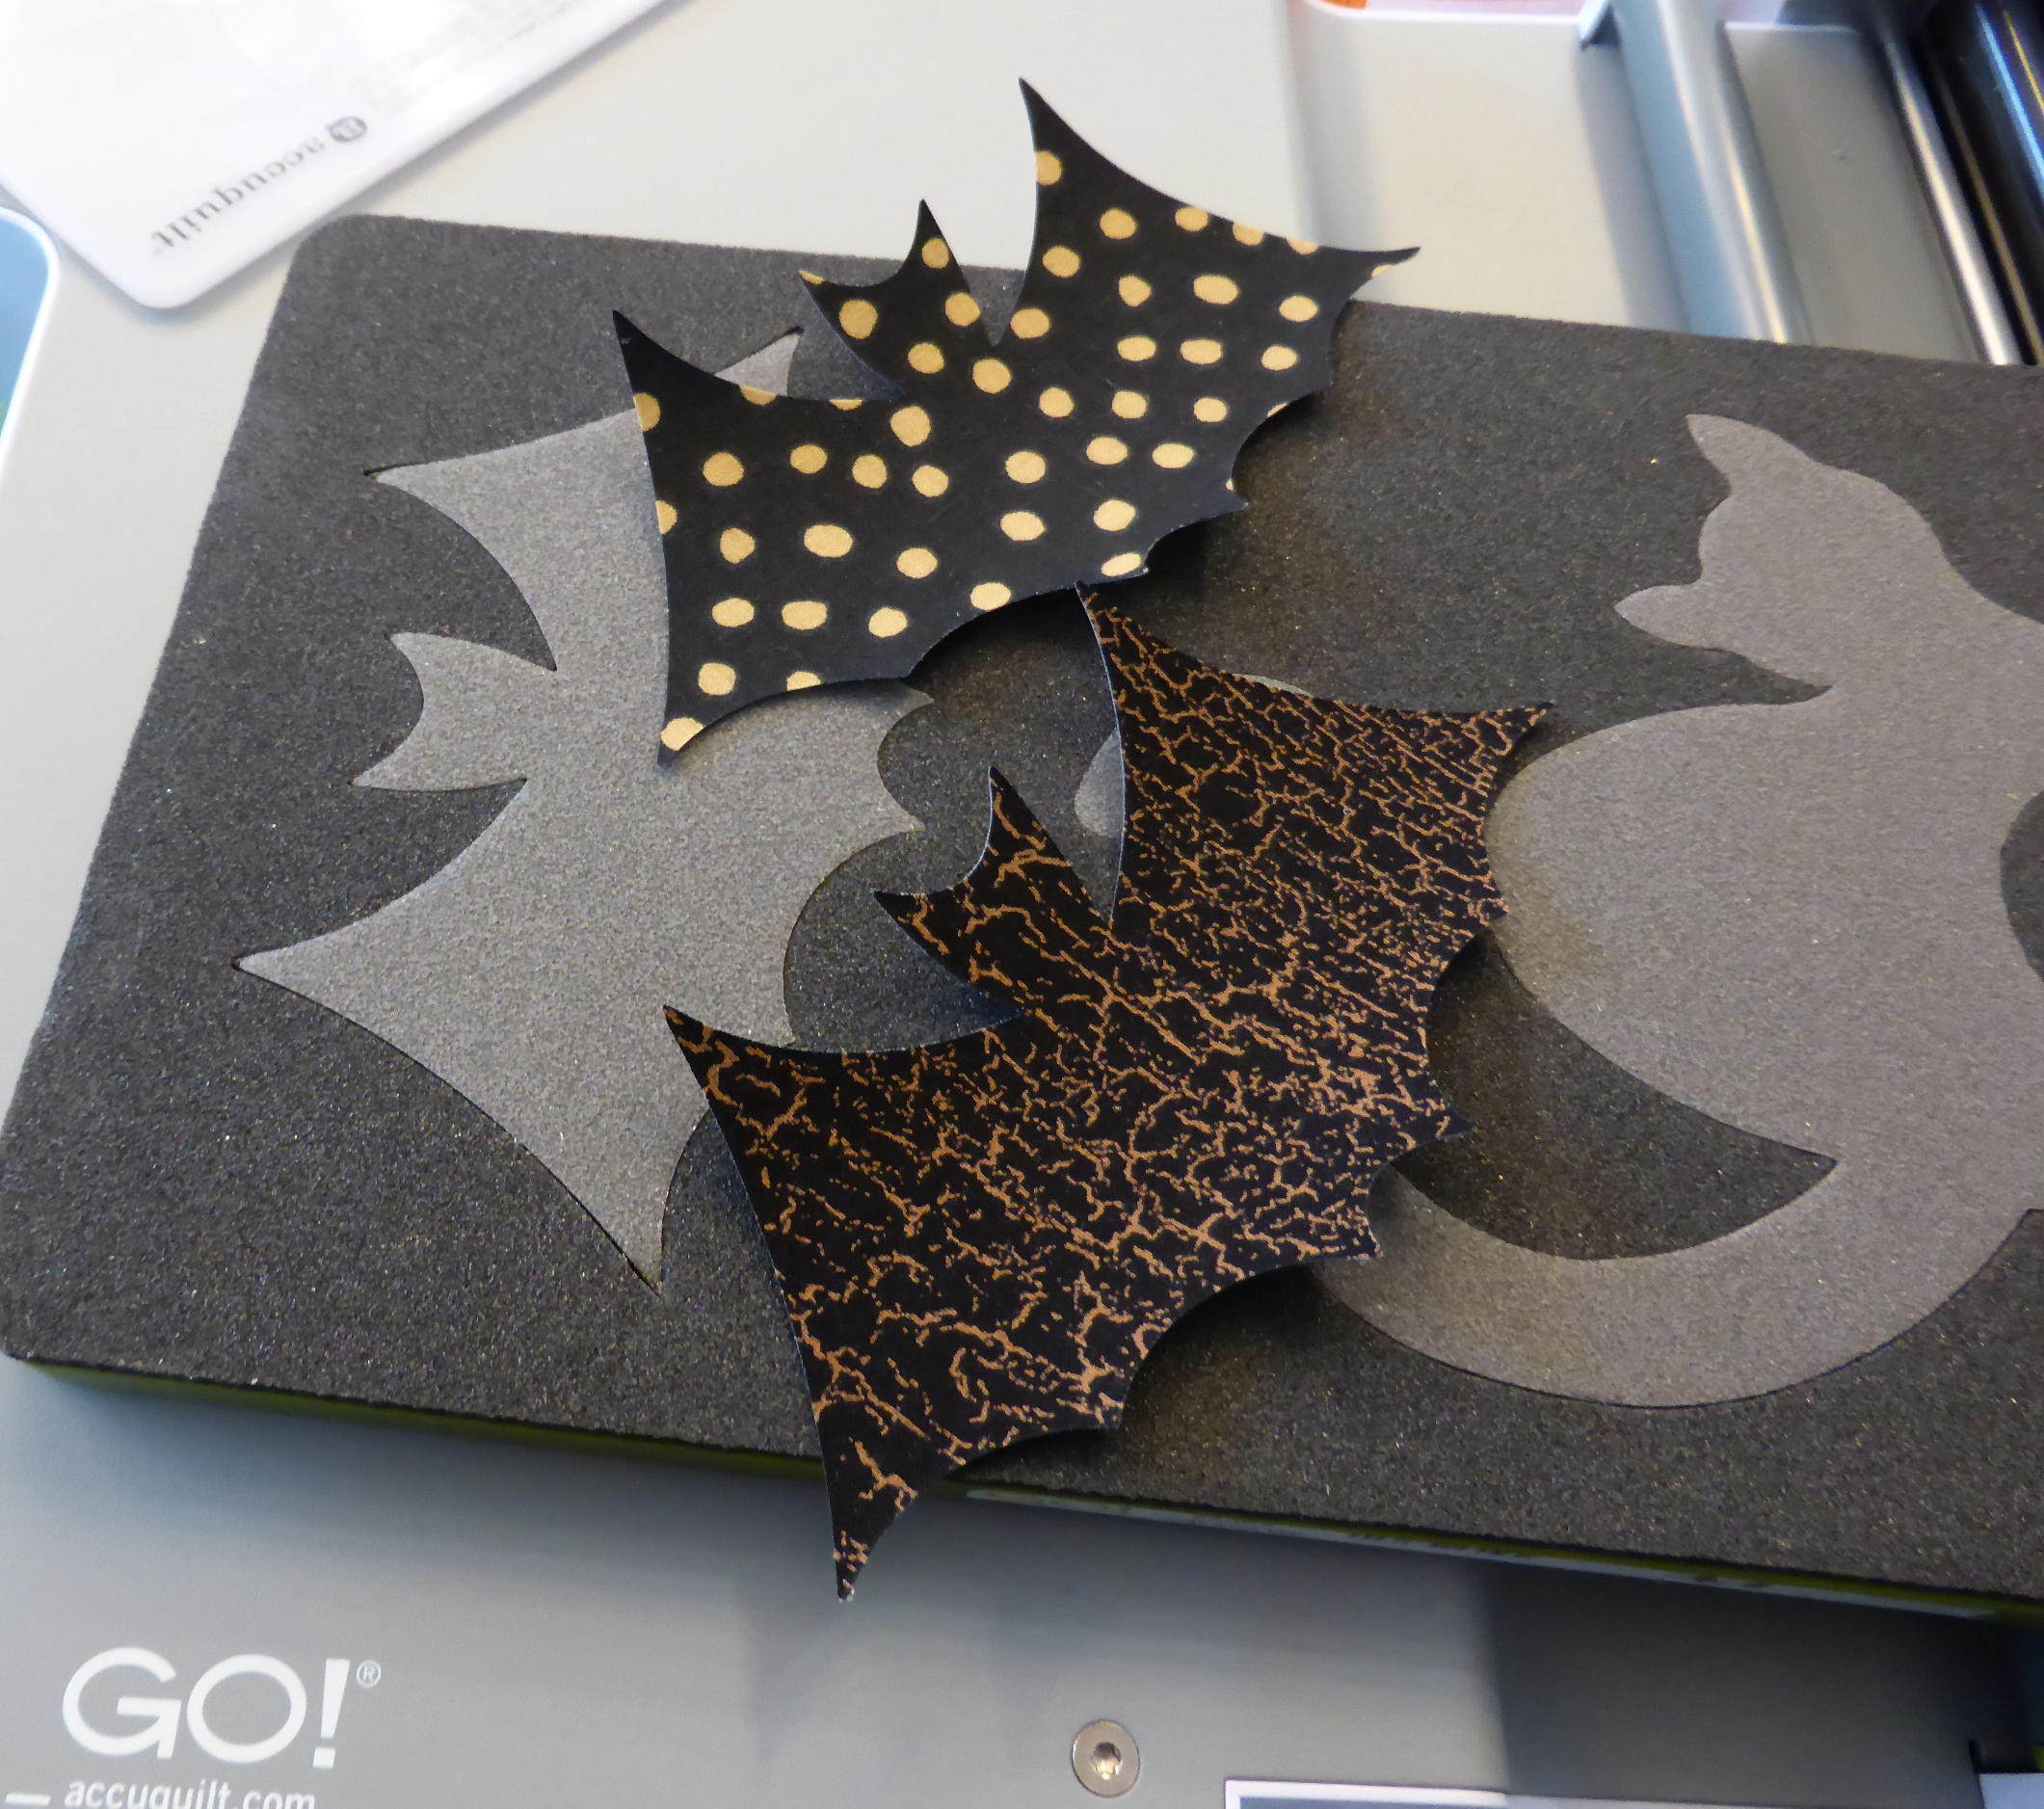
It took me less than 5 minutes to cut all these shapes.
Can you imagine how long it would have taken me
to get this many applique pieces if I had traced
them and cut them out with scissors?
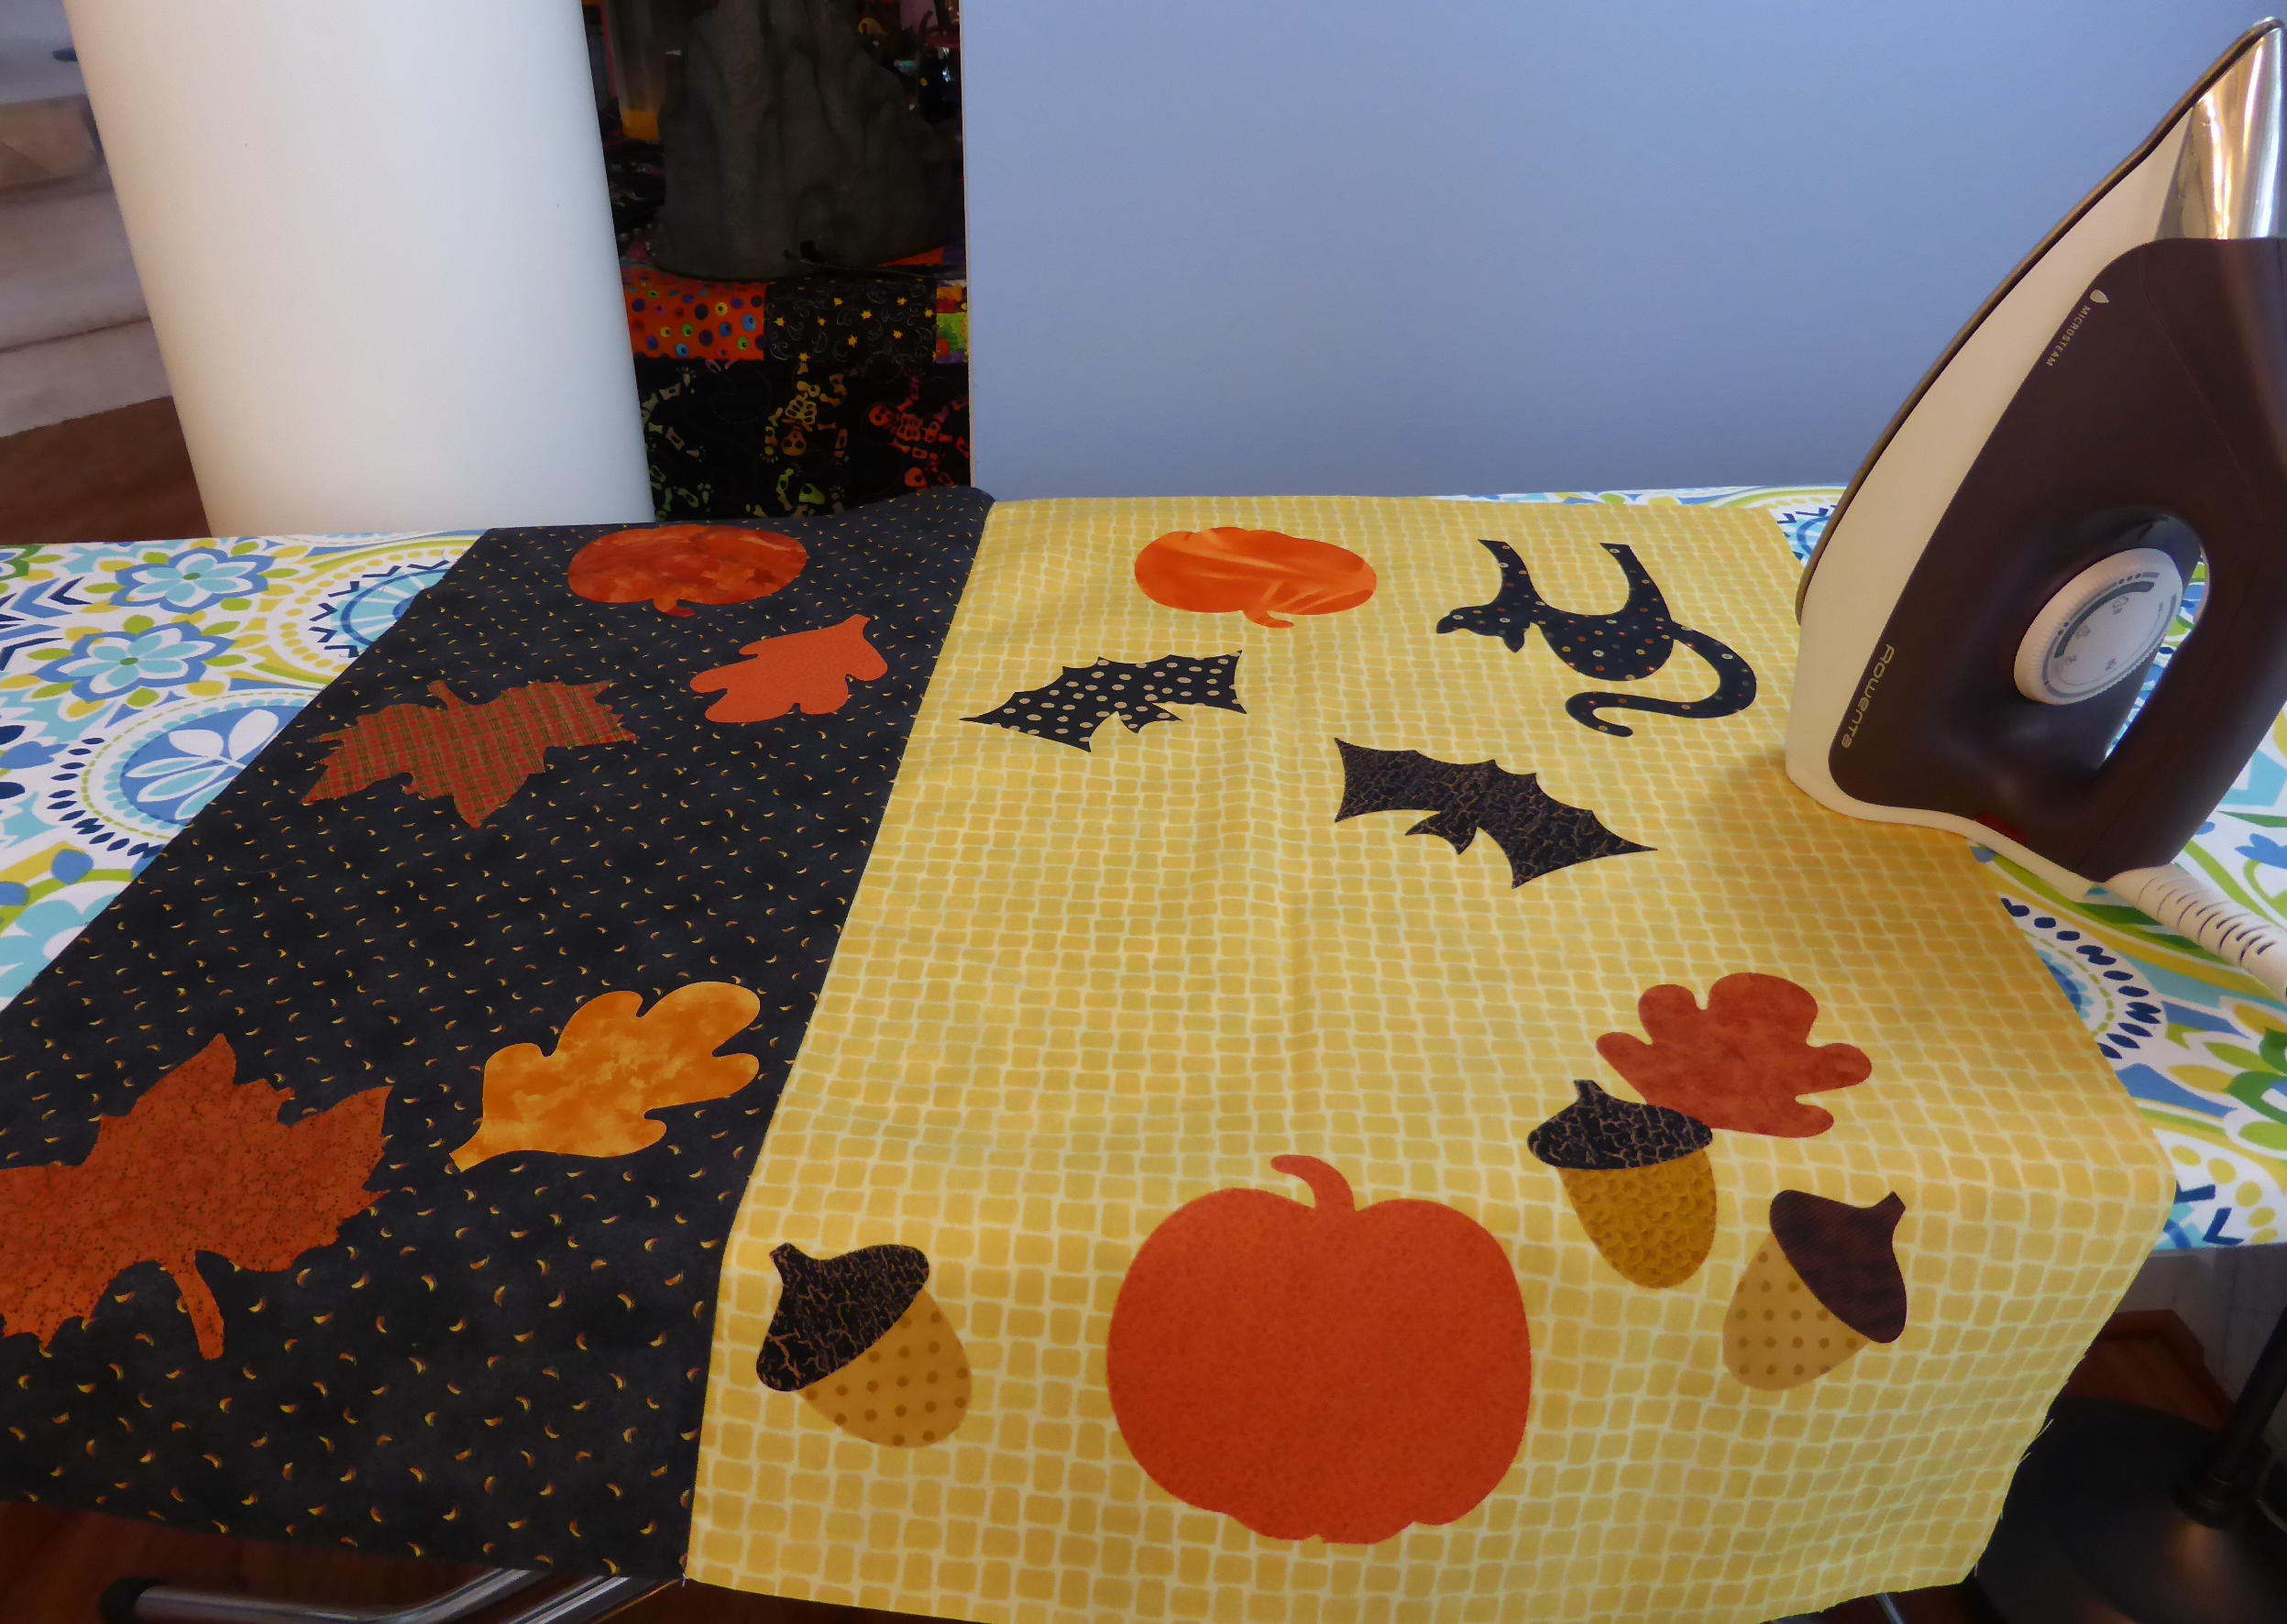
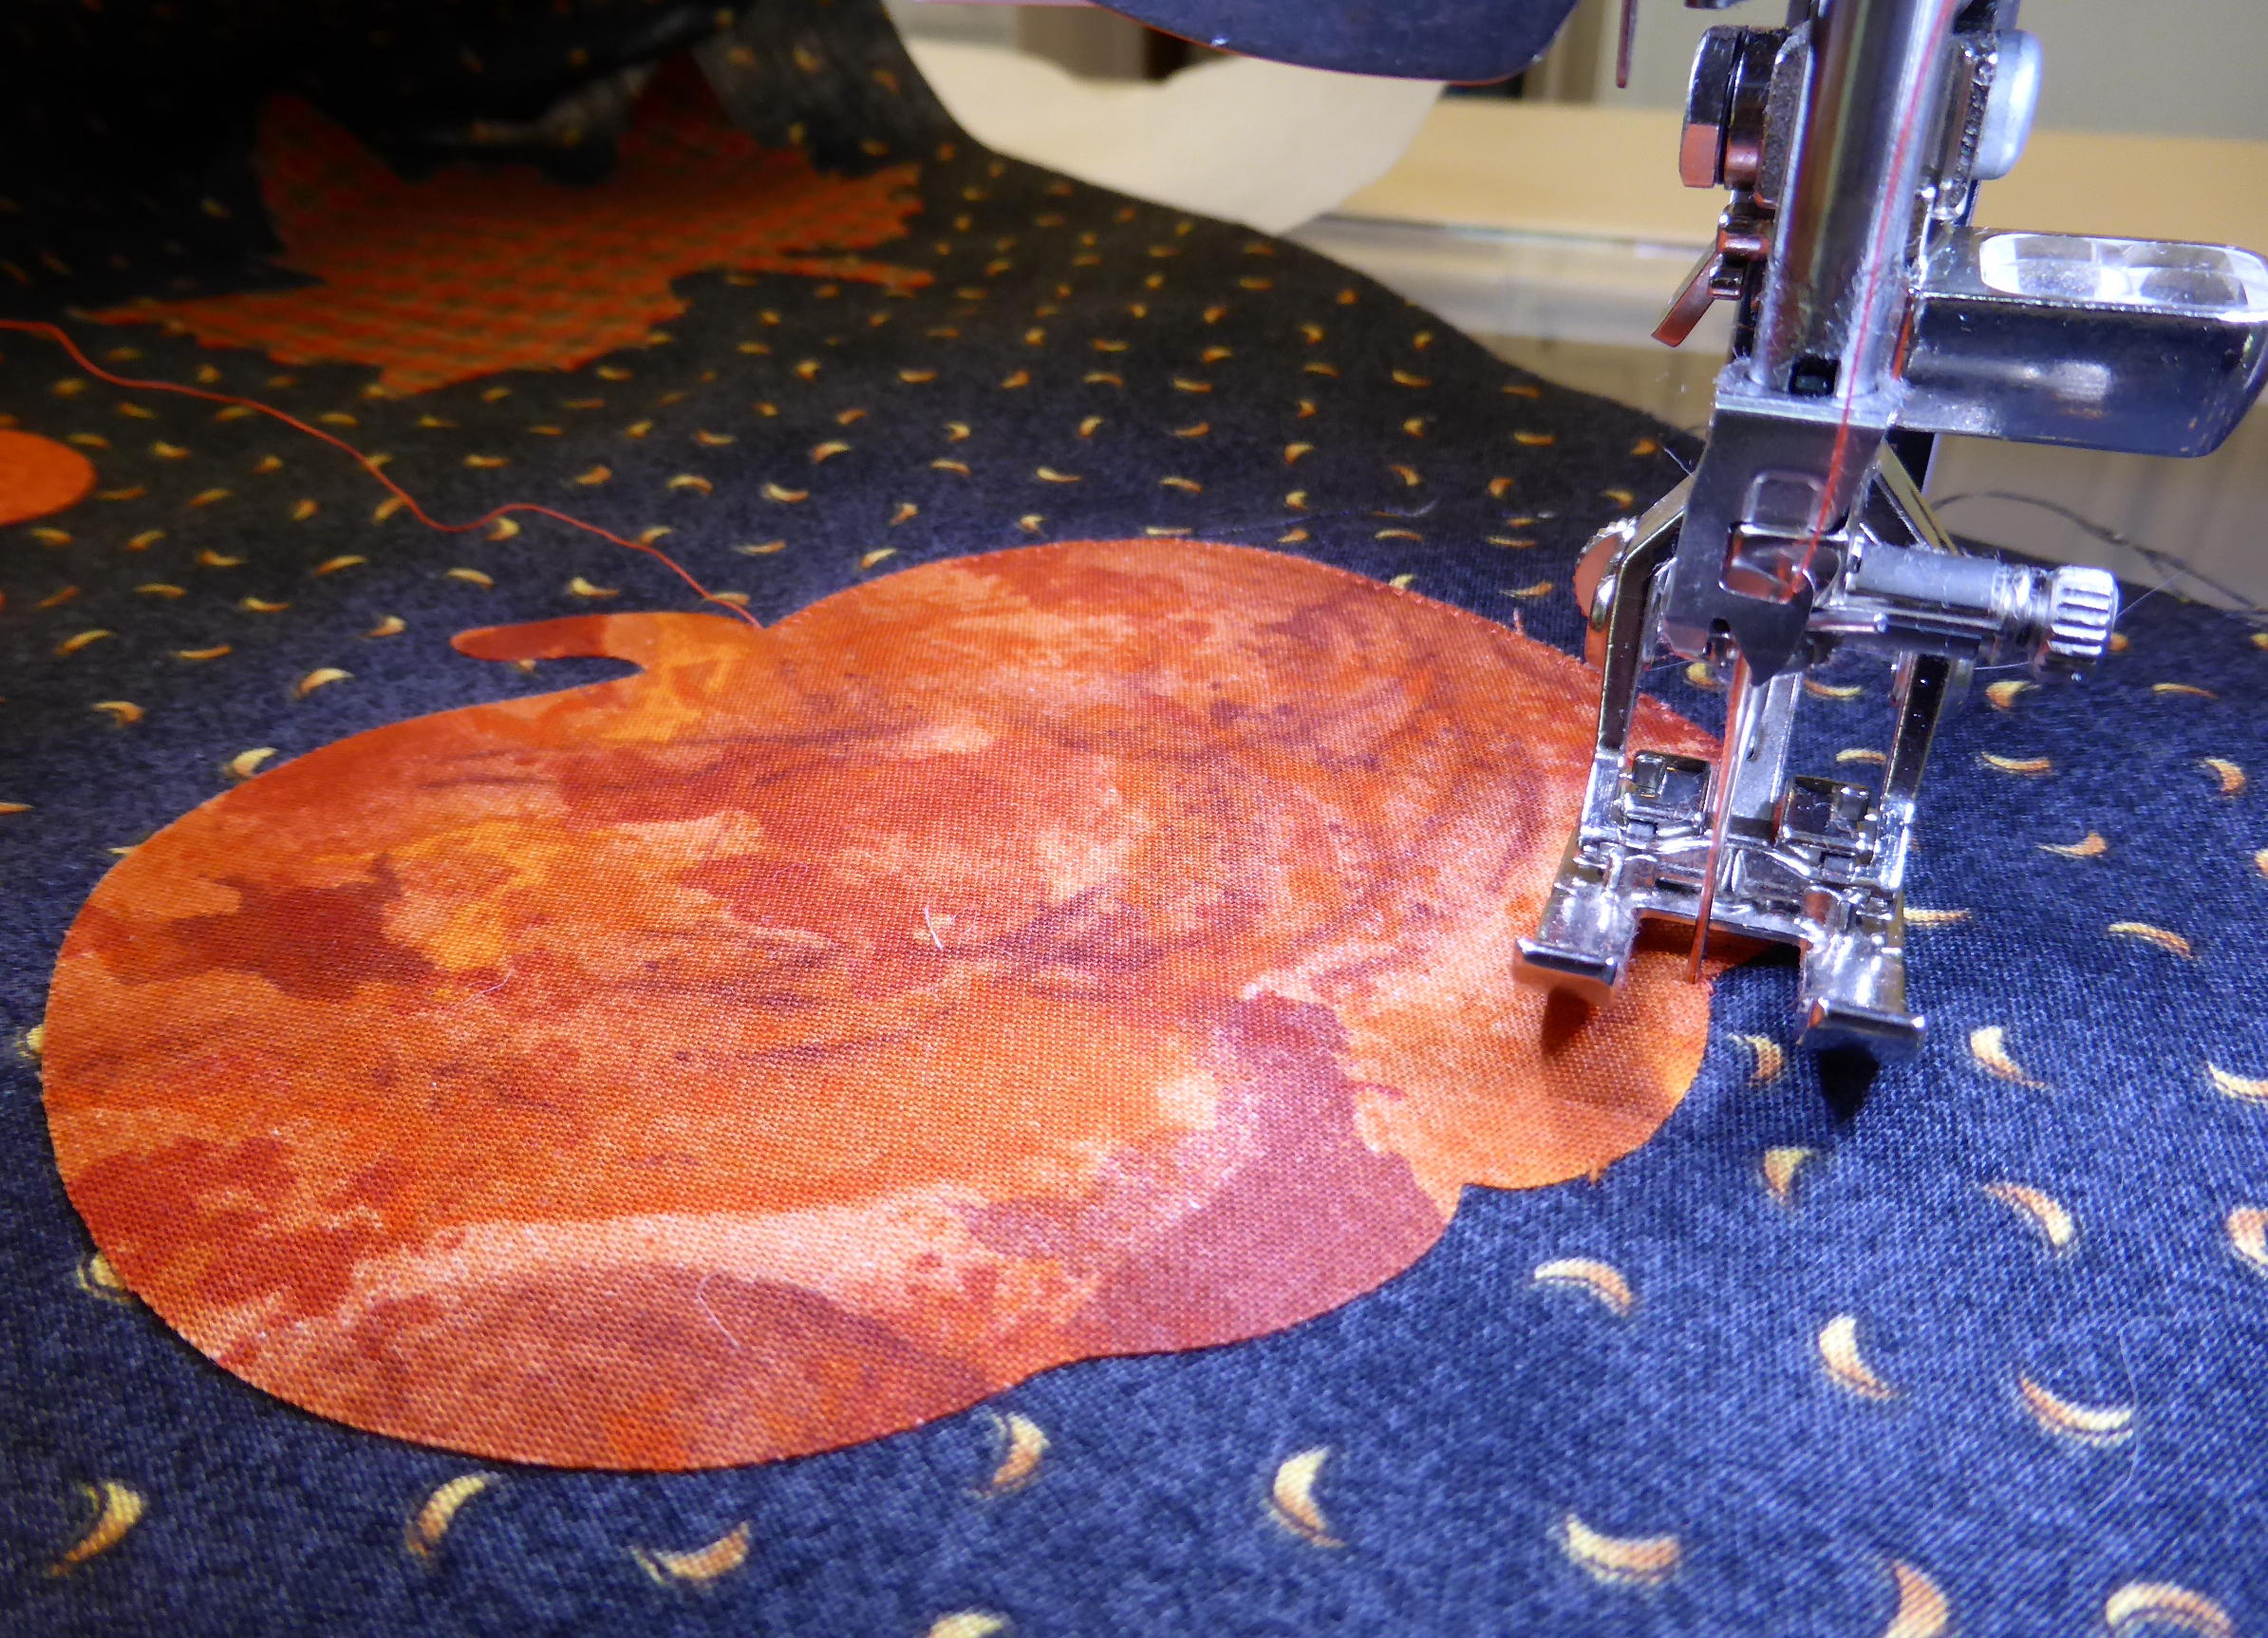
I fused them to my sewing machine cover top with a hot, dry iron…..
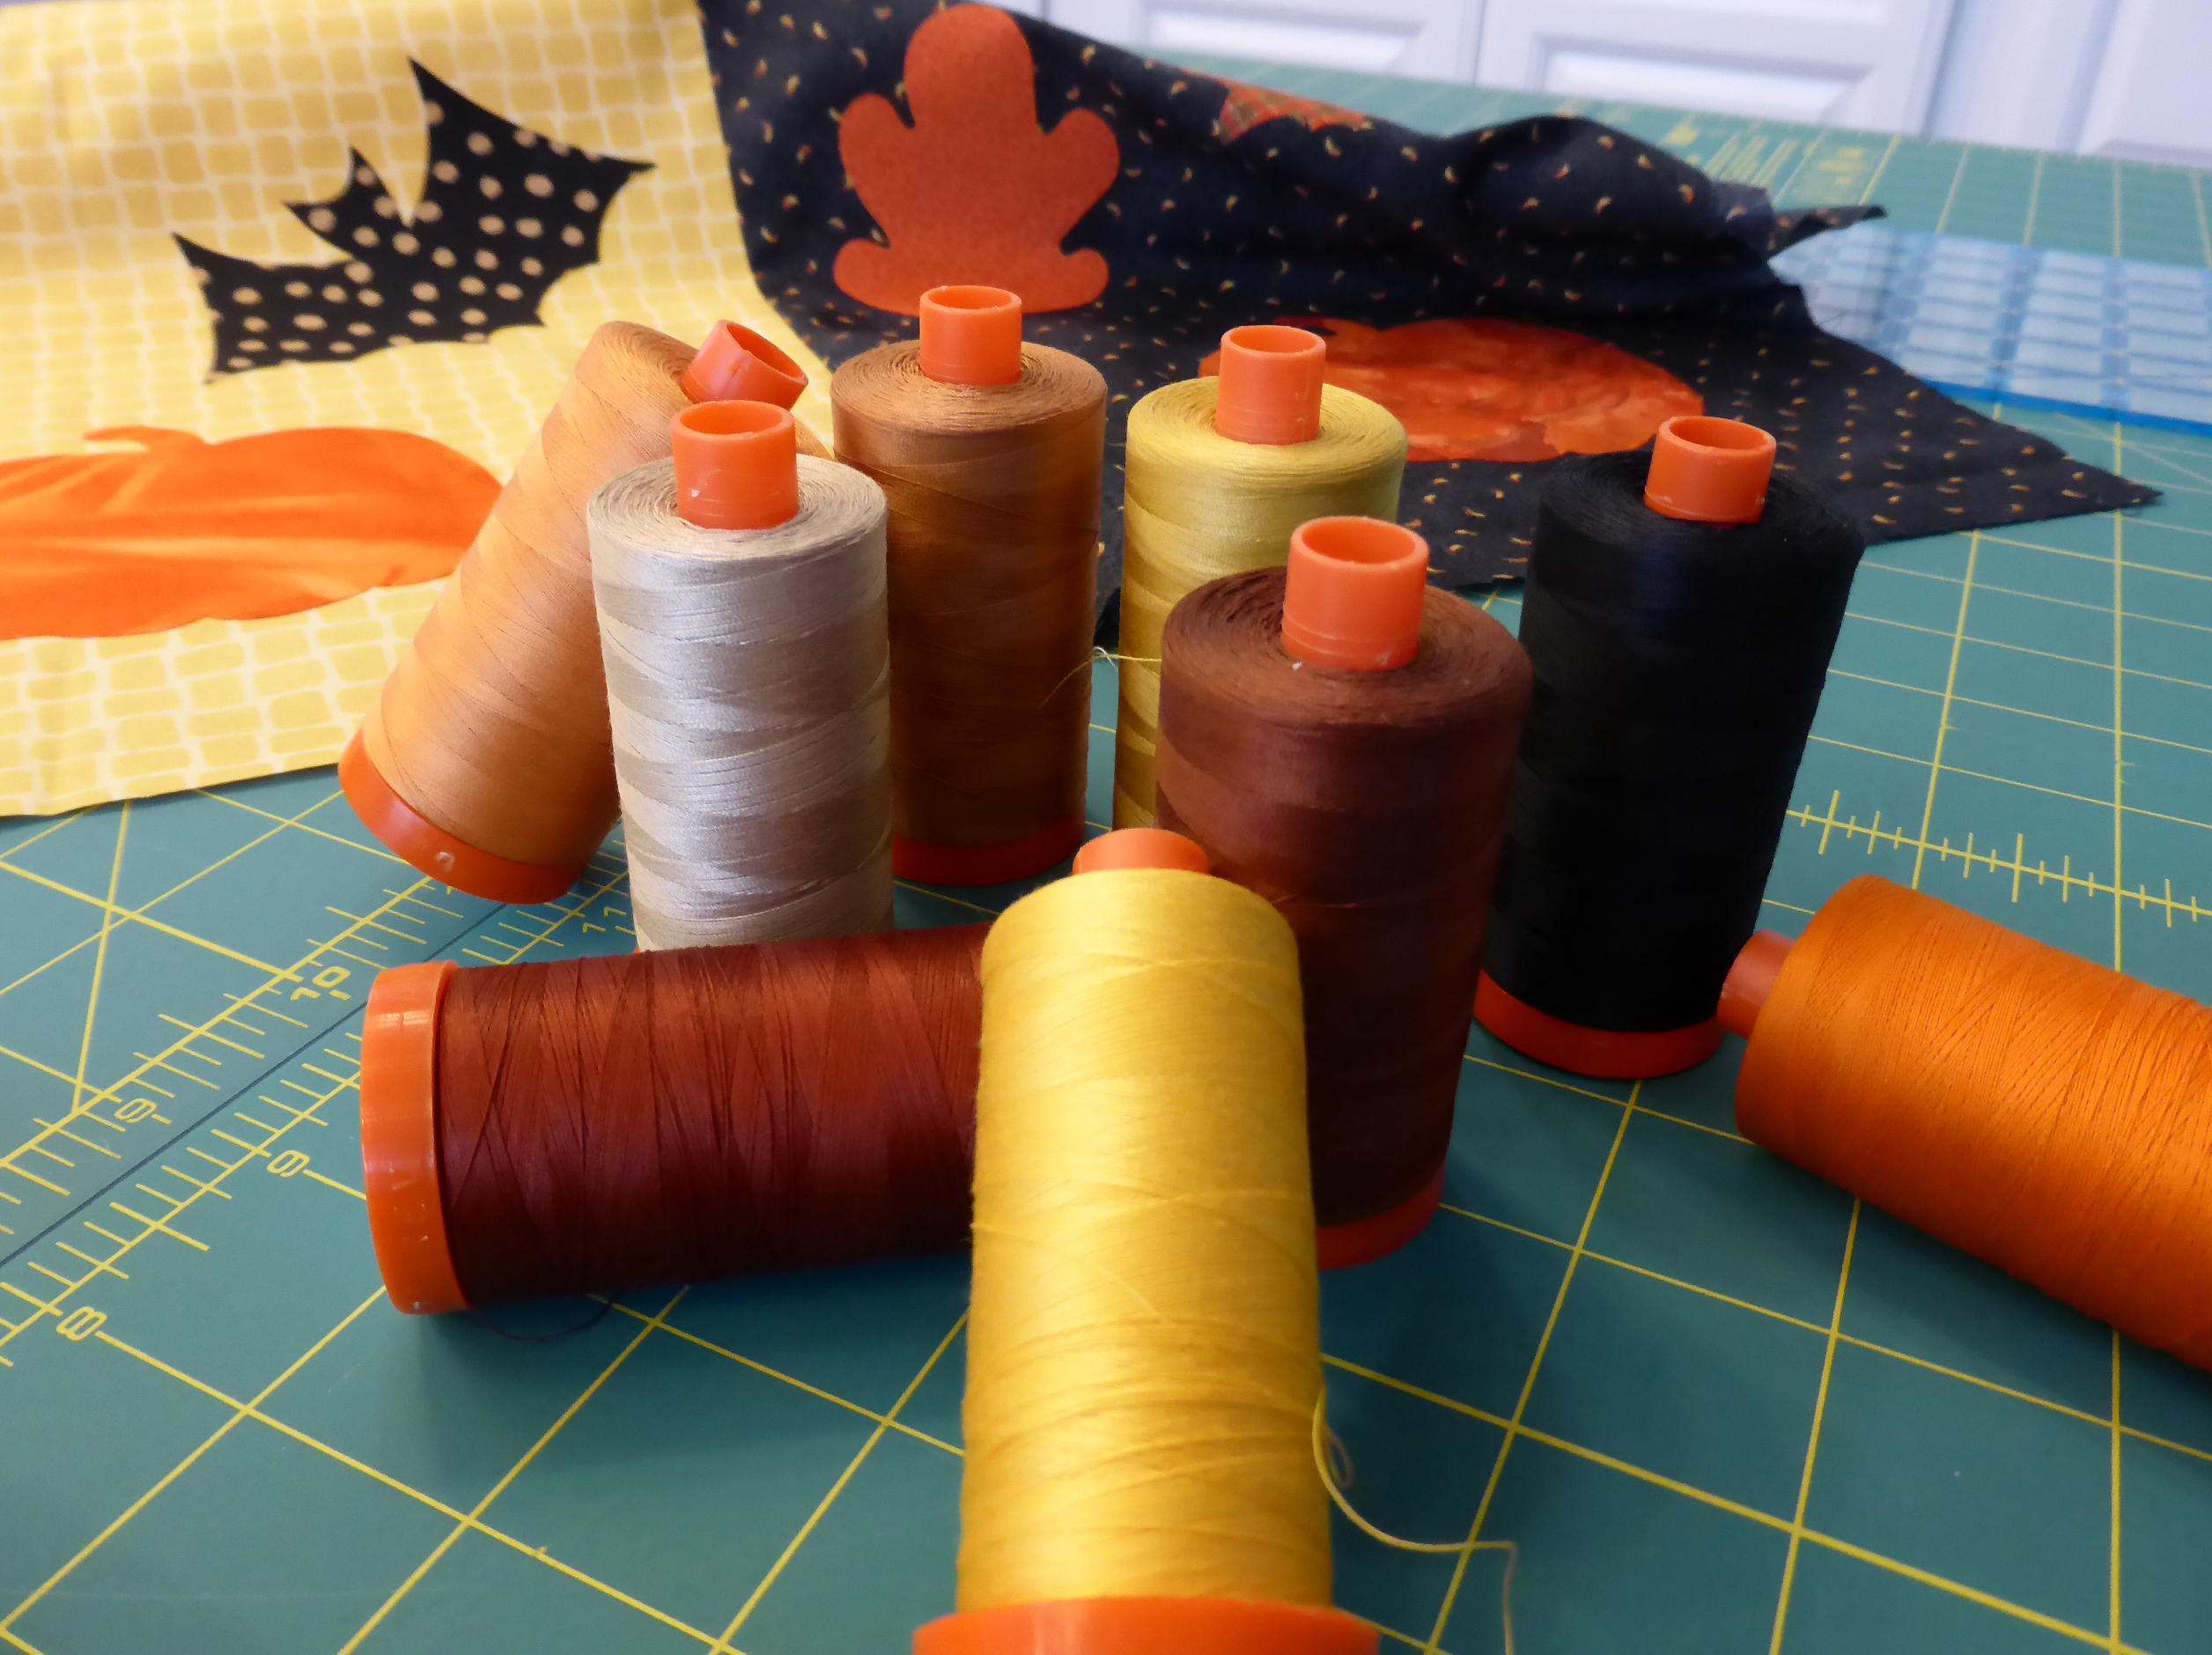
….and then had the fun of picking out just the perfect colors
of Aurifil threads to use for the machine applique!
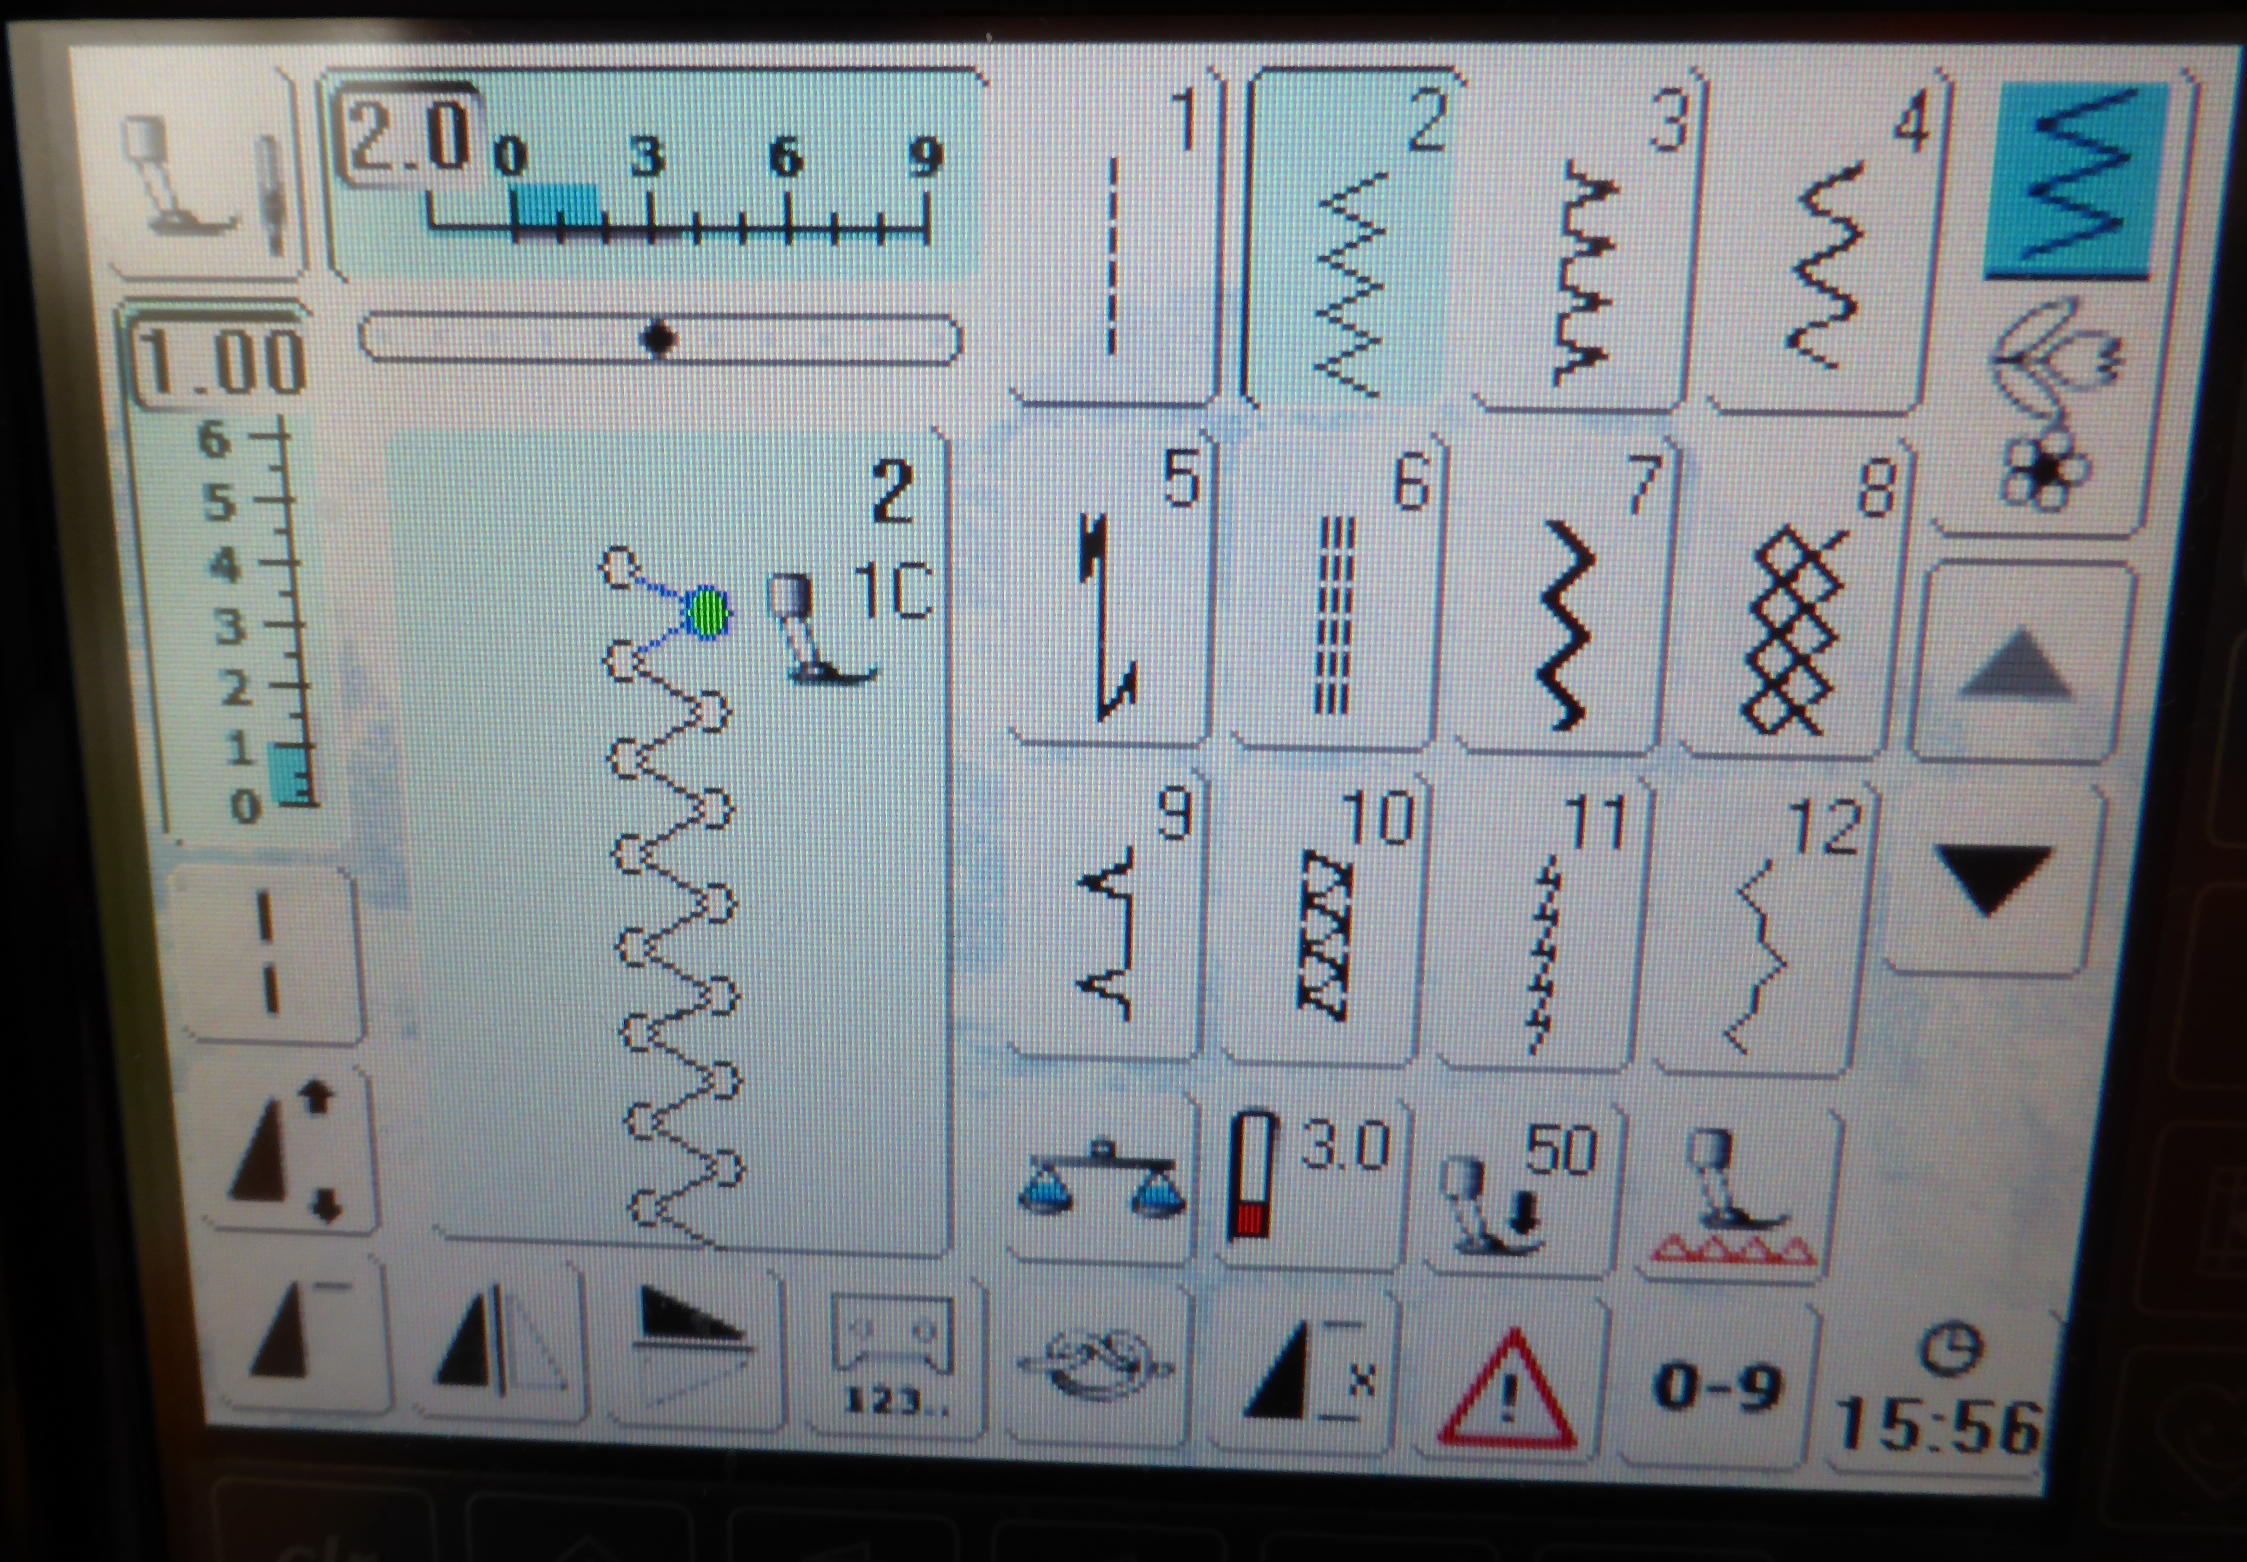
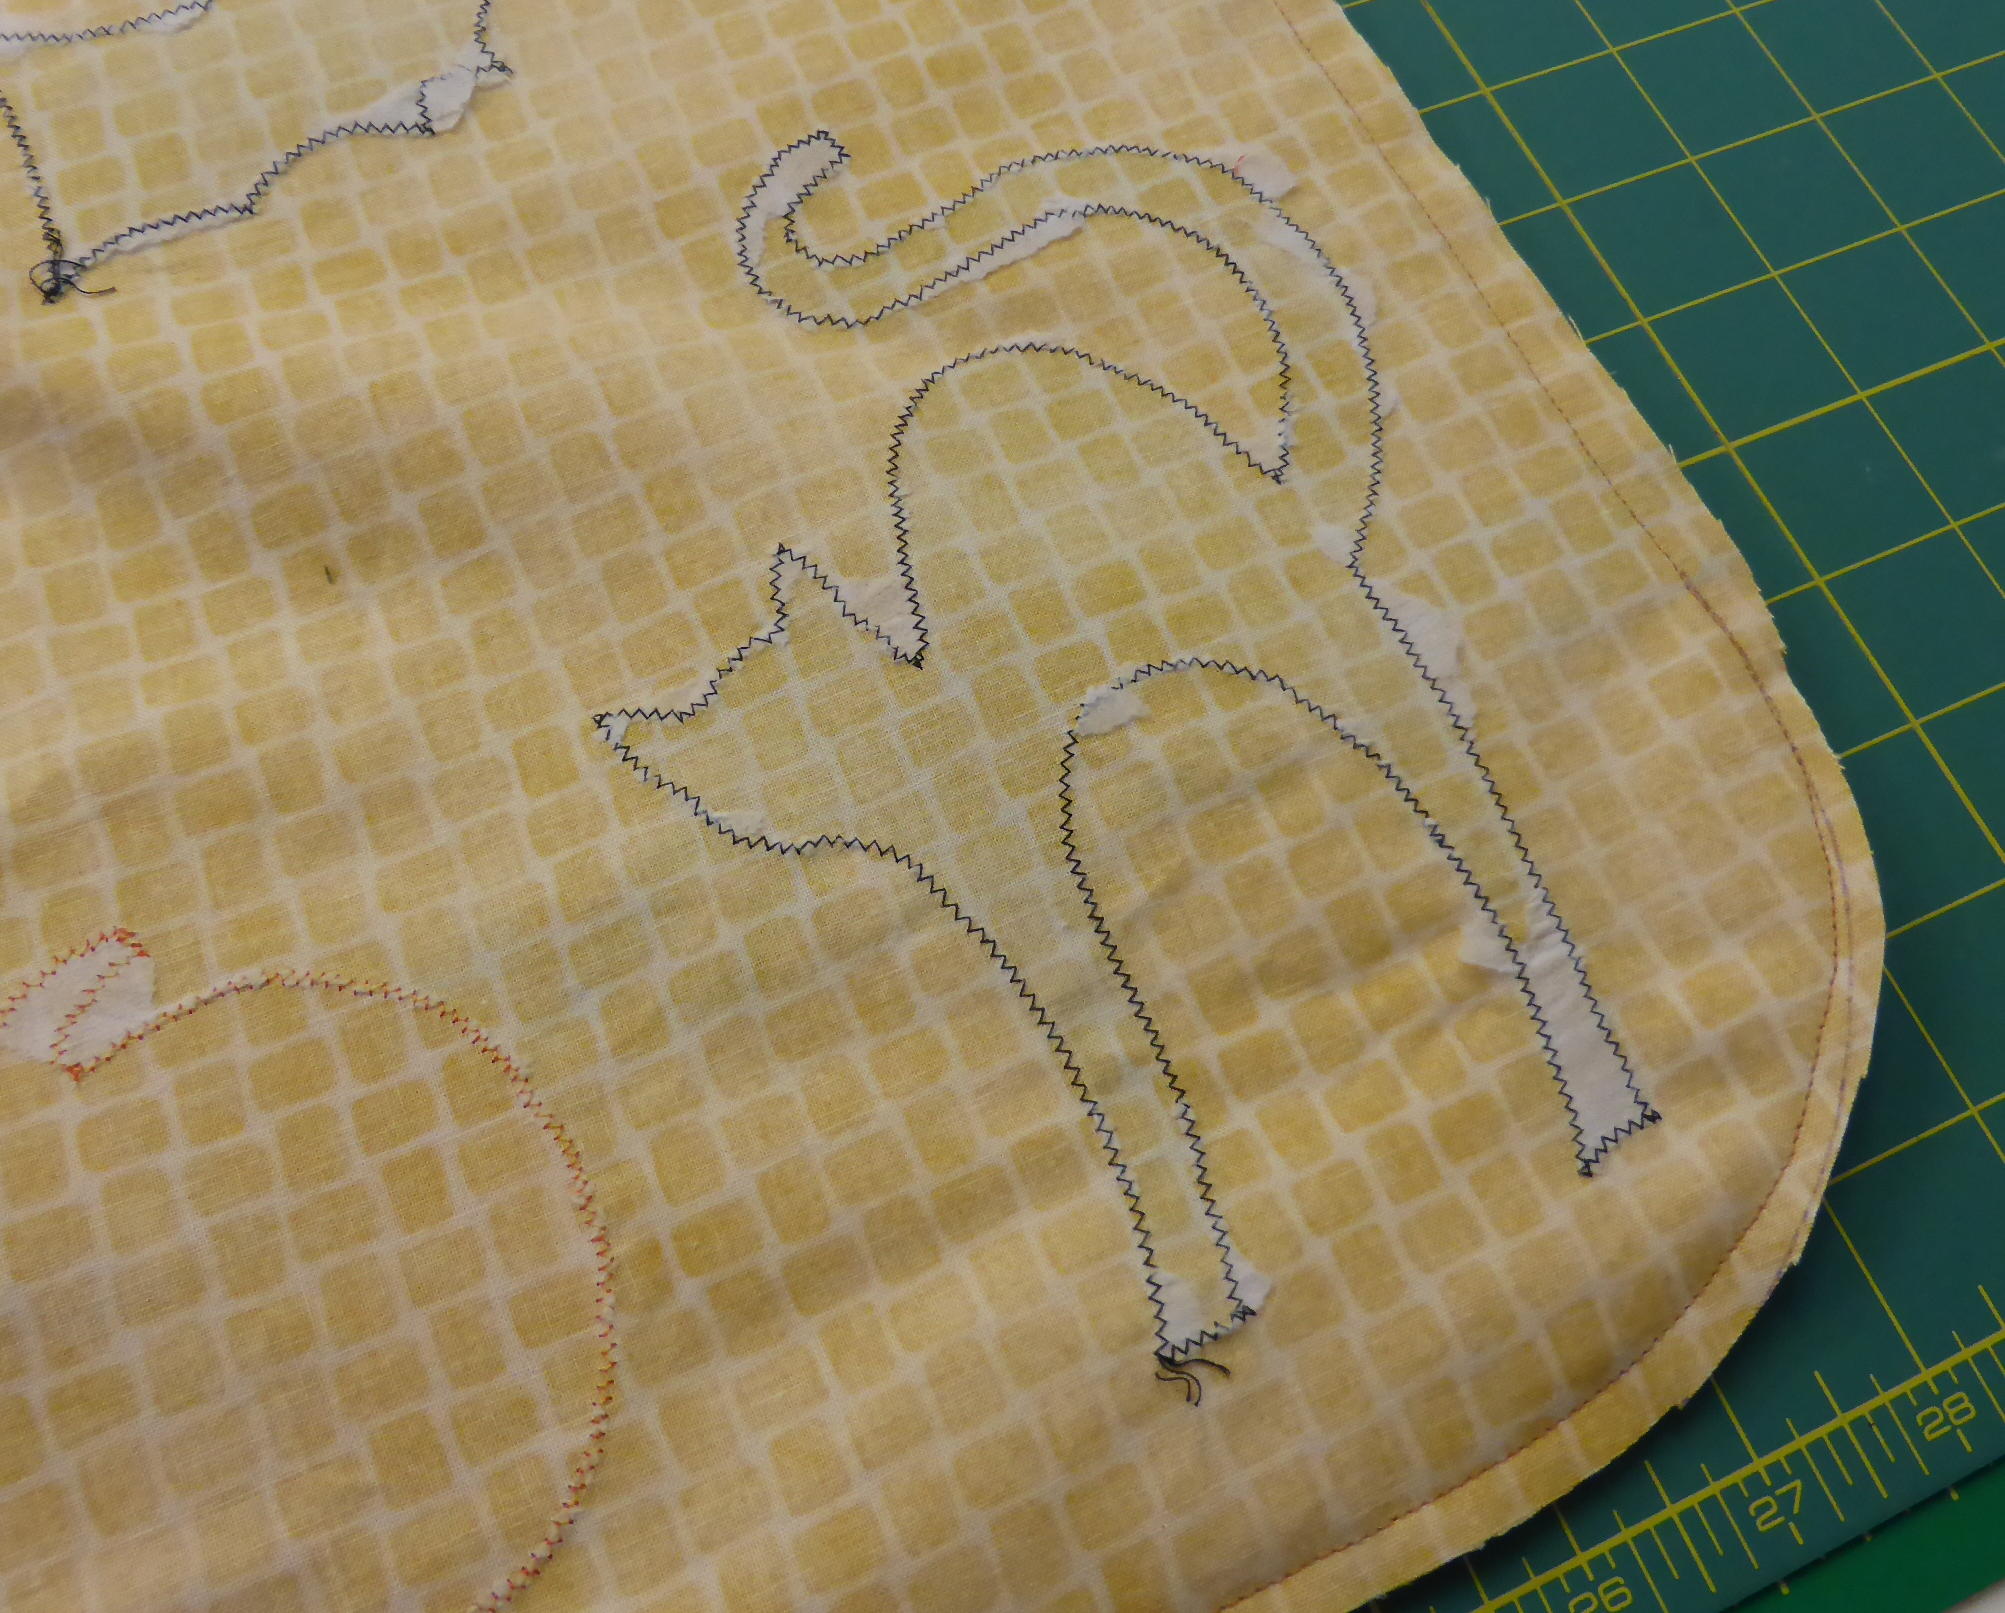
I used a small zig zag stitch on my machine
to sew around each of the applique shapes.

I used a 1.00 stitch length and a 2.0 stitch width.
It is important to know that I used tear away (temporary)
stabilizer beneath my fabric to ensure the stitches
were crisp and even with no puckering!
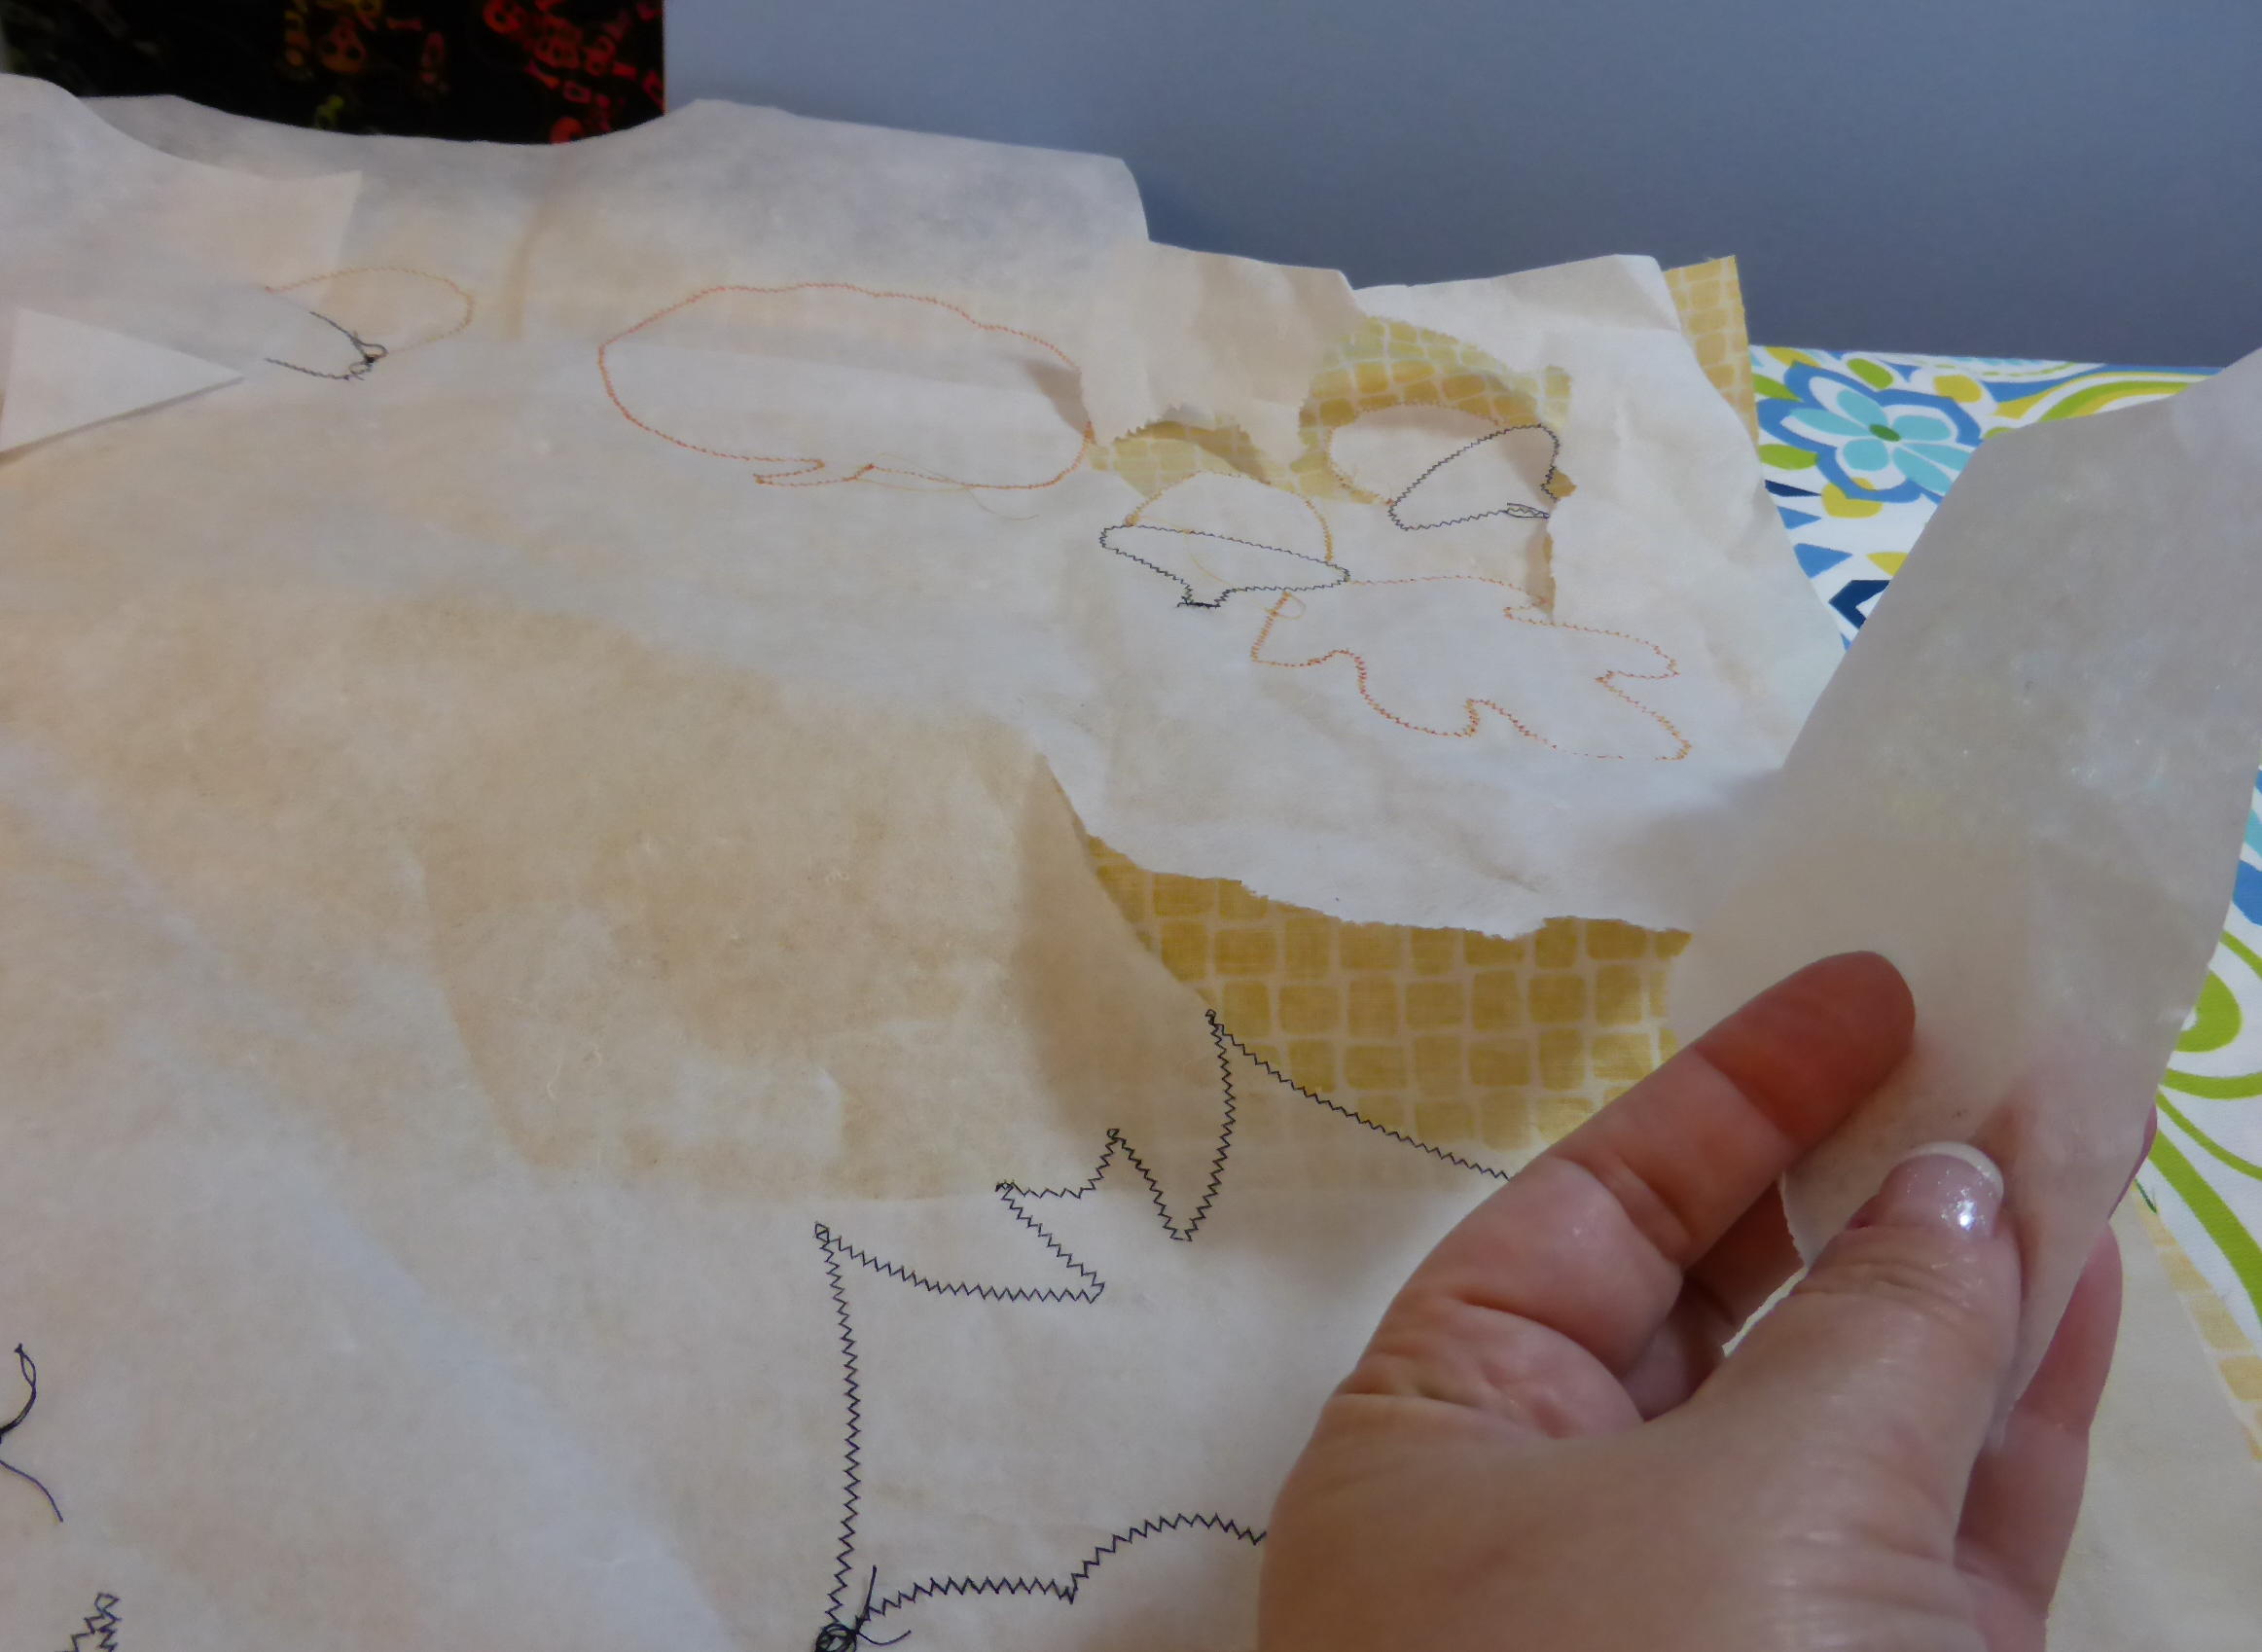
I find the process of machine applique so relaxing and enjoyable.
After all the machine applique stitching was done,
I removed all the tear-away stabilizer.
Next it was time to sew the side ties.
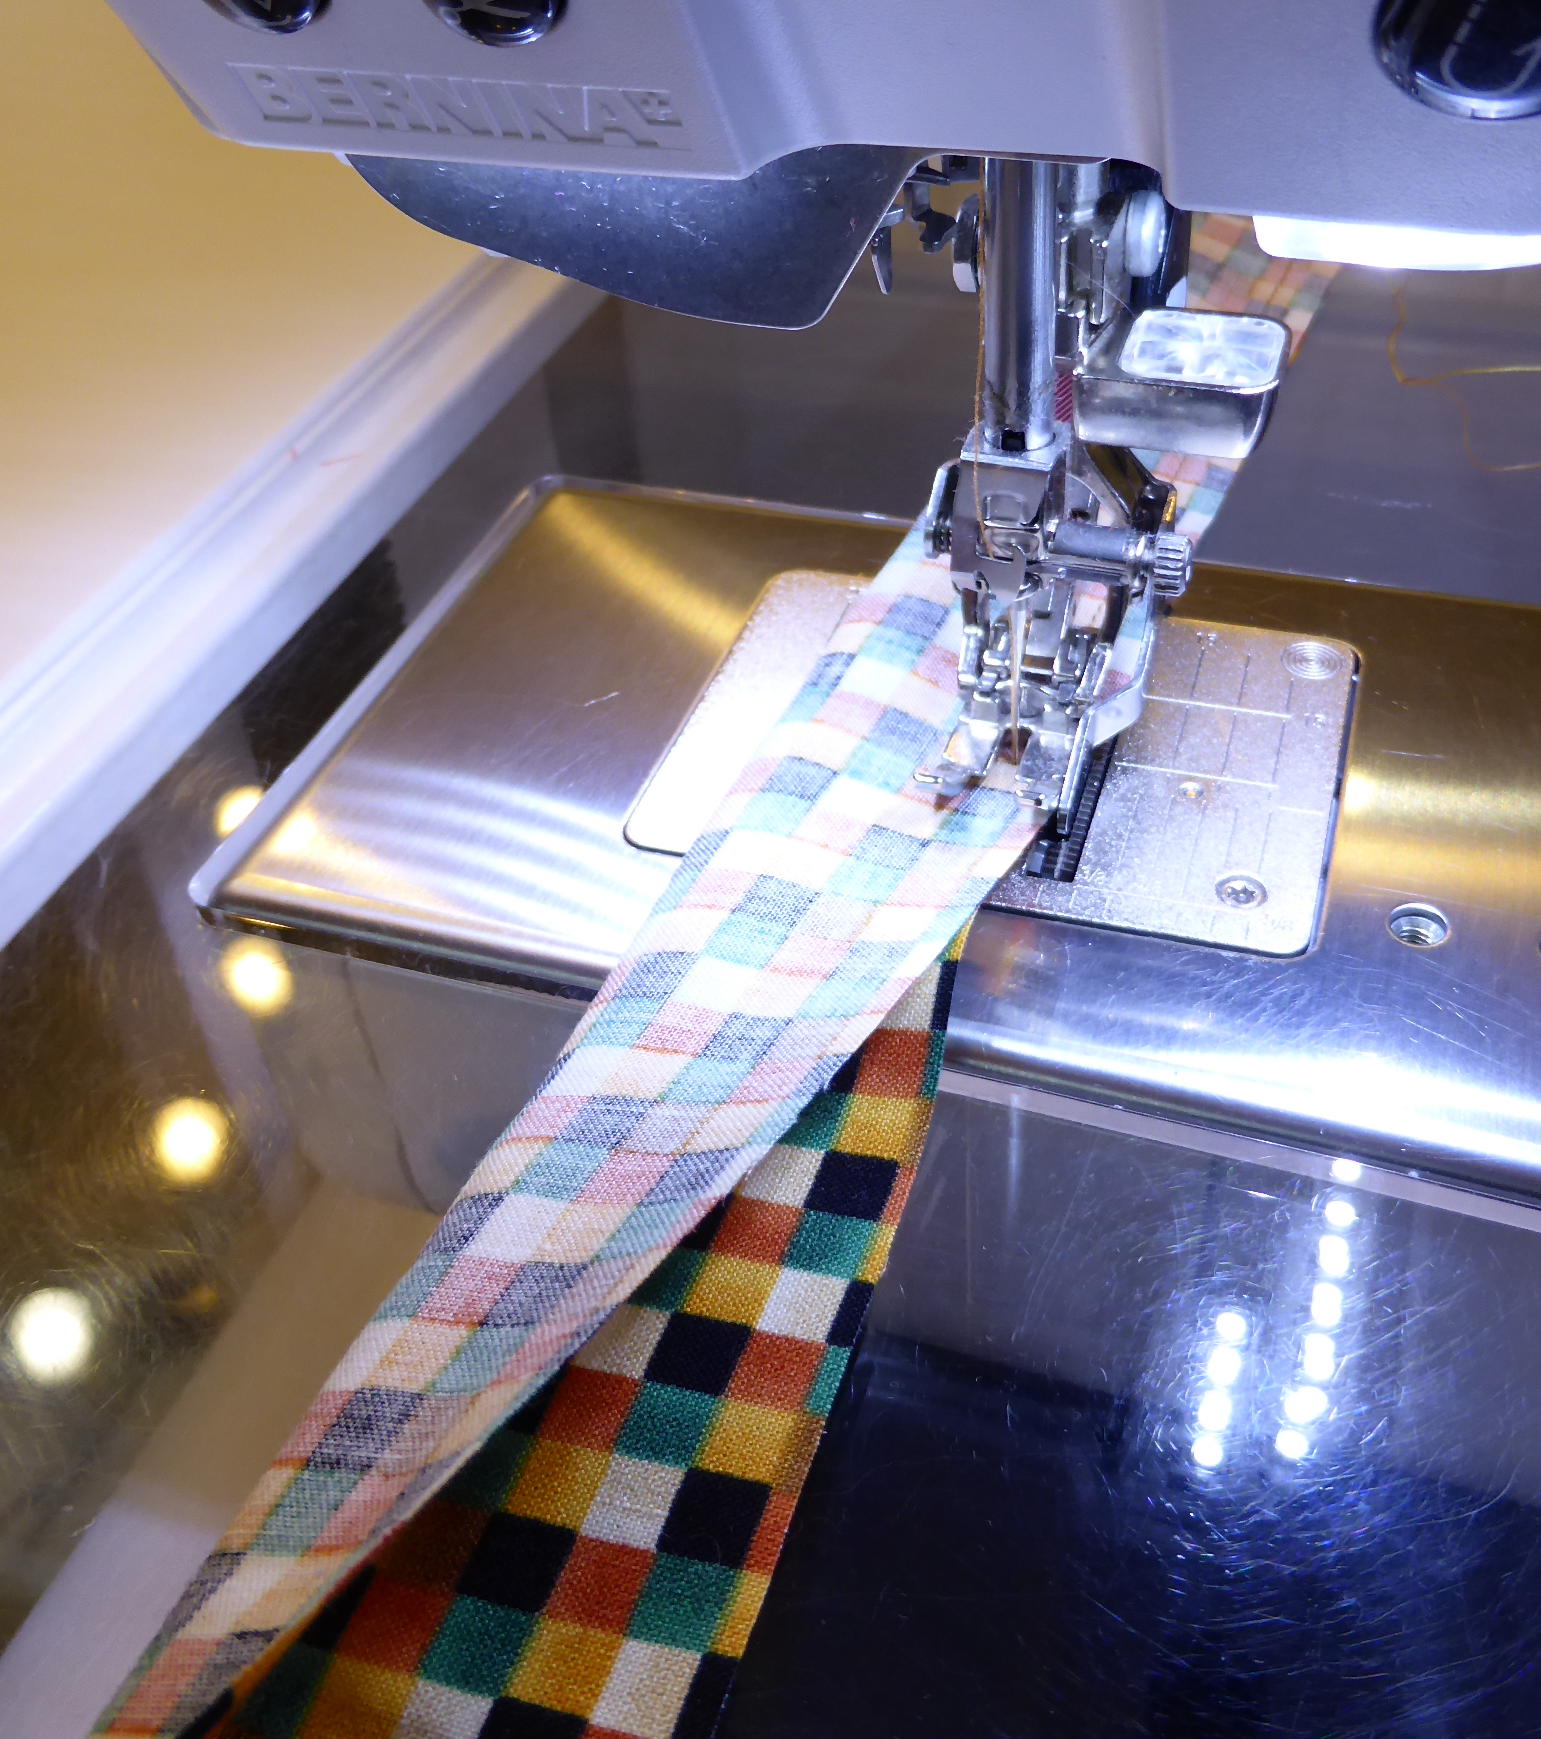 I angled the ends so the corners would be professional-looking and pretty!
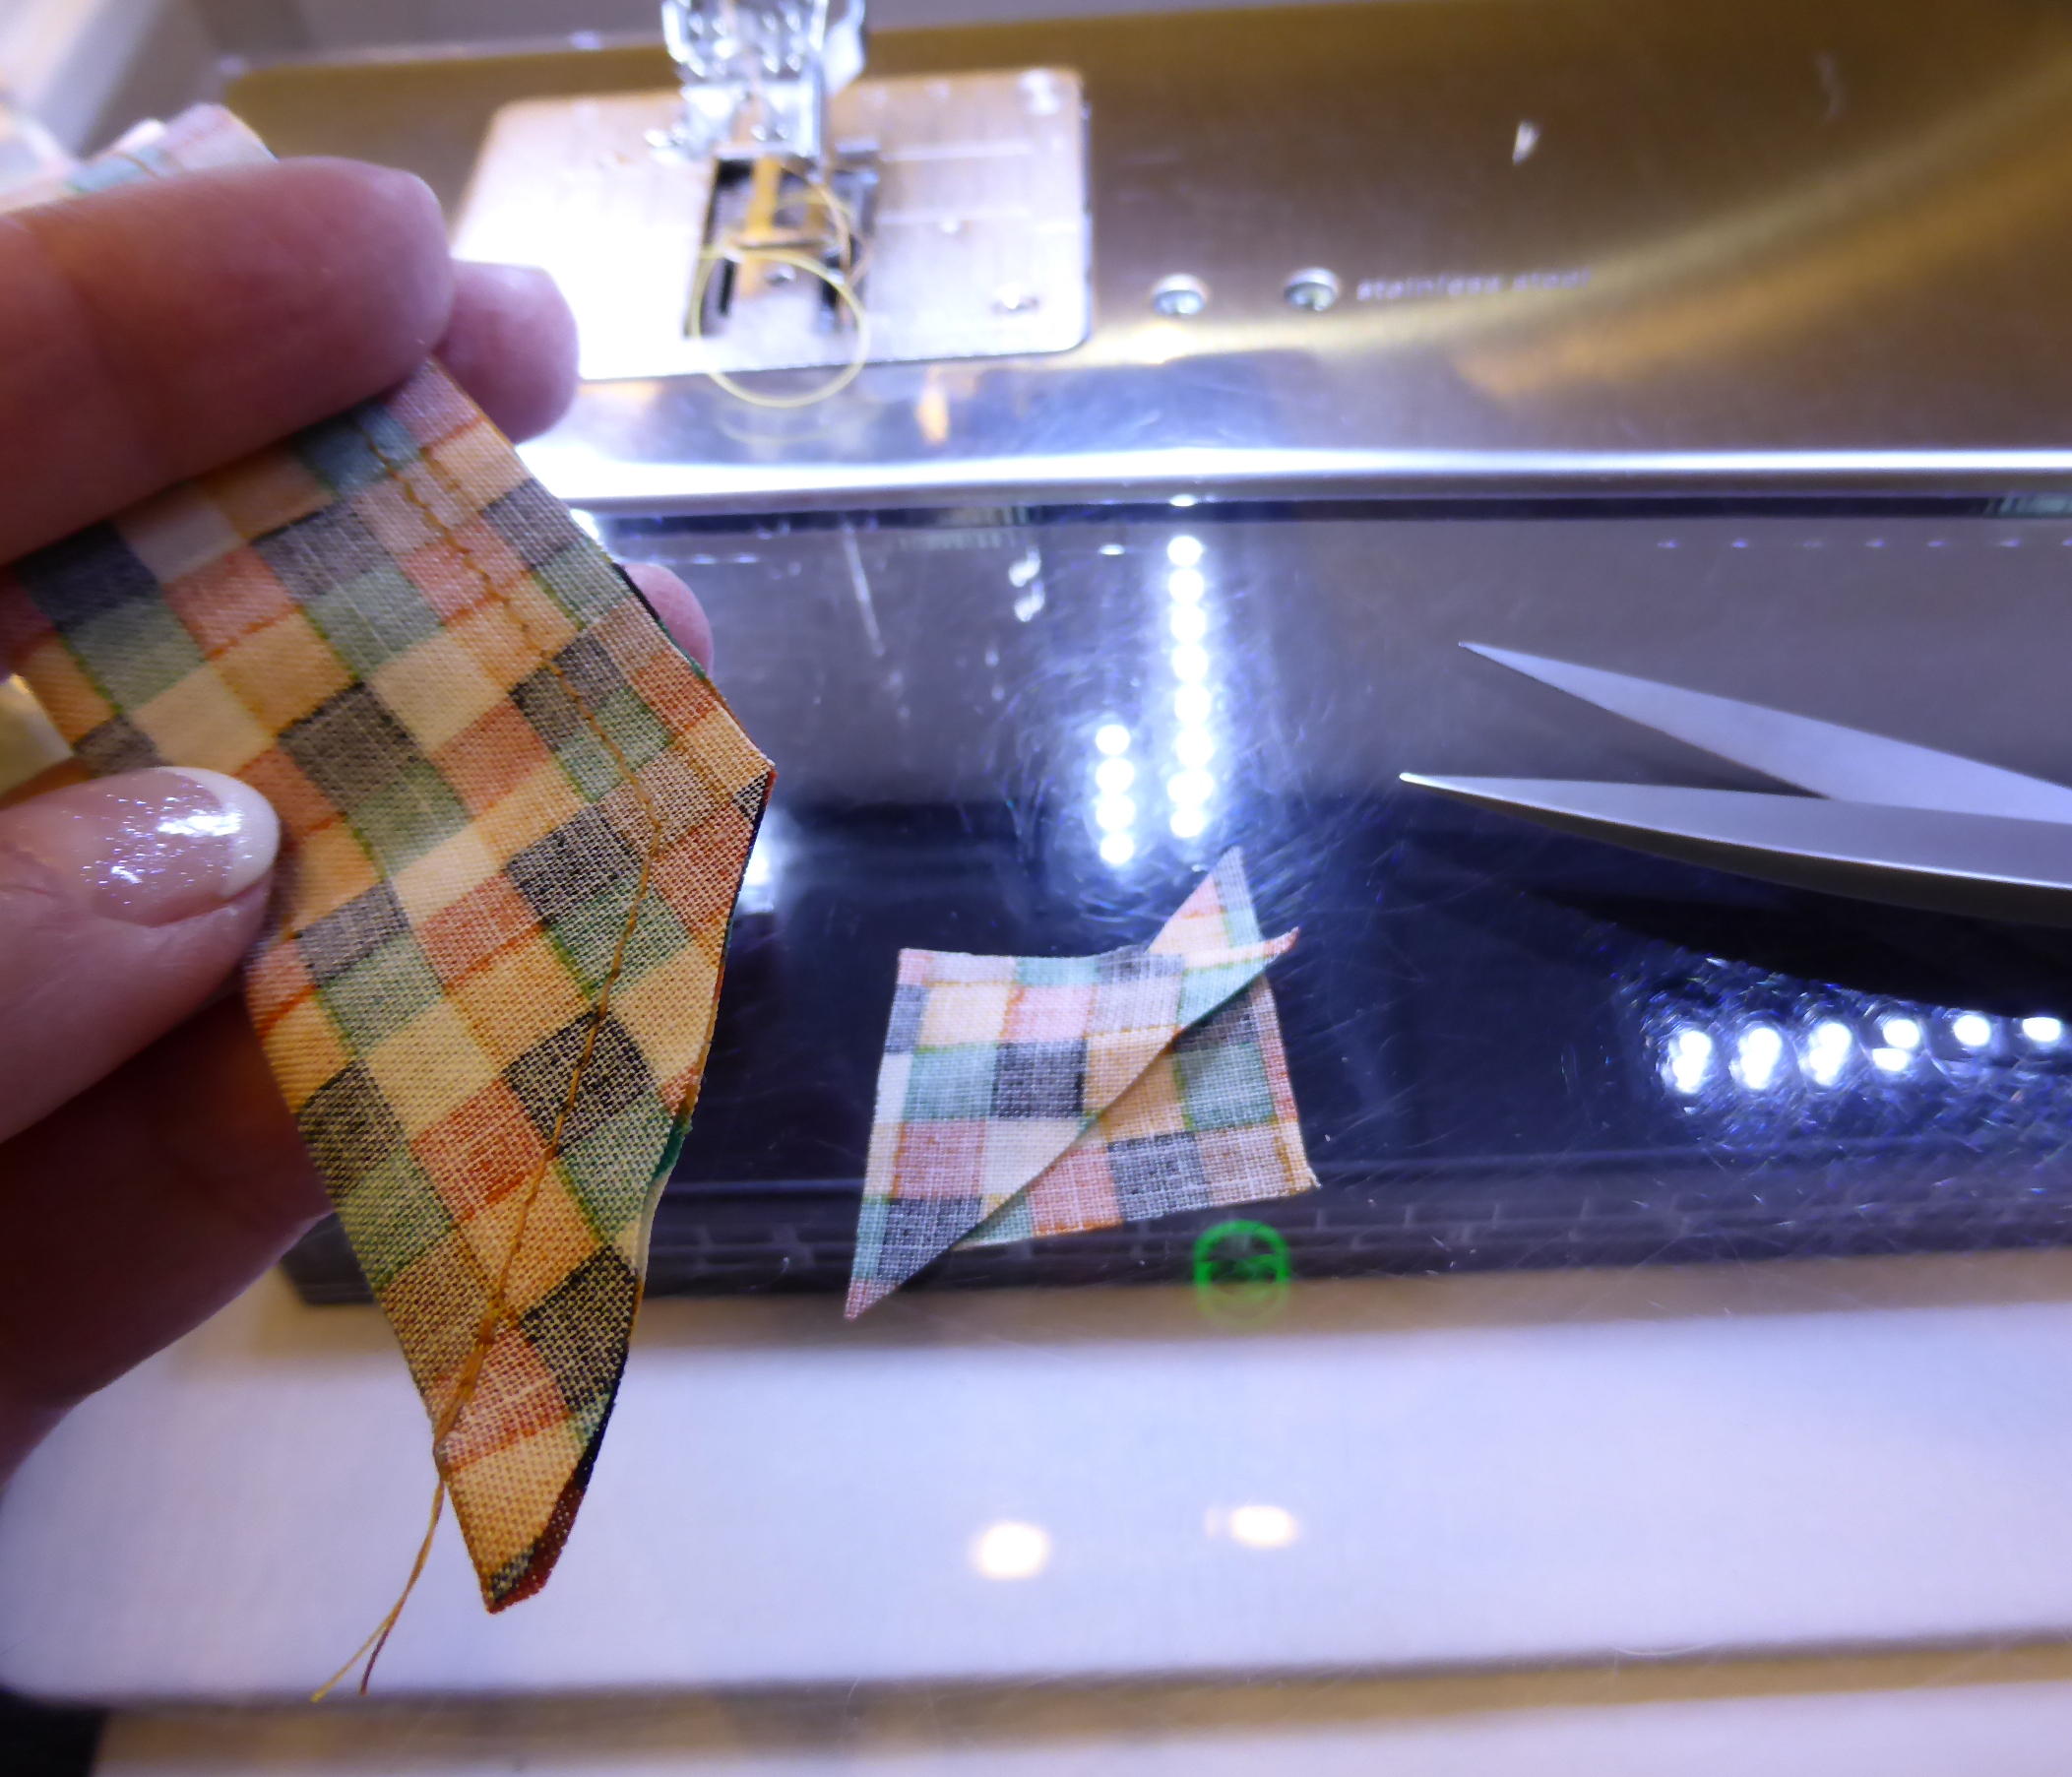
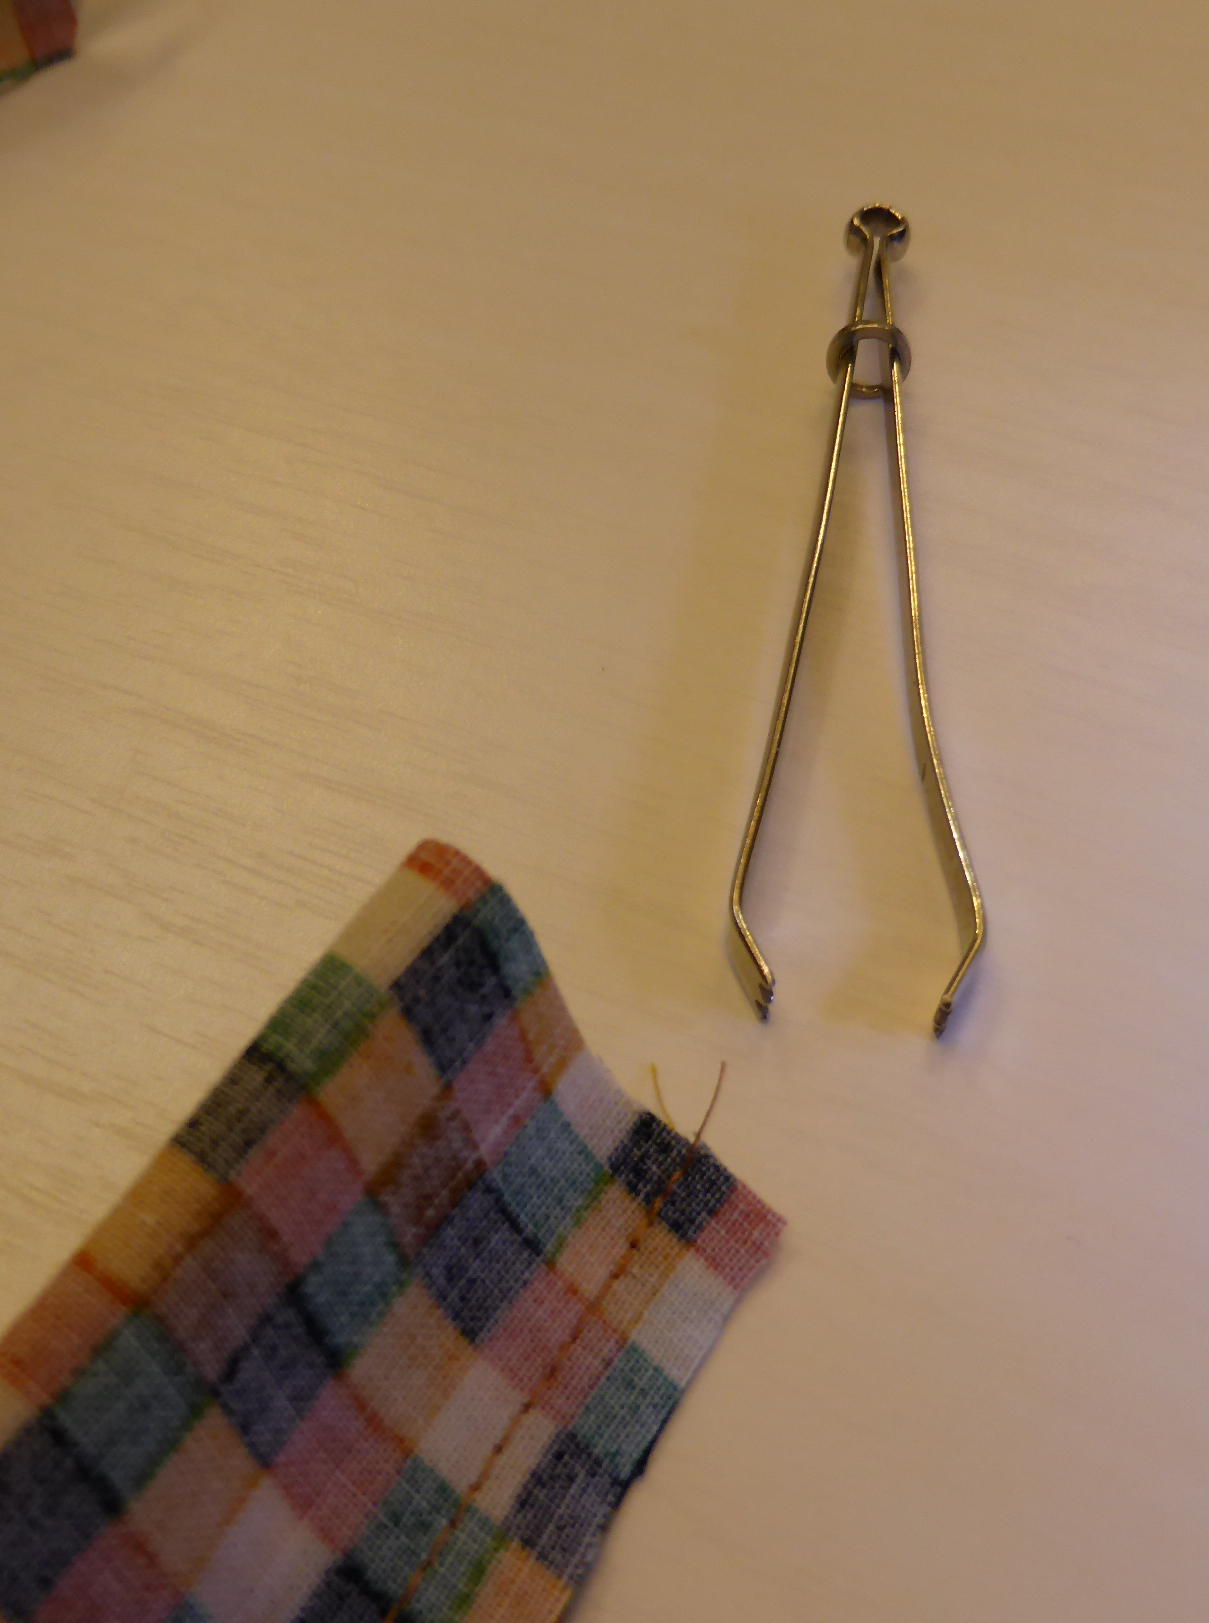
I used a bodkin (yes, that’s really what it is called!)
to turn the ties right sides out.
Four side ties done.
Then I layered the batting and backing.
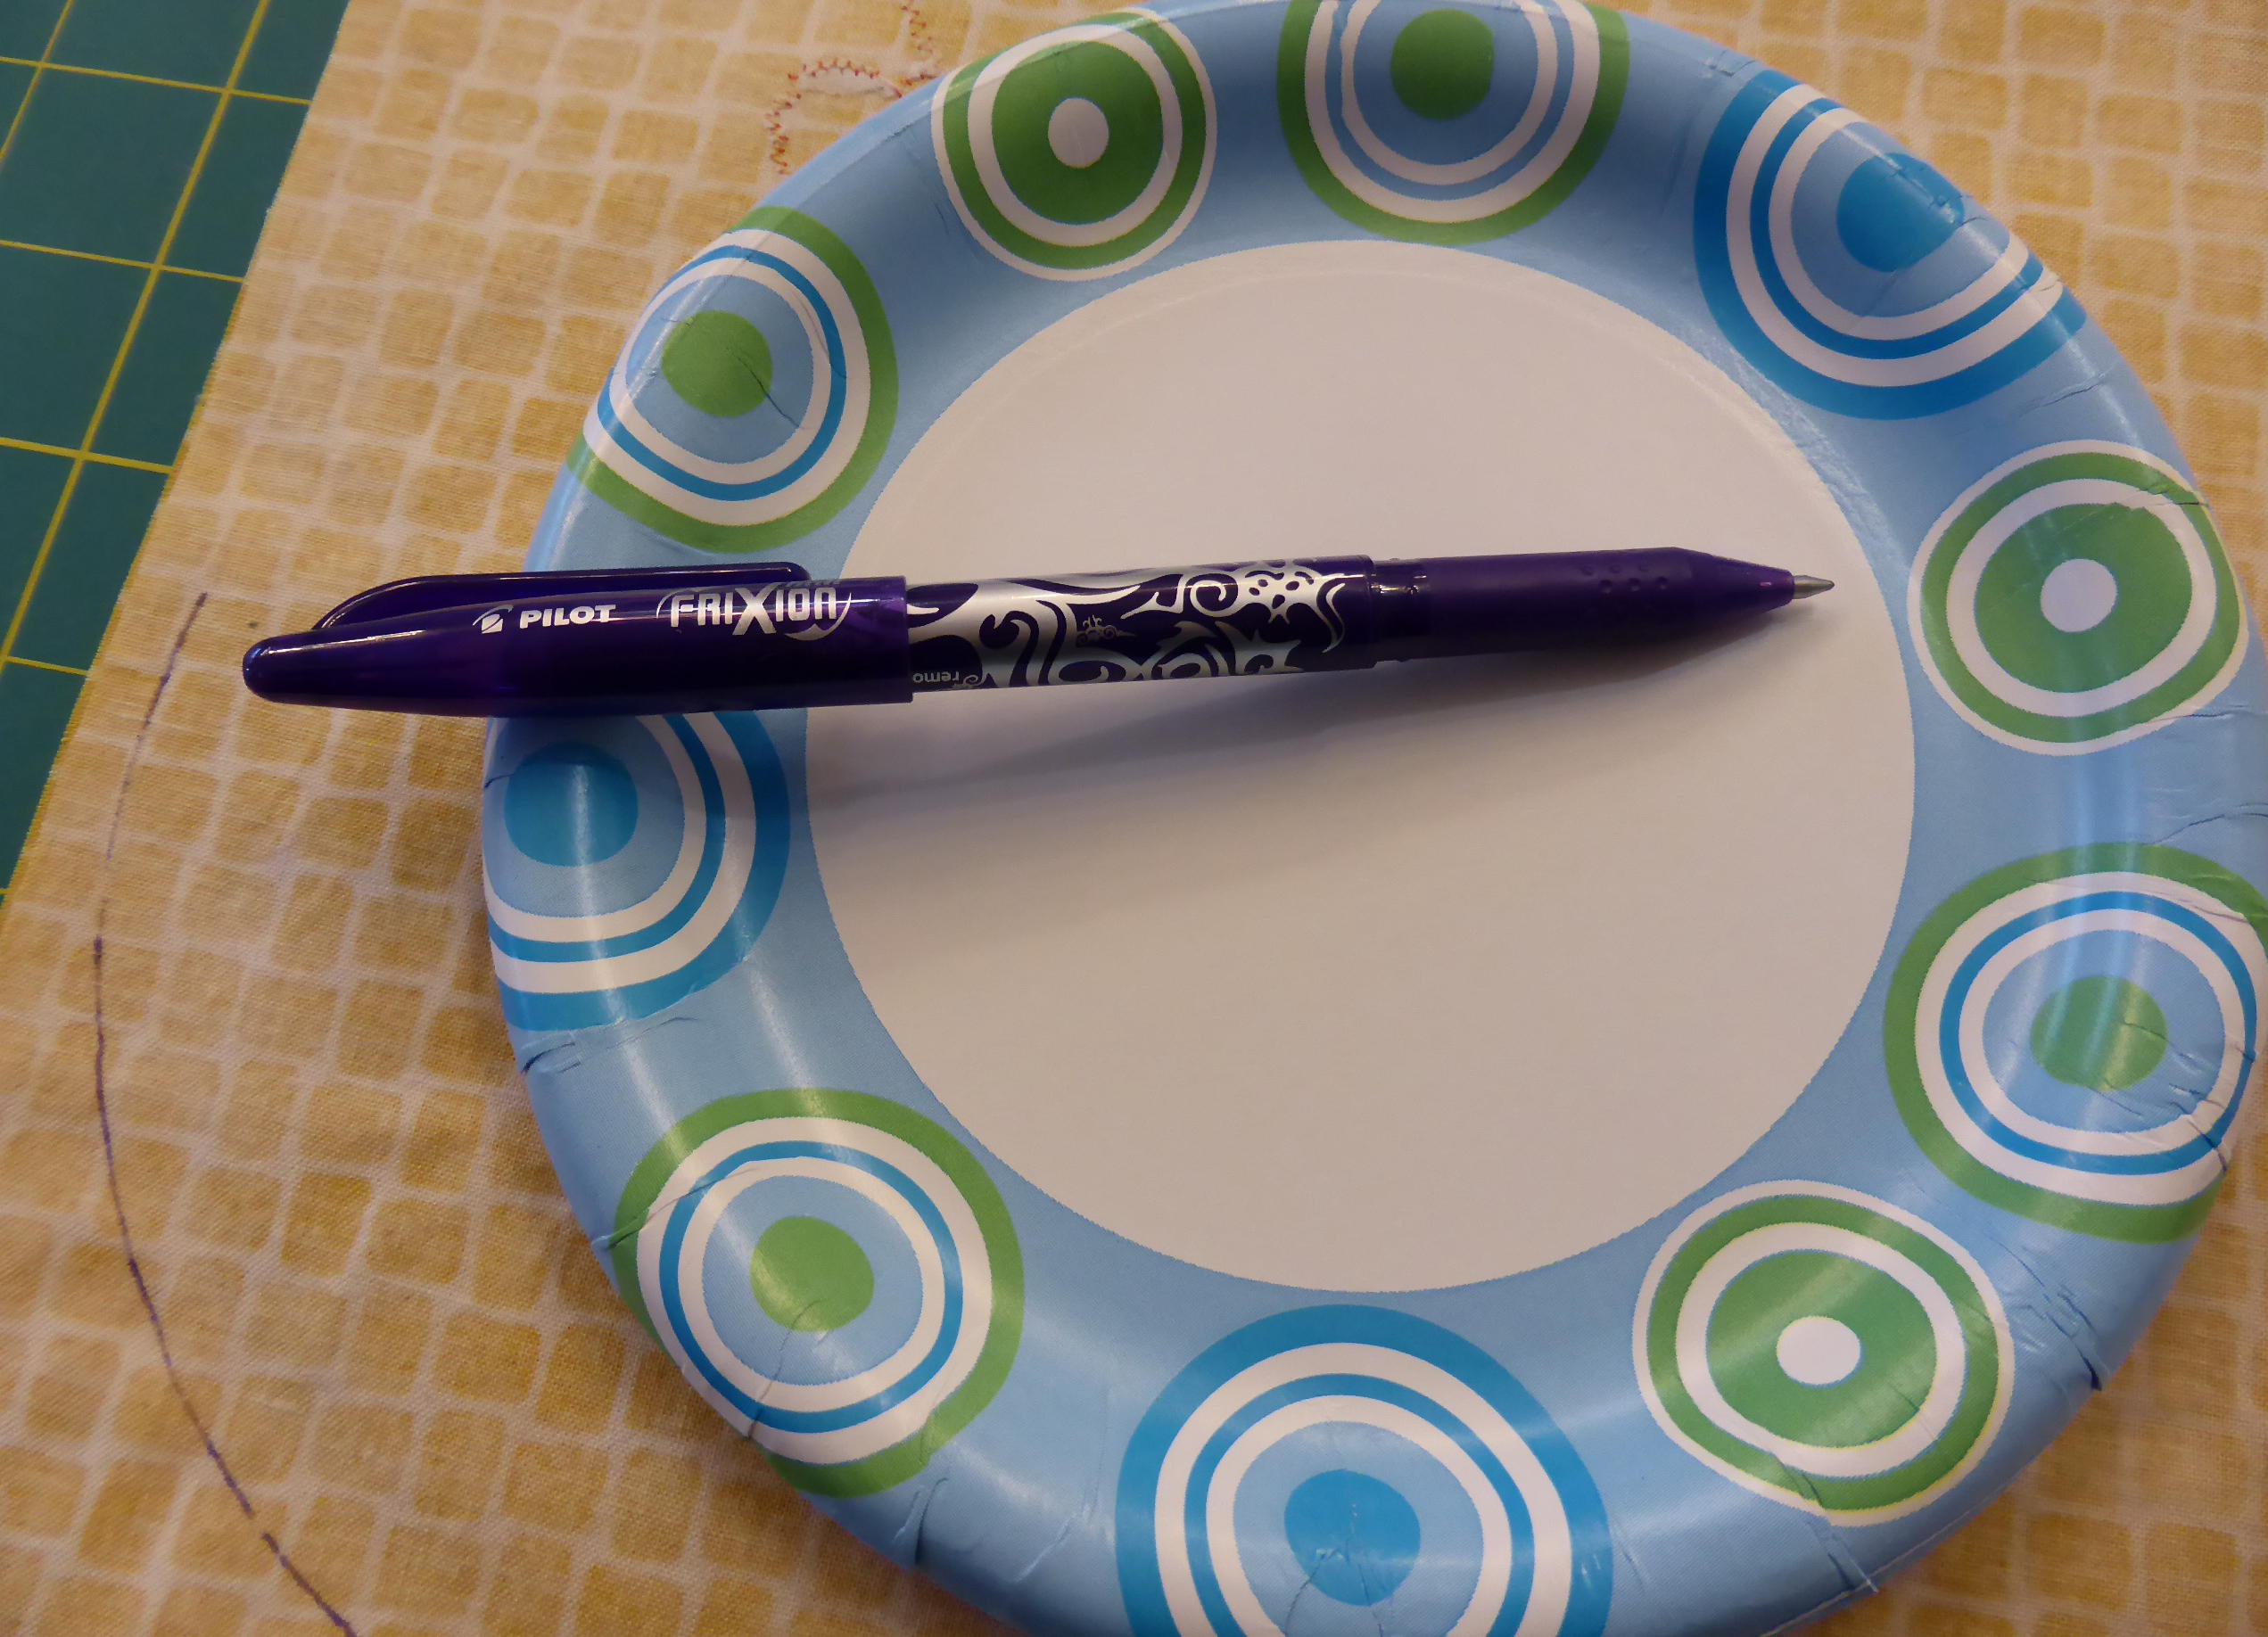
I love the look of pretty, rounded corners on my
sewing machine cover, so I used something
inexpensive I had on hand in my kitchen cabinet.

A sandwich-sized paper plate and a Frixion pen
worked beautifully to mark the rounded corners!
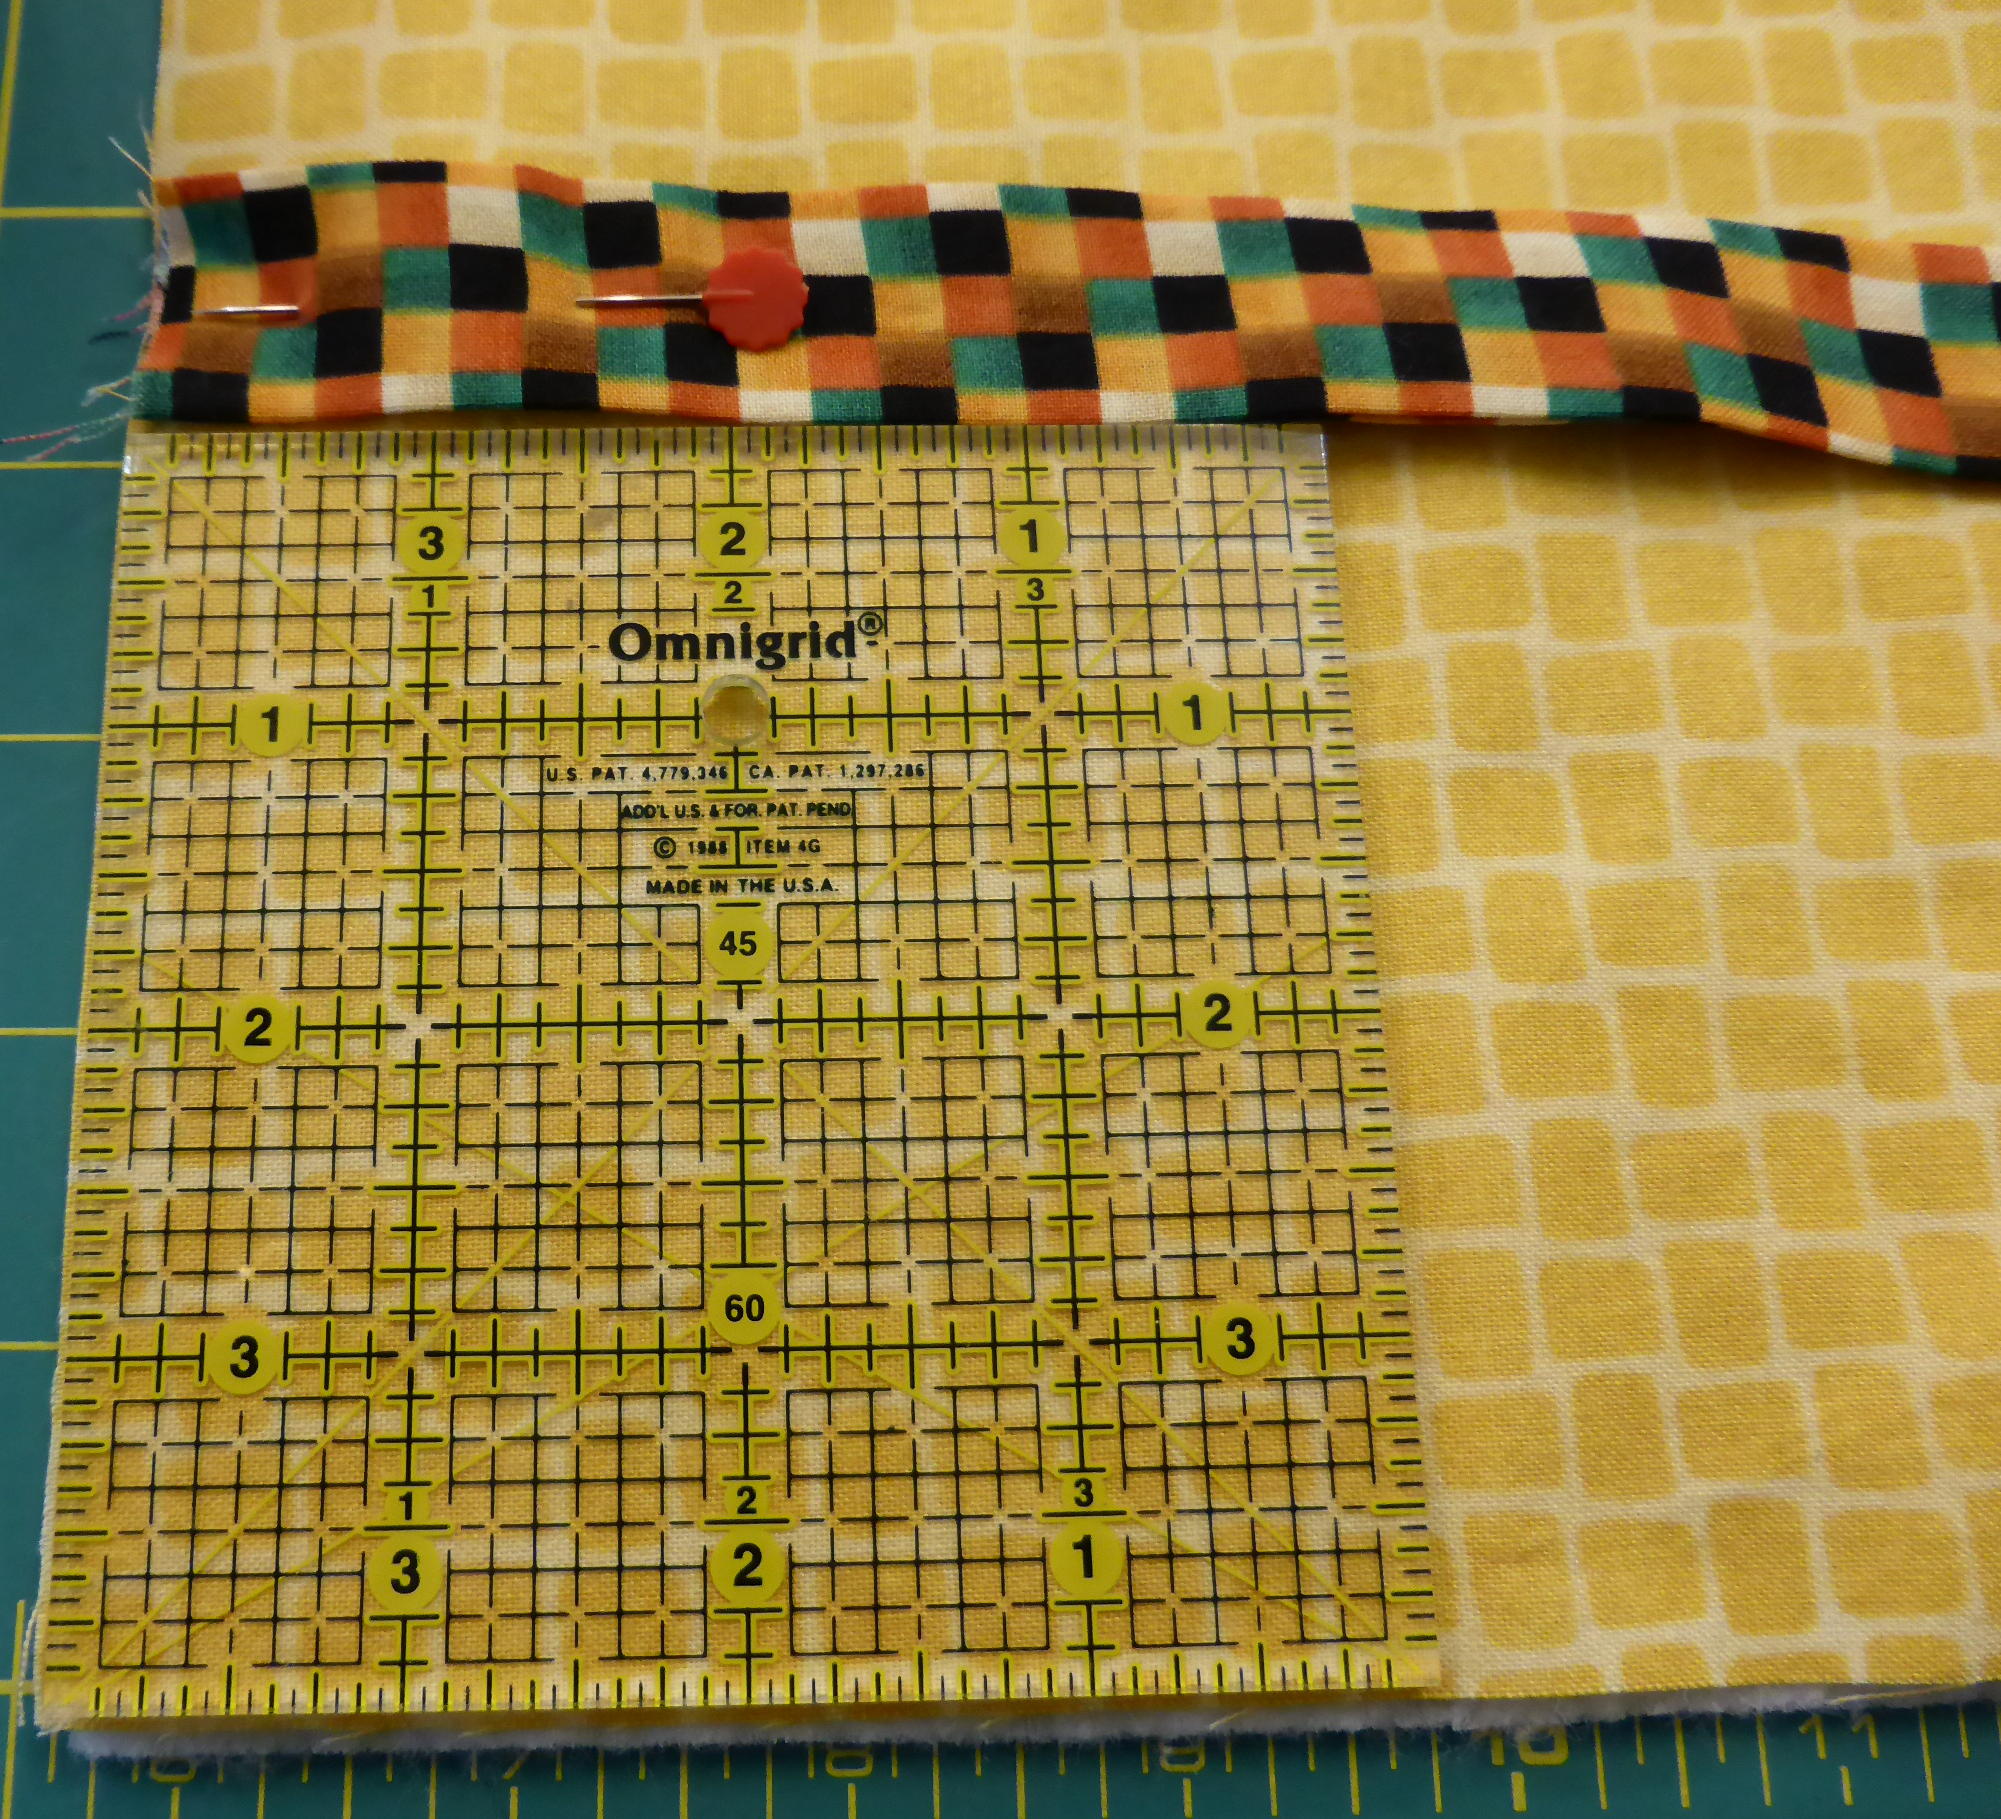
I used a small ruler to line up the side ties
to pin them in place before sewing.
I stitched all the layers together, trimmed the rounded corners,
and turned the sewing machine cover right sides out.
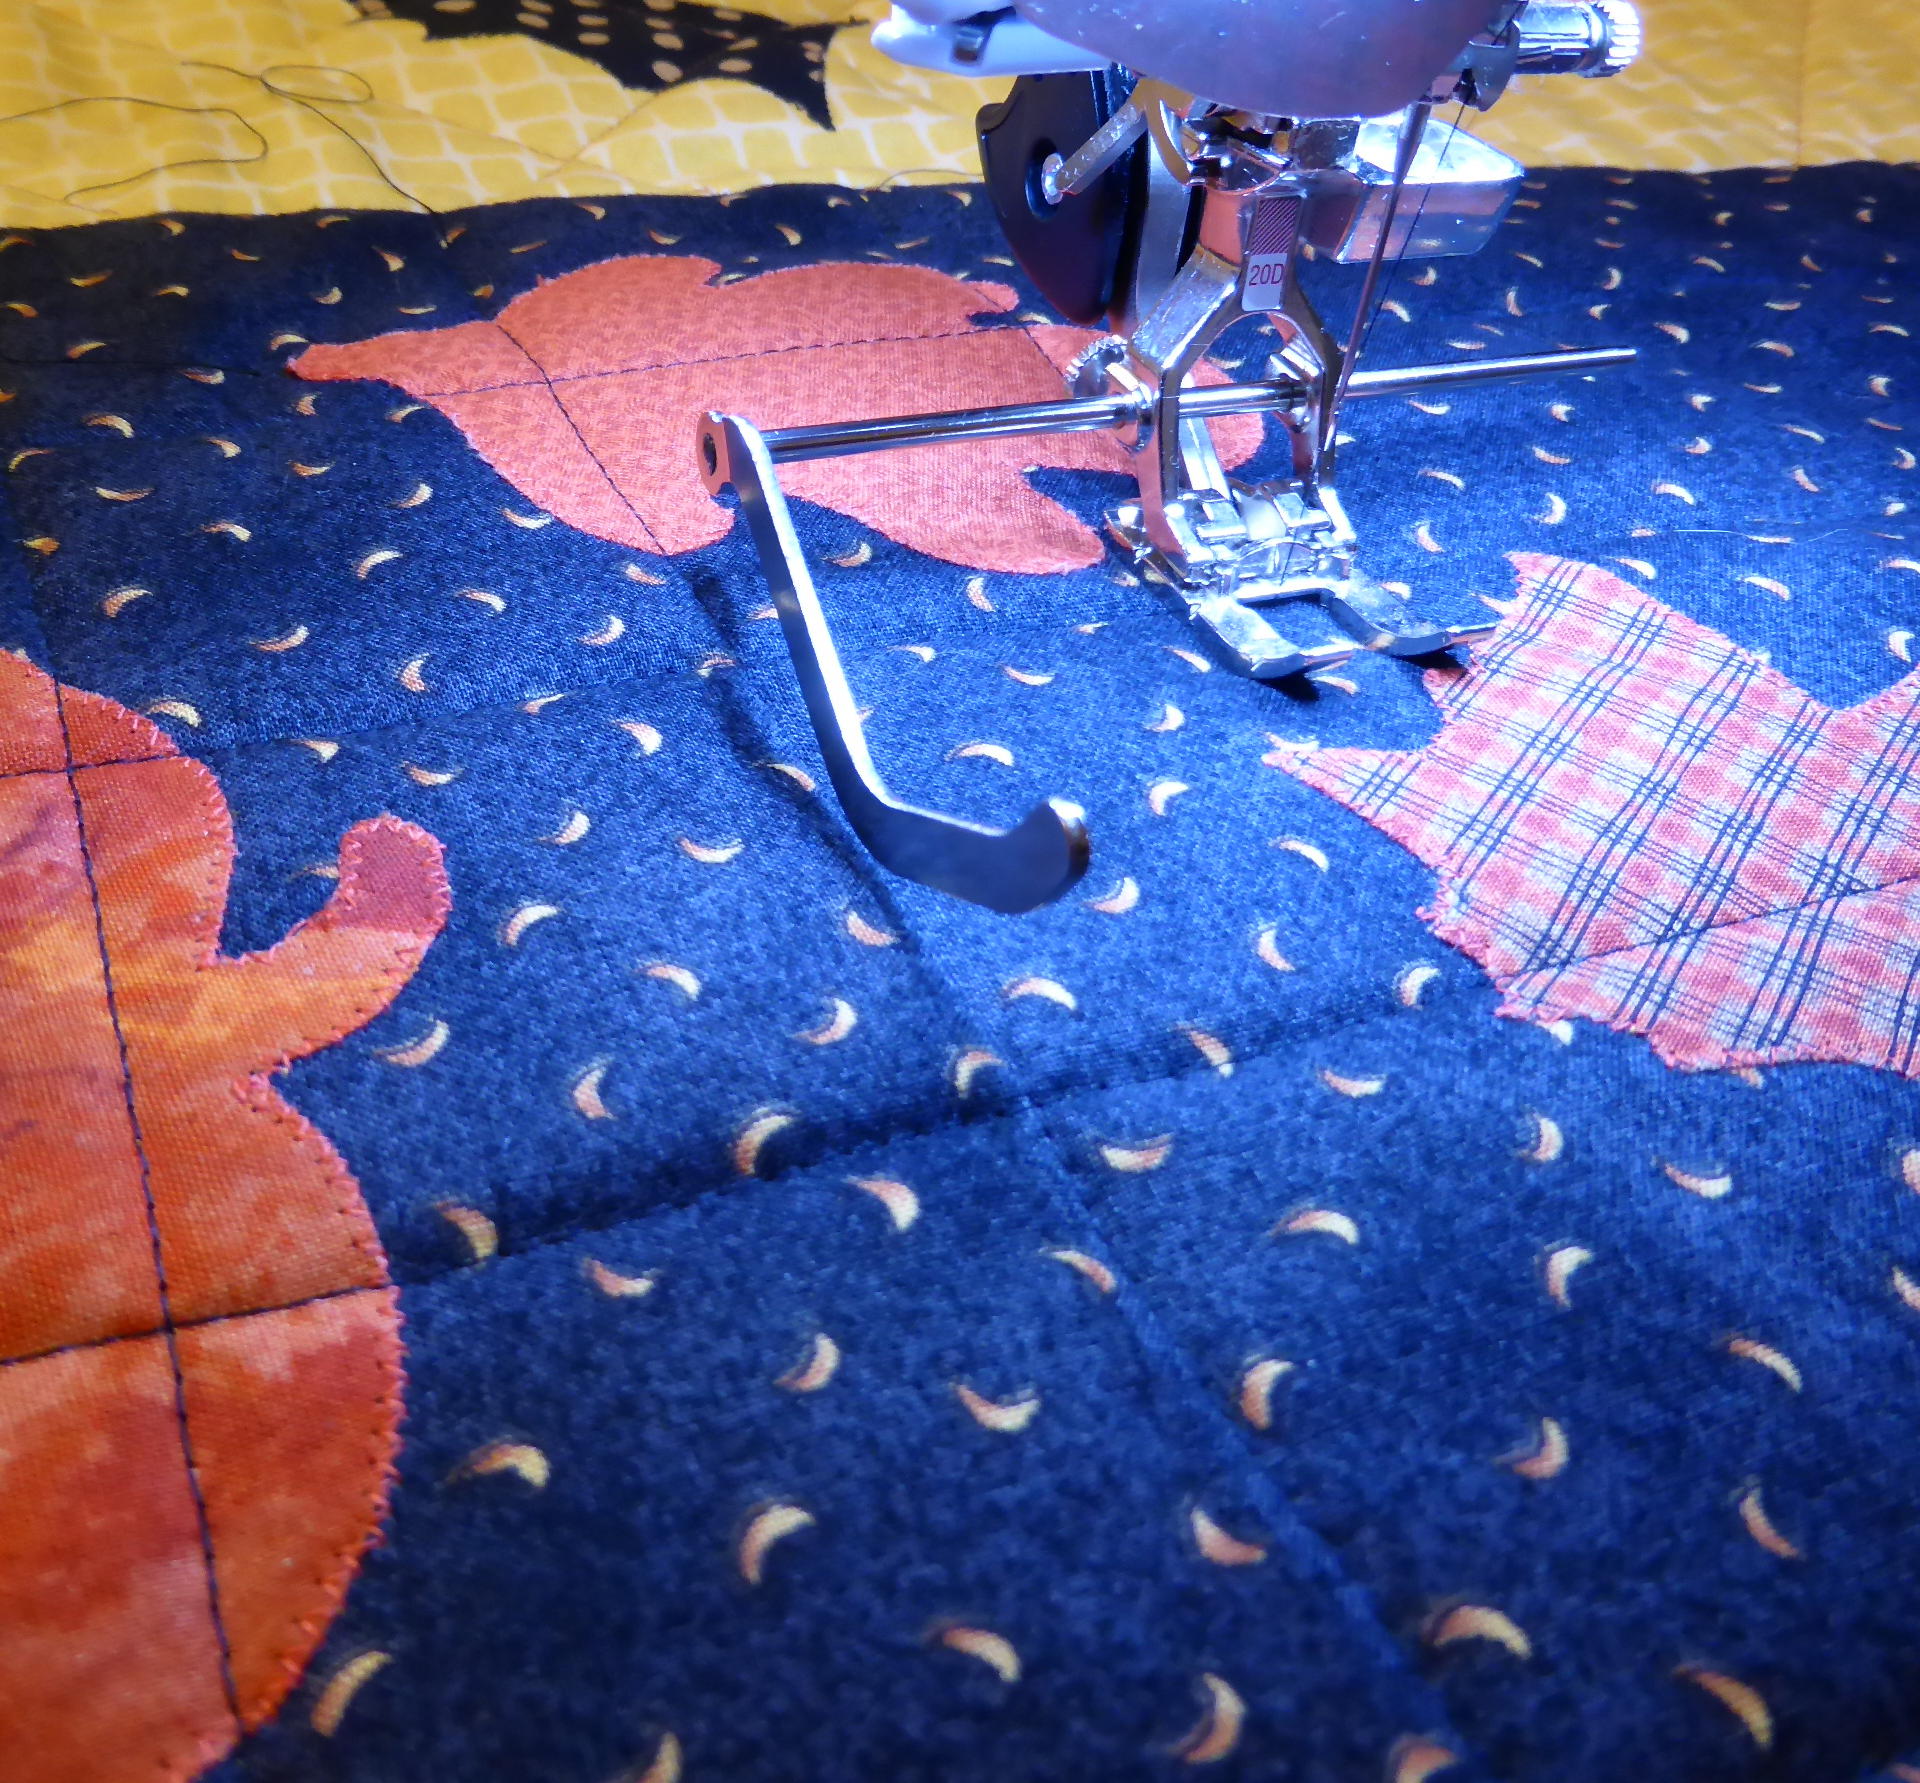
For quick and easy, no-mark quilting, I used the handy-dandy
guide that came as an attachment with my machine.
Check your sewing machine accessories.
I’ll just bet your machine came with one of these
nifty metal guides and you’ve never used it. Am I right?
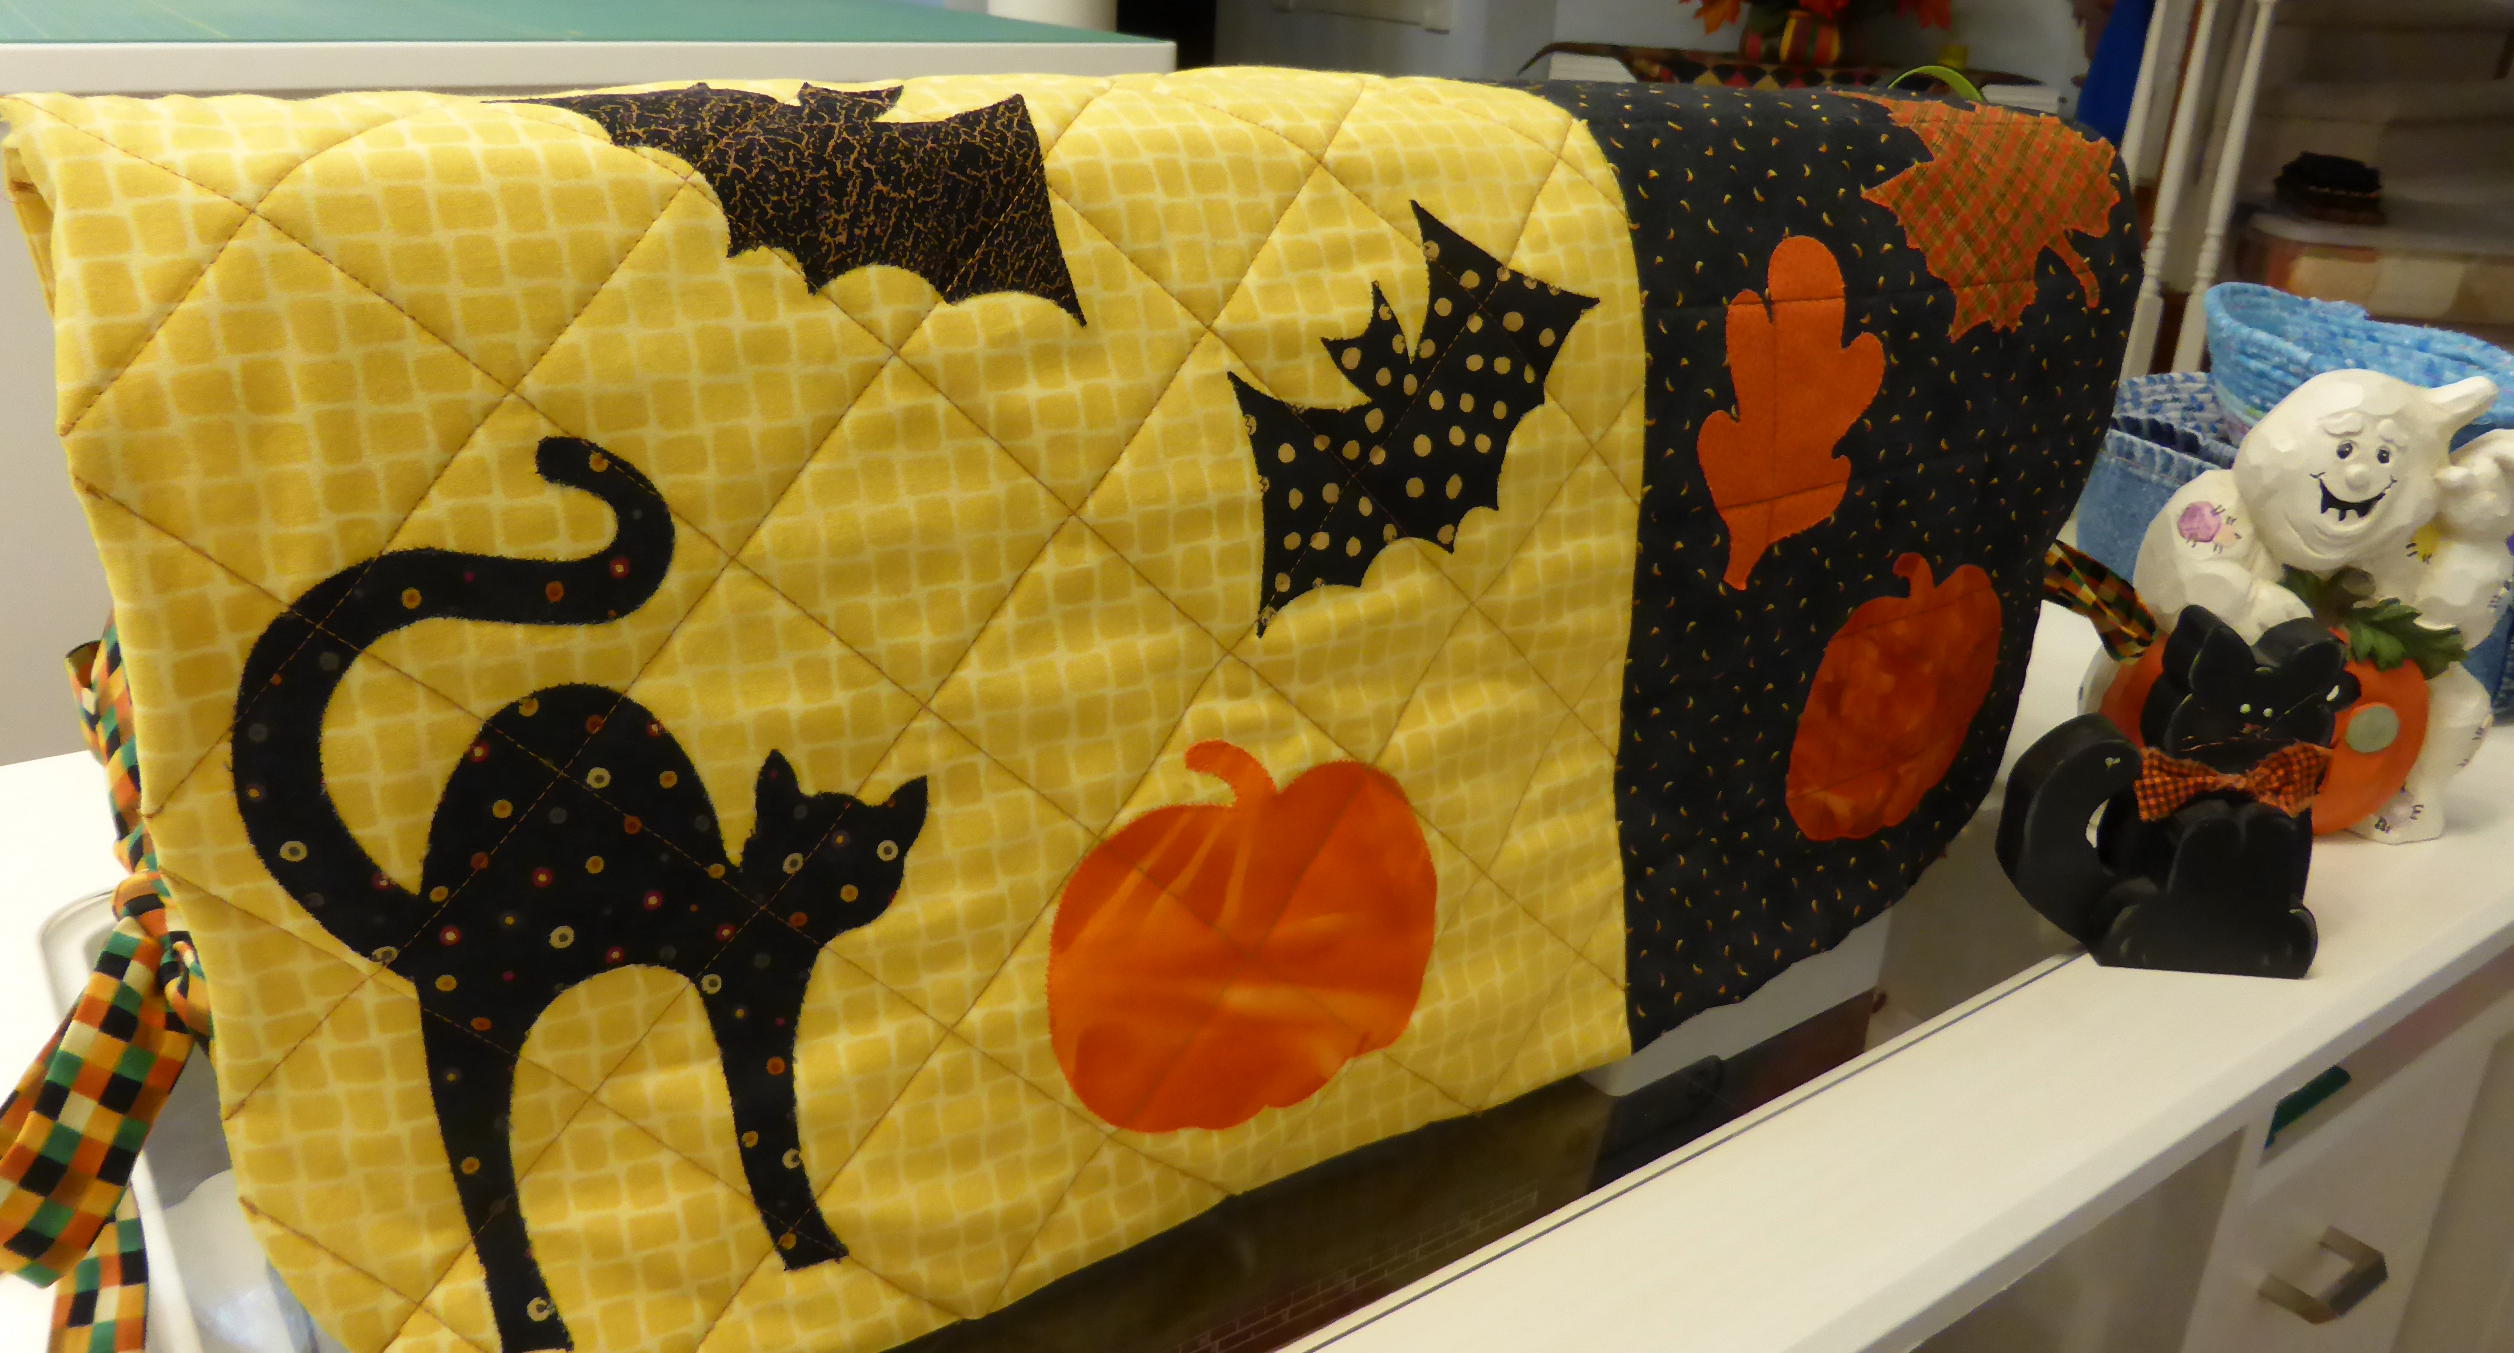
All stitched, quilted, pressed, and ready to add a darling
touch of spooky cuteness in my sewing studio.
All in less than 3 1/2 hours!
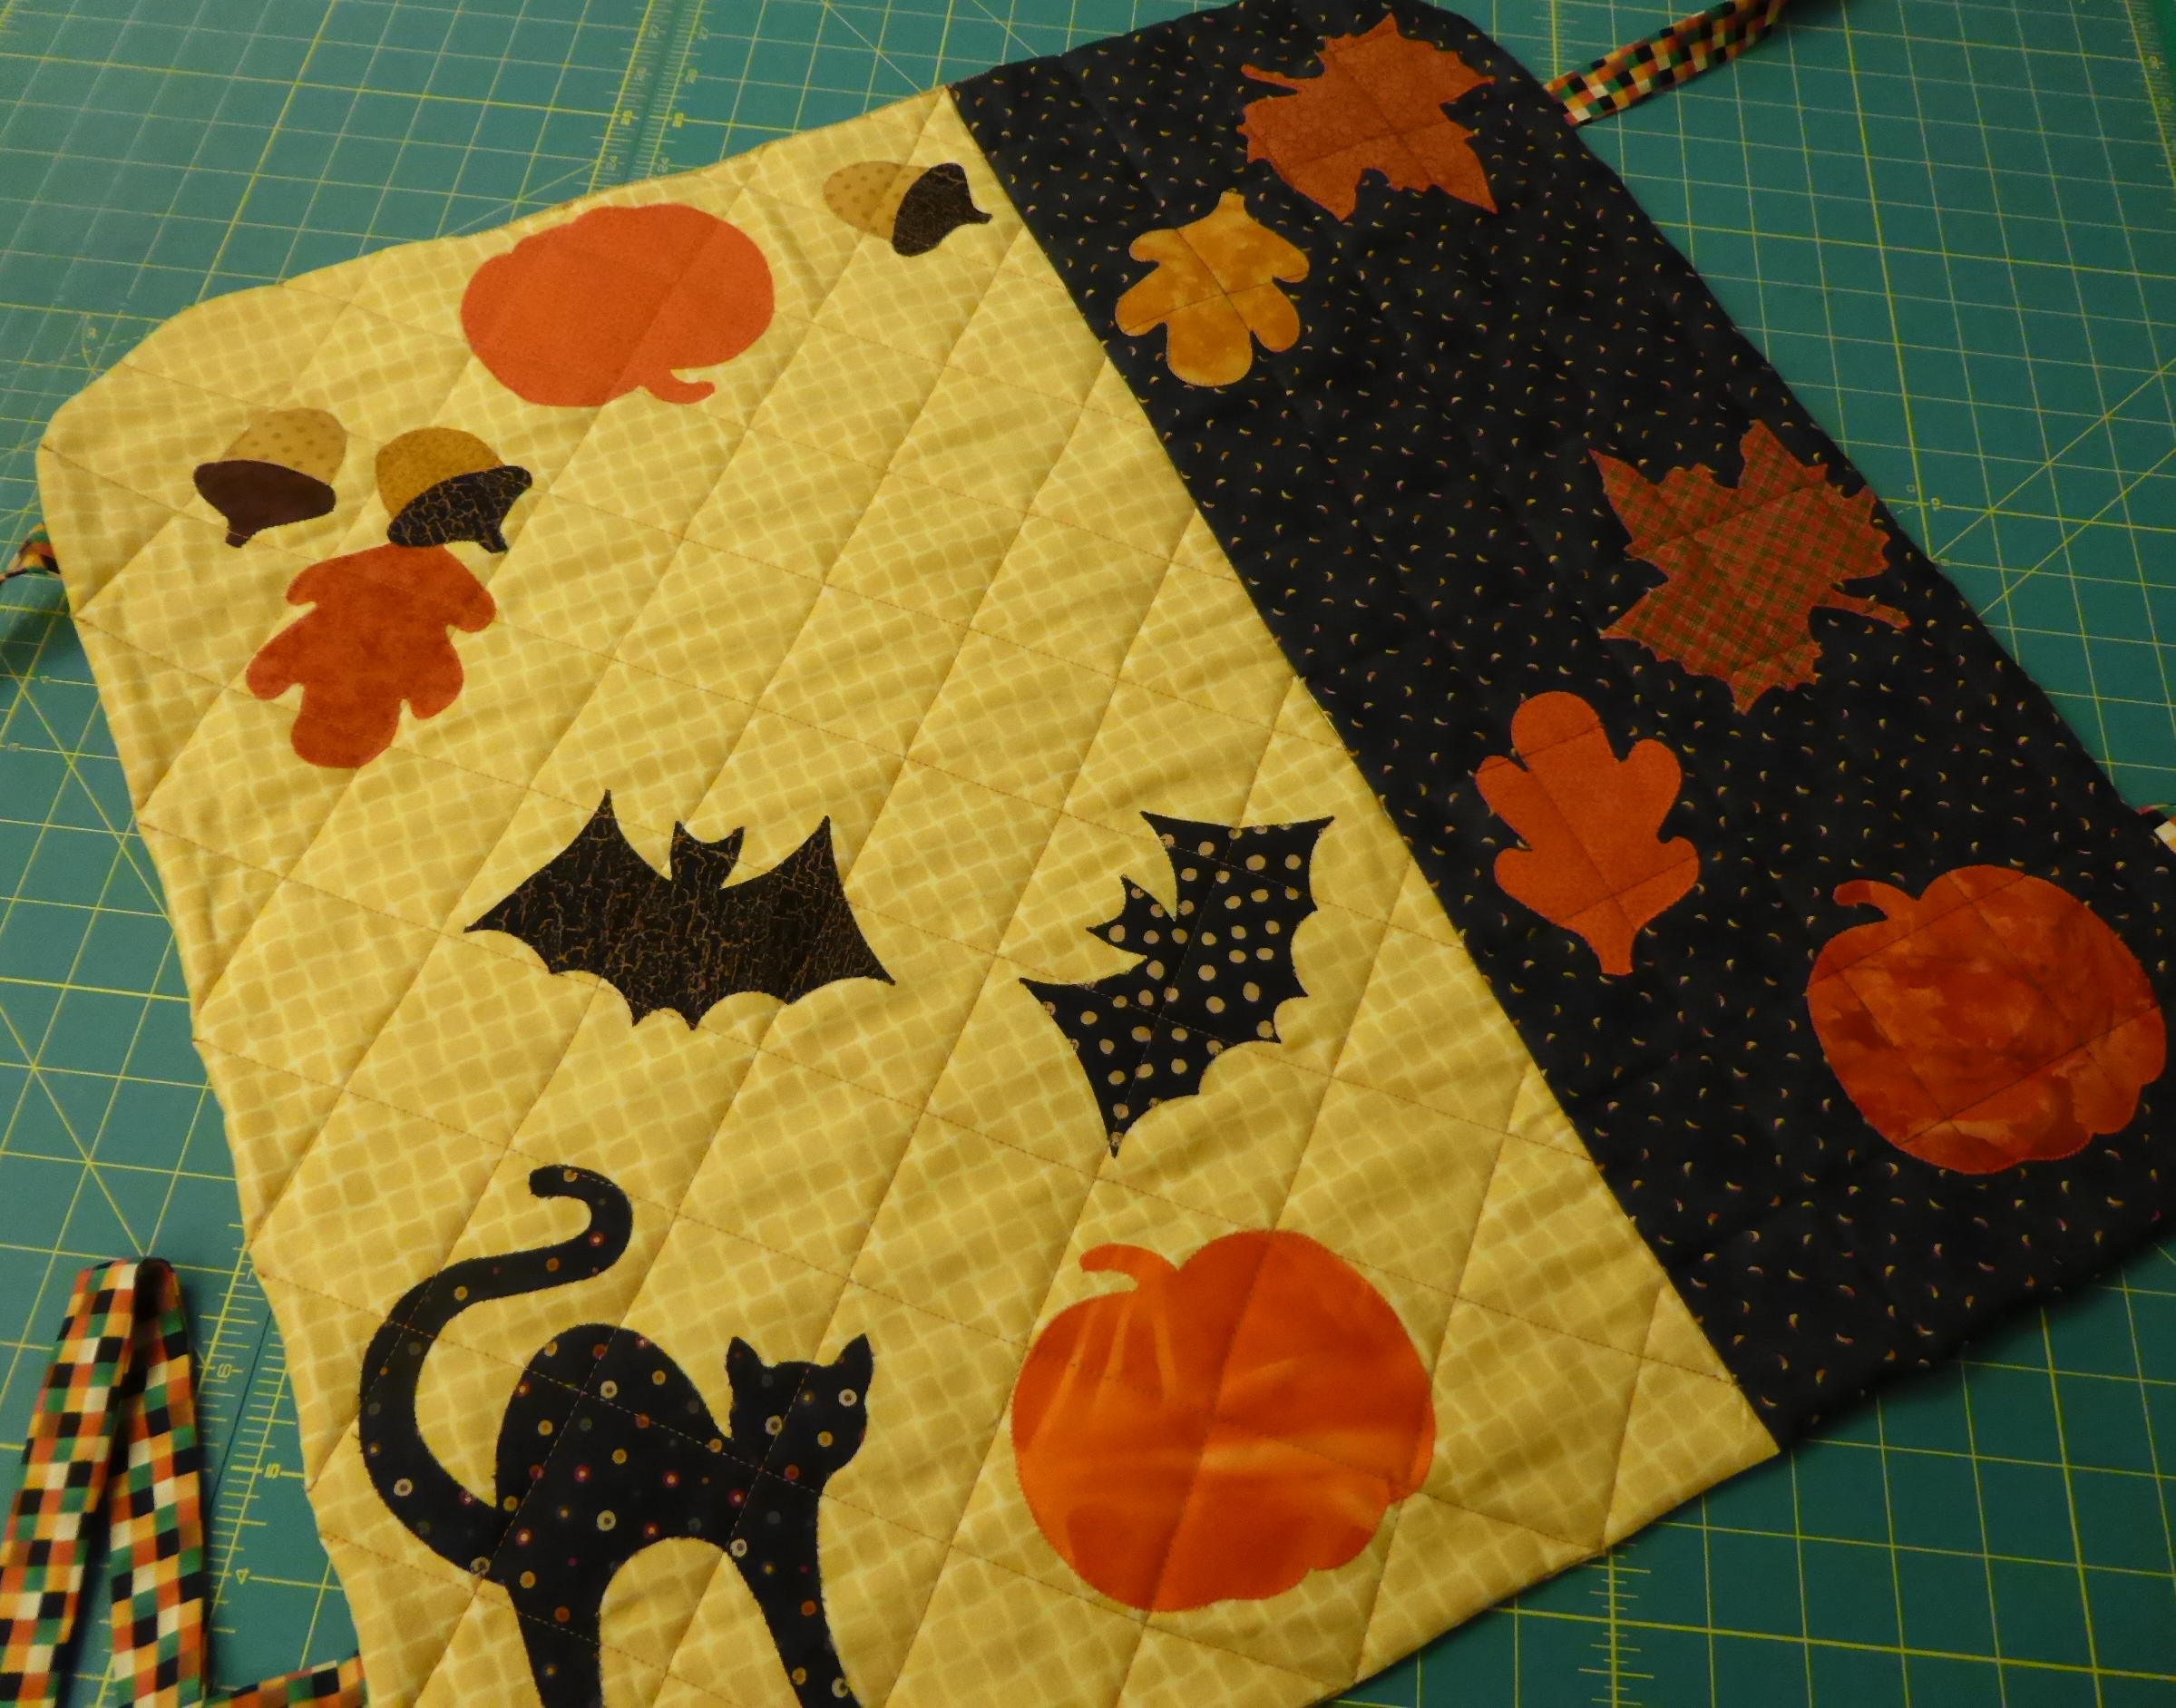
Isn’t it just the cutest?
It makes me smile just looking at it!
The side ties add the perfect, festive touch!
And it looks just as cute from the back side as the front!
If you love this idea and want to know more of the details
of how to make this cute sewing machine cover for yourself,
including how to customize the size to fit your sewing machine,
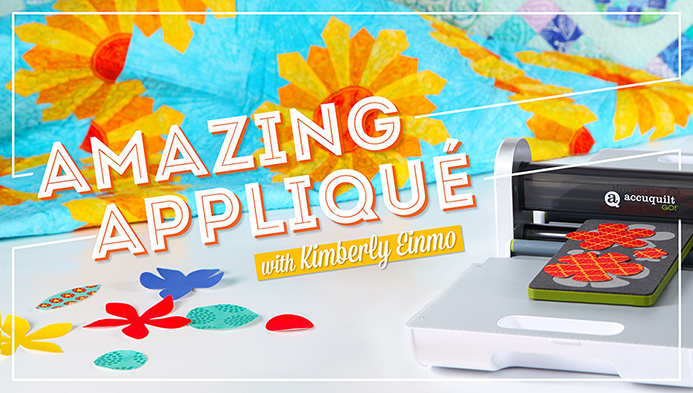
I invite you to check out my newest CRAFTSY class,
AMAZING APPLIQUE!
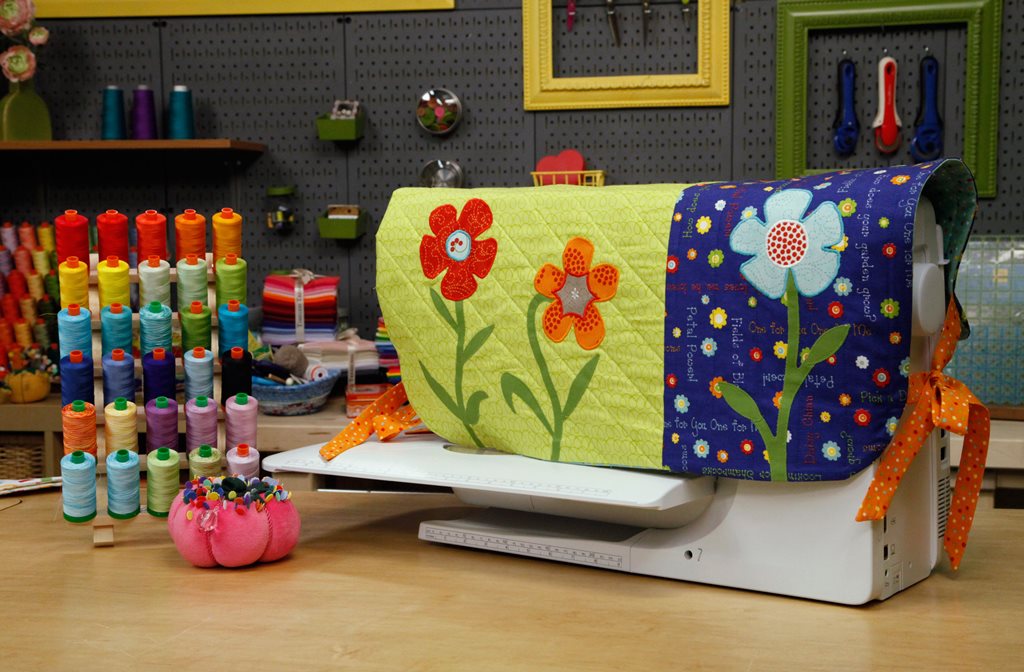
One of the projects I featured in this class was how to make your own
sewing machine cover — very similar to this cute little autumn version!
And you do not need the Accuquilt GO! cutter to make
any of the projects featured in this class. But I think
you’ll want to get one once you see how fast, easy, and
completely accurate they are! Now’s the time to put the
GO! cutter on your holiday list for Santa if you don’t have one already.
In this Craftsy class I will teach you so many fun and innovative ways to
use new machine applique techniques on your projects!
Learn about:
The chameleon stitch
How to get the most from your zig zag stitches
My signature technique of stacking your stitches to create dazzling new effects
Twin needle machine applique
And I’m very excited to offer — for the very first time — a special 50% discount on this class if you click on this link:

Thank you so much for stopping by my blog today. I had a great time making my new sewing machine cover and sharing the inspiration with you all! I’d love to hear from you or see photos if you make one, too! Drop me a line….leave a comment….and tell me if you decided to add a little Halloween or fall fun in your studio!
xxxxx


Such a great idea!! That’s just the kind of thing that would be a wonderful Christmas gift.
I am really going to have to look at that Go Cutter.
I am not an applique person and surely do not have any of the cutters. But this is my third time reading this blog post because you make it look like so much fun. I will find a way to make a runner but without the cut outs, but you make it look so darn fun. If I add one more piece of equipment to my sewing room, my old kids will think I have gone crazy lol. Anyway, this is my thank you for being so uplifting no matter when I come to your blog. Happy Fall!
I just purchased your newest class on Craftsy a few days ago. I would love to make the sewing machine cover in a Fall/Halloween motif, as you’ve done above. I don’t have an Accuquilt, so I will need to cut my own shapes. Is there a pattern for the cat, bat, pumpkins, etc. used that I could purchase? I’m not sure I could free hand these, especially the cat.
Thanks so much for the fun Halloween version of the sewing machine cover. I’m planning to make your floral Craftsy version as well. I enjoy all of your Craftsy classes, and I’ve made some quilts I’m very proud of.